
Logitech Webcam Pro 9000 Camera Replacement
20 - 30 minutos
Difícil
Introducción
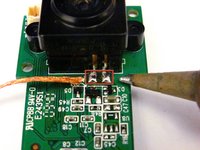
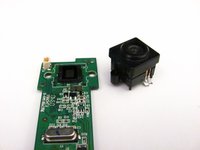
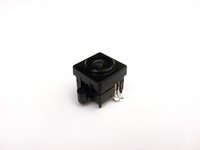
Ir al paso 1This guide will lead you in desoldering the connections between the camera and the motherboard.
Qué necesitas


Casi Terminas!
To reassemble your device, follow these instructions in reverse order.
Conclusión
To reassemble your device, follow these instructions in reverse order.
Equipo

Cal Poly, Team 12-34, Amido Spring 2013 Miembro de Cal Poly, Team 12-34, Amido Spring 2013
CPSU-AMIDO-S13S12G34
4 Miembros
16 Guías creadas