
Lenovo ThinkPad X1 Extreme Display Replacement
Introducción
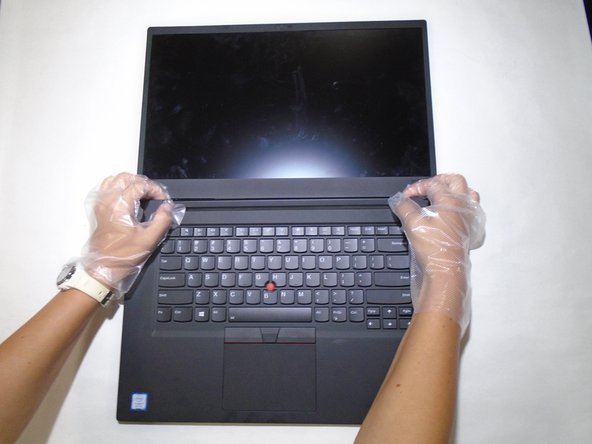
Ir al paso 1This guide will lead you through the steps to replace the display on the Lenovo ThinkPad X1 Extreme Generation 1. The display allows the user to see how they interact with the computer and may get damaged or worn down.
The removal of the display requires you to first remove the battery, then proceed to remove the hinge covering, take off the display cover, and detach it from the motherboard. Make sure the device is turned off before you begin these steps.
Qué necesitas
Partes

Herramientas


Ver más…
-
-
Orient the laptop so that it is bottom up, and the trackpad is closest to you.
-
Unscrew the seven captive screws with a Phillips #00 screwdriver.
-
Slide a blue opening pick in the gap between the bottom panel and chassis, and pry off the one clip on each side.
-
Remove the back cover from the device.
-
-
-
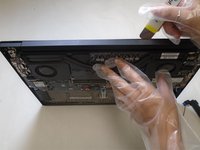
Use a Phillips #00 head screwdriver to remove the four 4 mm screws above the battery.
-
-
-
Herramienta utilizada en este paso:Tweezers$4.99
-
Use tweezers to peel the plastic cover off the connector.
-
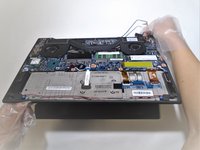
Use a spudger or your fingernail to pry up the battery straight up from the motherboard.
-
-
-
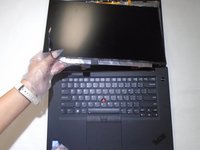
Gently take off the cover of the hinge of the computer with a combination of the opening tool and your hands.
-


To reassemble your device, follow these instructions in reverse order.
To reassemble your device, follow these instructions in reverse order.
Cancelar: No complete esta guía.
Una persona más ha completado esta guía.
Equipo

The Citadel Military College of South Carolina, Team 3-18, Eggleston Fall 2021 Miembro de The Citadel Military College of South Carolina, Team 3-18, Eggleston Fall 2021
CMCSC-EGGLESTON-F21S3G18
3 Miembros
2 Guías creadas