
Lenovo G500S Touch Fan Replacement
Introducción
Ir al paso 1The fan in a laptop exists to prevent the device from overheating. Overheating can be causes by the following: too many applications running, device isn’t compatible with applications, component failure, etc. If you hear your computer making a clicking noise or if the fan stops working in your device, consider replacing the fan. Use this guide to remove the fan from your laptop.
Qué necesitas
Herramientas

-
-
Flip your device over so that the back is facing you.
-
Using your fingers, push the tabs in opposite directions to eject the battery.
-
Remove the battery from the device.
-
-
-
-
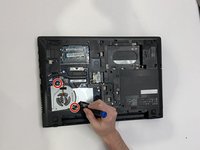
Remove the three 4mm screws on the back cover using the Phillips #00 screwdriver.
-
Remove the back cover from the device.
-
-
-
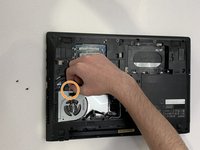
Once the back panel is removed, remove the two 3.2mm screws using the Phillips #00 screwdriver.
-
Remove the power supply cord that is going into the motherboard. The colors of the wires should be: red, yellow, brown and black.
-
Remove the fan from the device.
-


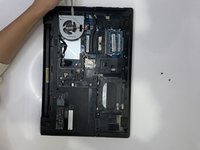
To reassemble your device, follow these instructions in reverse order.
To reassemble your device, follow these instructions in reverse order.