
Lenovo G50-80 80E5 Power Button Replacement
Introducción
Ir al paso 1This guide will show you how to unscrew and remove the power board button from your laptop.
Qué necesitas


-
-
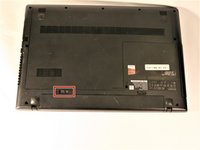
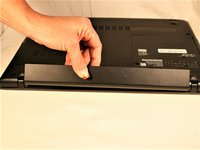
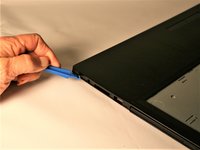
Place the laptop on a flat surface with the back cover facing up and the hinges facing you.
-
-
-
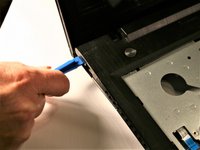
Remove the three screws securing the outer cover of the laptop using a Phillips #0 screwdriver.
-
-
-
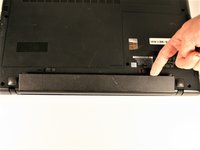
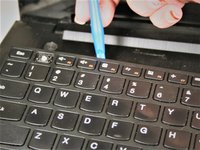
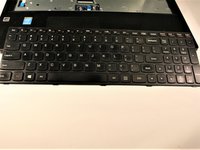
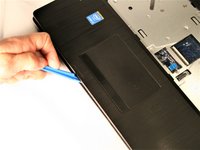
Locate the 3 screws on the bottom securing the keyboard in place.
-
One Screw will be located under a Lenovo security sticker. Break sticker to gain access to screw.
-
-
-
-
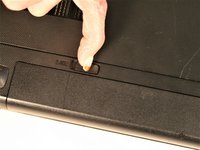
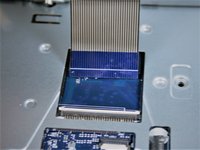
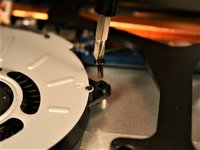
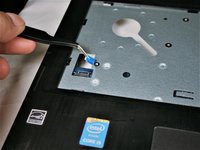
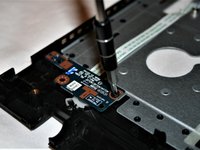
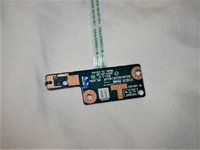
At this point in disassembly, there will be one #00x5.5 mm screw securing the power button board in place.
-
Take your screwdriver and remove the screw.
-
-
Herramienta utilizada en este paso:Tweezers$4.99
-
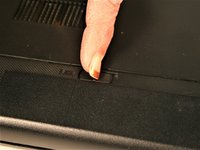
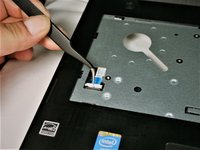
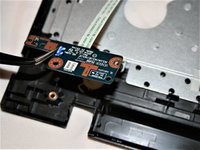
Take your tweezers and grip the power button board.
-
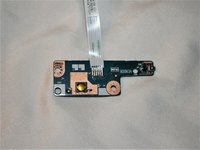
Using tweezers, lift power button board up and out. The cable wire for the power button board should be disconnected at this point and the piece should lift out without any extra work needed.
-


To reassemble your device, follow these instructions in reverse order.
To reassemble your device, follow these instructions in reverse order.
Cancelar: No complete esta guía.
2 personas más completaron esta guía.
Equipo

UMass Dartmouth, Team S1-G6, Simcock Fall 2017 Miembro de UMass Dartmouth, Team S1-G6, Simcock Fall 2017
UMASSD-SIMCOCK-F17S1G6
4 Miembros
10 Guías creadas