Saltar al contenido principal
JVC GR-D72U Lateral Function Port Panel Replacement

JVC GR-D72U Lateral Function Port Panel Replacement

Joshua Hatcherian

Joshua Hatcherian y 3 otros contribuidores

Última actualización: May 7, 2024

8 minuto
Moderado

Introducción

Ir al paso 1

The buttons on the panel can wear out over time causing the buttons to stick or become unresponsive. Also the camera's LCD monitor or viewfinder can get cracked if dropped. All these parts can be replaced with the lateral function port panel. To remove it you will need the Phillips #000 screwdriver, small plastic opener and small metal spudger.

This guide requires removing a lot of screws so it is important to keep track of which screw goes where. All screw heads are Phillips size #000.

Qué necesitas

Herramientas

Ver más…

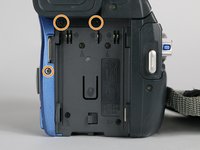
  1. JVC GR-D72U Lateral Function Port Panel Replacement, Battery: paso 1, imagen 1 de 2 JVC GR-D72U Lateral Function Port Panel Replacement, Battery: paso 1, imagen 2 de 2
    • Locate button on bottom of camera.

    • Slide button to the right.

  2. JVC GR-D72U Lateral Function Port Panel Replacement: paso 2, imagen 1 de 1
    • Pull the battery towards the bottom of the camcorder while lifting battery .

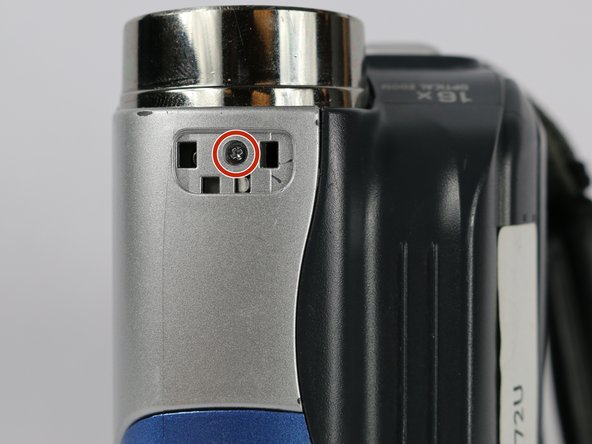
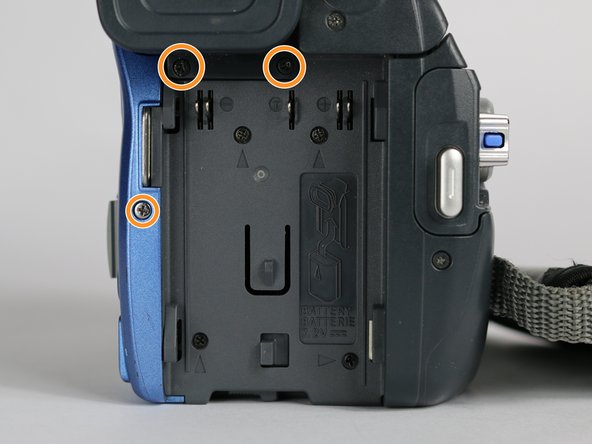
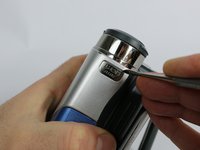
  3. JVC GR-D72U Lateral Function Port Panel Replacement, Lateral Function Port Panel: paso 3, imagen 1 de 3 JVC GR-D72U Lateral Function Port Panel Replacement, Lateral Function Port Panel: paso 3, imagen 2 de 3 JVC GR-D72U Lateral Function Port Panel Replacement, Lateral Function Port Panel: paso 3, imagen 3 de 3
    • Remove silver plate that says “Auto Light” on the top of the camera using a metal spudger.

    • Remove the 3.1 mm screw.

    • Remove the three 5.3 mm screws from the back of the camera.

  4. JVC GR-D72U Lateral Function Port Panel Replacement: paso 4, imagen 1 de 1
    • From the bottom of the camera remove the following four screws:

    • 5.3 mm

    • 3.1 mm

    • 5.1 mm

    • 3.5 mm

  5. JVC GR-D72U Lateral Function Port Panel Replacement: paso 5, imagen 1 de 1
    • Use the small plastic opening tool to remove the blue side cover piece.

  6. JVC GR-D72U Lateral Function Port Panel Replacement: paso 6, imagen 1 de 1
    • Remove the 3.1 mm screw on top of the camera, closest to the LCD monitor.

    • Remove the 5.4 mm screw next to the snapshot button.

  7. JVC GR-D72U Lateral Function Port Panel Replacement: paso 7, imagen 1 de 1
    • Remove the 3.1 mm screw next to the USB and DV inputs.

  8. JVC GR-D72U Lateral Function Port Panel Replacement: paso 8, imagen 1 de 1
    • Gently pull apart both halves of the camera to reveal the inner components.

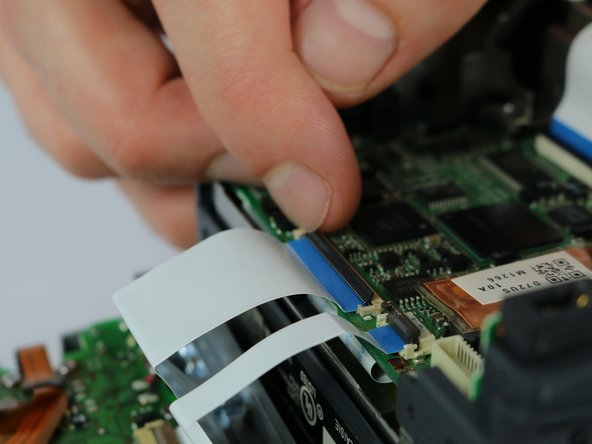
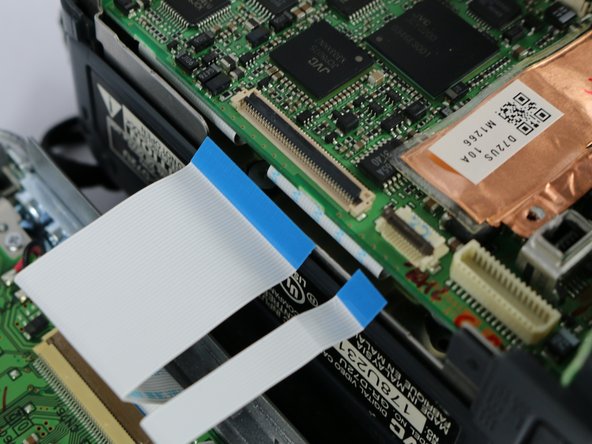
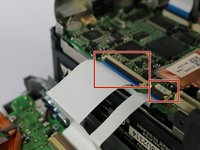
  9. JVC GR-D72U Lateral Function Port Panel Replacement: paso 9, imagen 1 de 3 JVC GR-D72U Lateral Function Port Panel Replacement: paso 9, imagen 2 de 3 JVC GR-D72U Lateral Function Port Panel Replacement: paso 9, imagen 3 de 3
    Herramienta utilizada en este paso:
    Tweezers
    $4.99
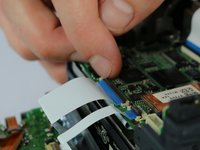
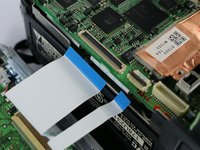
    • Flip the cable locks to the up-position and pull both cables connecting the lateral function port panel to the rest of the camera.

    • Insert the cables from the new port panel into their inputs and flip the locks to the down position.

    • It is easier to use tweezers when inserting the cable but not required.

Conclusión

To reassemble your device, follow these instructions in reverse order.

2 personas más completaron esta guía.

Equipo

USF Tampa, Team S2-G2, Nance Fall 2017 Miembro de USF Tampa, Team S2-G2, Nance Fall 2017

USFT-NANCE-F17S2G2

Miembros de 4

5 Guías creadas

0 comentarios

Agregar Comentario

Ver Estadísticas:

Ultimas 24 horas: 0

Ultimos 7 días: 0

Ultimos 30 días: 6

Todo El Tiempo: 519