Saltar al contenido principal
InFocus IN3104 Lamp Replacement

InFocus IN3104 Lamp Replacement

Tae Min Kim

Tae Min Kim y 4 otros contribuidores

Última actualización: May 28, 2020

15 - 25 minutos
Moderado

Introducción

Ir al paso 1

If your projector does not project an image, you may have a broken lamp. The lamp is designed to project light on to the color wheel as well as the lens so that the projector can display an image. Remove any power sources before you start.

Qué necesitas

Herramientas

Ver más…

  1. InFocus IN3104 Lamp Replacement, Top Cover: paso 1, imagen 1 de 3 InFocus IN3104 Lamp Replacement, Top Cover: paso 1, imagen 2 de 3 InFocus IN3104 Lamp Replacement, Top Cover: paso 1, imagen 3 de 3
    • Turn the projector so that the lens is facing you.

    • On the left side of the projector, there is a screw and a knob inside of the small grate.

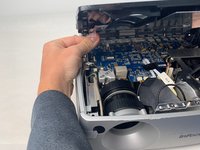
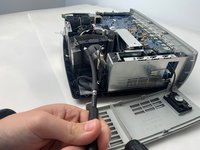
    • Use a Phillips #1 screwdriver to remove the 6 mm screw that secures top cover.

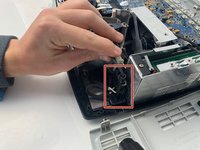
    • Remove the service cover.

  2. InFocus IN3104 Lamp Replacement: paso 2, imagen 1 de 3 InFocus IN3104 Lamp Replacement: paso 2, imagen 2 de 3 InFocus IN3104 Lamp Replacement: paso 2, imagen 3 de 3
    • Use a Phillips #1 screwdriver to remove the seven 6 mm screws.

    • Use a Phillips #1 screwdriver to remove the two 5 mm screws.

    • Remove the top cover.

    • Do not pull the cover too hard. It may damage the wire that is connected to the motherboard.

  3. InFocus IN3104 Lamp Replacement, InFocus IN3104 Metal Cover Disassembly: paso 3, imagen 1 de 2 InFocus IN3104 Lamp Replacement, InFocus IN3104 Metal Cover Disassembly: paso 3, imagen 2 de 2
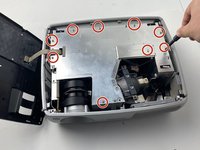
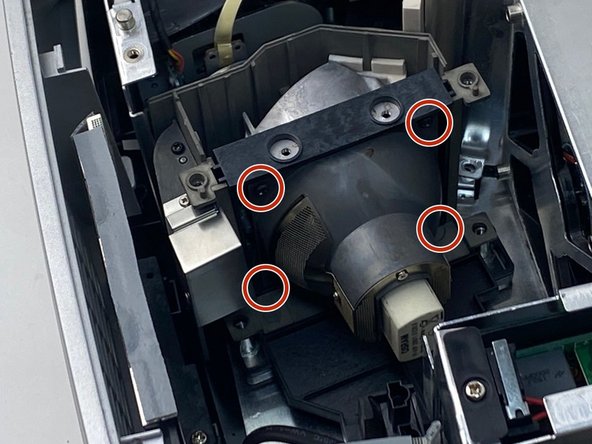
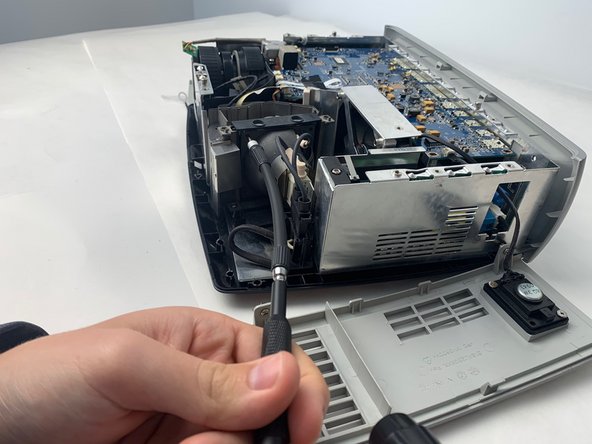
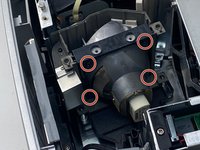
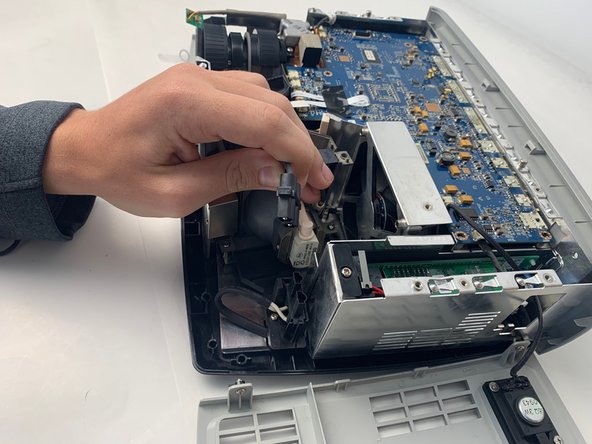
    • Use a Phillips #1 screwdriver to remove the nine 6 mm screws.

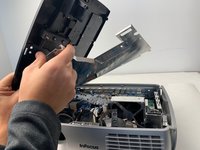
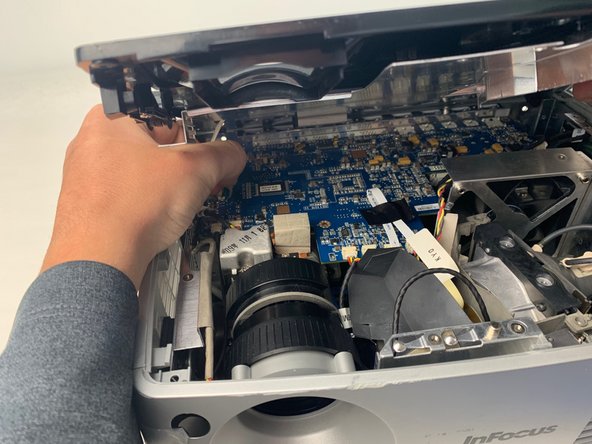
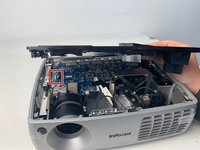
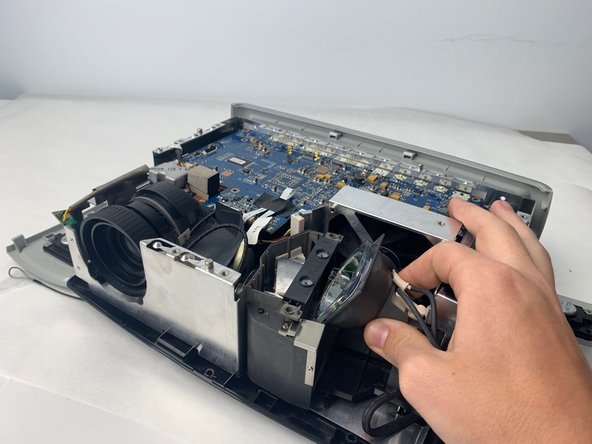
    • Lift up the metal cover and set it aside to reveal the motherboard.

  4. InFocus IN3104 Lamp Replacement: paso 4, imagen 1 de 3 InFocus IN3104 Lamp Replacement: paso 4, imagen 2 de 3 InFocus IN3104 Lamp Replacement: paso 4, imagen 3 de 3
    • Carefully pry up the black plastic locking bar of the ZIF connector on the motherboard with a plastic spudger.

    • Pull out the blue-tipped, white ribbon cable from the connector.

    • Remove the metal cover.

  5. InFocus IN3104 Lamp Replacement, Lamp: paso 5, imagen 1 de 3 InFocus IN3104 Lamp Replacement, Lamp: paso 5, imagen 2 de 3 InFocus IN3104 Lamp Replacement, Lamp: paso 5, imagen 3 de 3
    • Use a Phillips #0 screwdriver to remove the four 6 mm screws.

    • You may need to use a flexible extender to help remove the screws easily.

  6. InFocus IN3104 Lamp Replacement: paso 6, imagen 1 de 3 InFocus IN3104 Lamp Replacement: paso 6, imagen 2 de 3 InFocus IN3104 Lamp Replacement: paso 6, imagen 3 de 3
    • Remove the lamp power cable situated beside the lamp by pulling it straight out.

    • Remove the lamp by pulling it straight out from the device.

Conclusión

To reassemble your device, follow these instructions in reverse order.

0Guía Comentarios

Agregar Comentario

Ver Estadísticas:

Ultimas 24 horas: 0

Ultimos 7 días: 0

Ultimos 30 días: 0

Todo El Tiempo: 662