
How to Install Handlebar Tape
Introducción
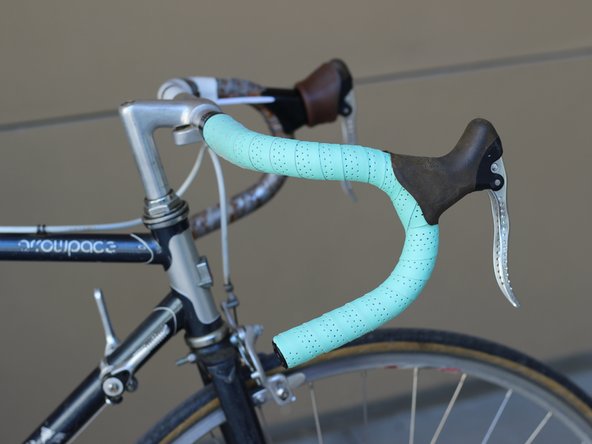
Ir al paso 1This guide will demonstrate how to wrap handlebar tape on a road bike with dropout-style handlebars.
Qué necesitas
Partes

Herramientas

-
-
Peel off the adhesive covering from the back of the bar tape.
-
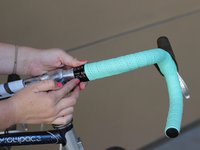
Place one end of the bar tape around the handlebar, making sure to leave a half inch extended past the end of the handlebar.
-
Begin tightly wrapping the bar tape clockwise around the handlebar so that the bar tape overlaps itself slightly.
-
-


Cancelar: No complete esta guía.
Una persona más ha completado esta guía.
Equipo

UC Davis, Team S2-G7, Cole Spring 2017 Miembro de UC Davis, Team S2-G7, Cole Spring 2017
UCD-COLE-S17S2G7
3 Miembros
1 Guía escrita