
Hoover Rogue 970 Battery Replacement

Introducción
Ir al paso 1This guide is for the Hoover Rogue 970 (Model BH70970) Smart Vacuum.
If your Hoover Rogue 970 is failing to charge or turn on, this may be an issue with your battery.
The battery is what holds the charge for your device. If this battery is affected, then there will be issues with your device receiving power that allows it to function.
There are potential hazards when replacing the battery on this device such as the battery being swollen. If the battery is swollen look here for proper removal techniques.
Qué necesitas
Herramientas

-
-
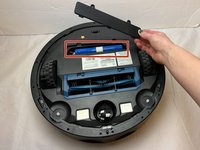
Flip the vacuum over so that the battery cover is facing up.
-
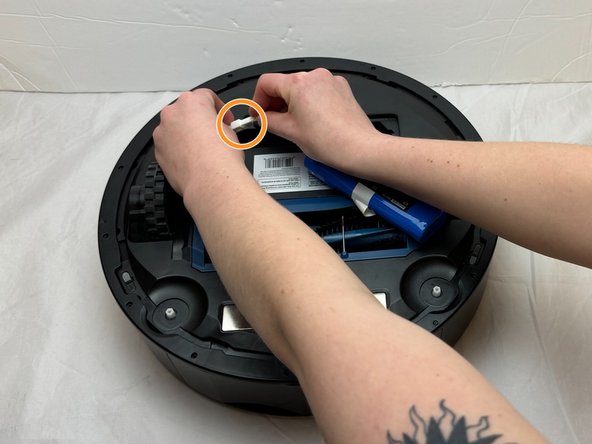
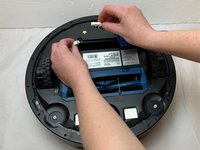
Locate the battery cover.
-
-


To reassemble your device, follow these instructions in reverse order.
To reassemble your device, follow these instructions in reverse order.

Equipo

Eastern Washington University, Team 1-1, Carnegie Fall 2023 Miembro de Eastern Washington University, Team 1-1, Carnegie Fall 2023
EWU-CARNEGIE-F23S1G1
Miembros de 4
8 Guías creadas