
HP Spectre x360 15-bl012dx Display Assembly
Introducción
Ir al paso 1Sometimes, certain pixels get stuck and can look like green, red, or black dots on the screen. One option to fix this is to take a soft cloth and gently rub around the stuck pixel in a circular motion, which lightens up the dead pixel. If this does not work, you may need to replace the Display Assembly.
If your camera is not working, you could either have an outdated camera driver, or the camera itself is faulty. Since you cannot only replace the camera, replacing the display assembly not only replaces the monitor, but the camera as well.
Before starting this guide, please be sure to review the Troubleshooting page for extra information on the LCD monitor and camera.
Be sure to check and see if your device is under warranty before you being disassembly. Please note this is for the HP Spectre x360 15-bl012dx.
Prior to beginning the repair, be sure to turn off the device and unplug it from the power adapter.
Qué necesitas


-
-
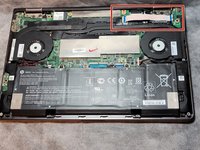
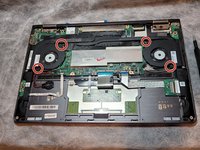
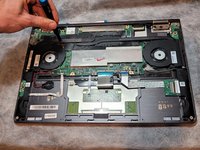
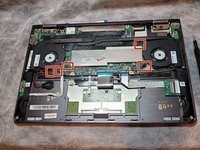
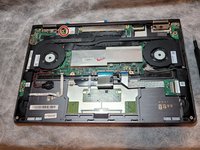
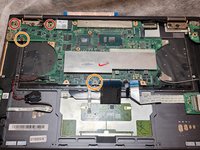
Place the computer so that the back panel is facing up. Begin by removing the two visible Torx T5 9 mm screws near the hinges.
-
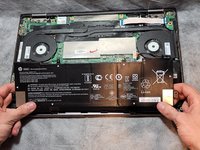
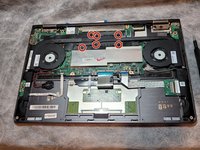
Next, remove the four visible Torx T5 3 mm on the sides.
-
-
-
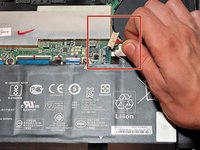
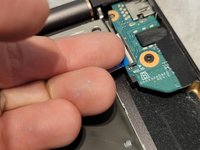
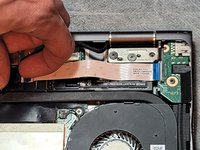
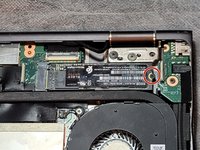
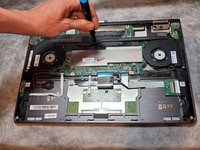
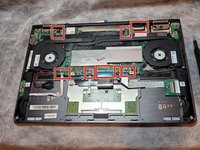
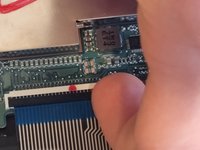
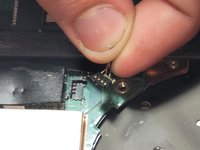
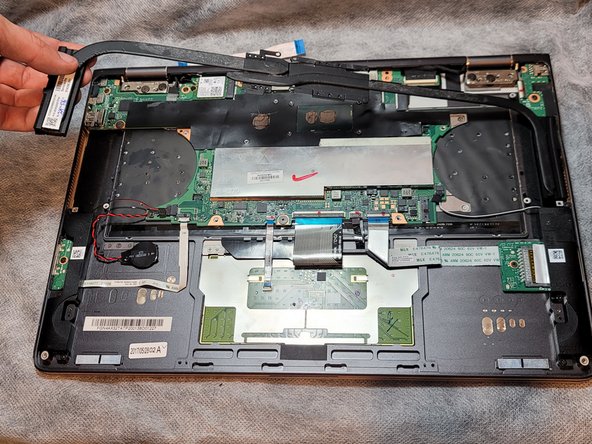
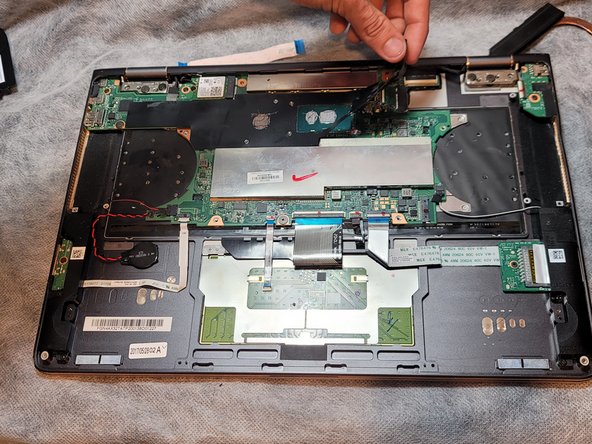
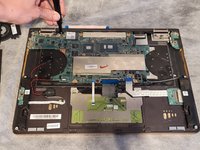
Using minimal force, lift the locking bars on the USB board ZIF connector using a plastic opening tool or fingernail and pull out the ribbon cable.
-
-
-
-
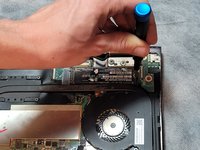
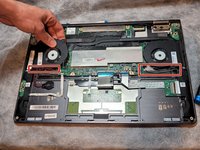
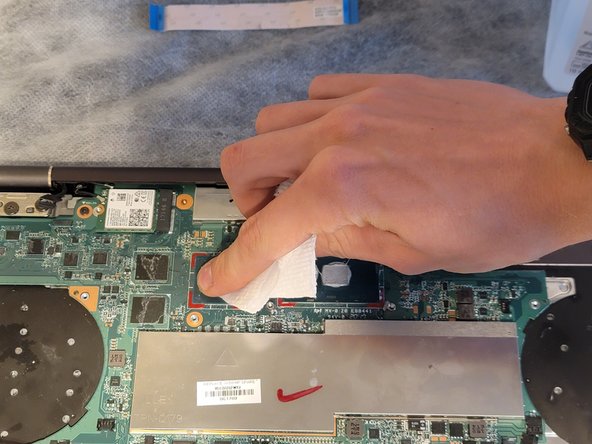
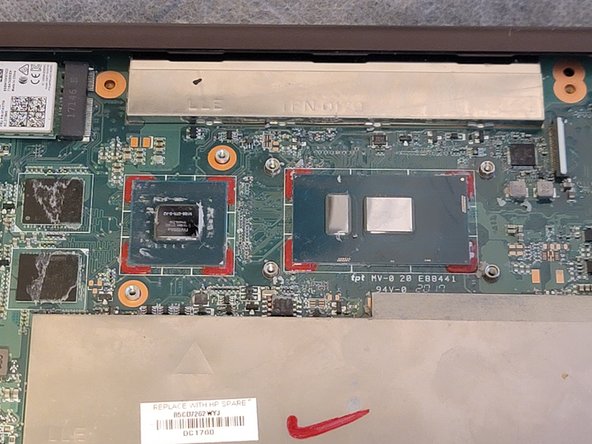
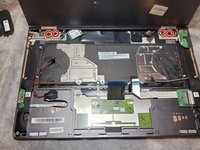
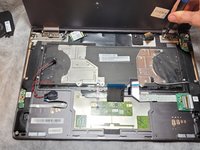
Clean the old thermal paste off of the heat sink, cpu, and gpu using isopropyl alcohol and a paper towel. The higher the percentage of the alcohol, the better. I used 91%.
-
Remember to apply thermal paste before installing the new motherboard with fresh thermal paste! A pea sized amount is plenty.
-
-
-
Open the laptop so the screen is facing you.
-
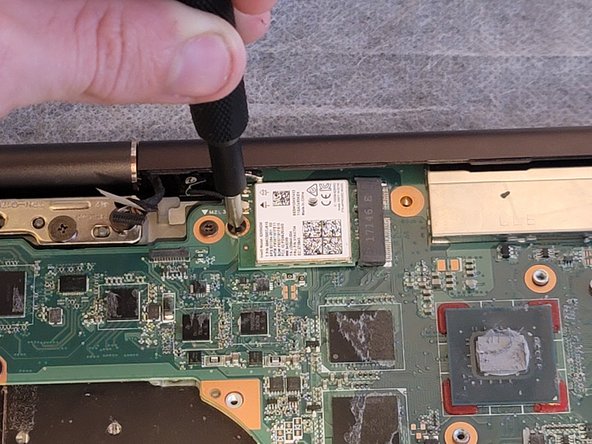
Using a Phillips #1 screwdriver, remove two 5 mm screws from each hinge.
-


To reassemble your device, follow these instructions in reverse order.
To reassemble your device, follow these instructions in reverse order.
Cancelar: No complete esta guía.
Una persona más ha completado esta guía.
Equipo

Clemson, Team 1-1, Hunter Spring 2022 Miembro de Clemson, Team 1-1, Hunter Spring 2022
CLEM-HUNTER-S22S1G1
5 Miembros
5 Guías creadas
Un comentario
en mi caso tuve que usar una secadora de pelo para darle calor a las partes de cinta "doble pega" y aun asi, me di cuenta una vez desensamblada la pantalla que la pantalla touch y la de video venian tambien pegadas de la misma manera y esta segunda parte no se explica en este video.