
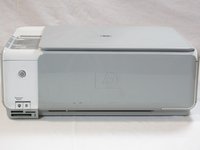
HP Photosmart c3180 Scanner Glass Replacement
Qué necesitas
Herramientas


-
-
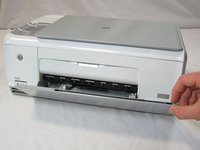
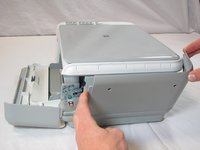
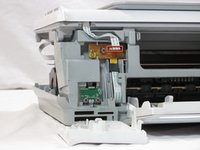
Rotate the printer 90 degrees counter clockwise so that the side panel next to control panel is facing you.
-
Remove the two T10 12mm Torx screws from the left side panel.
-
-
-
-
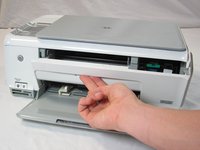
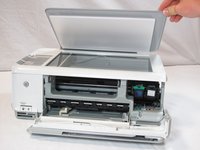
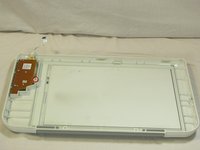
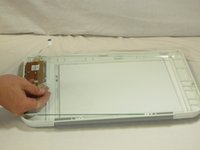
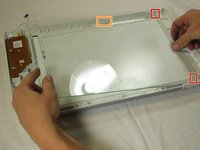
Set aside the printer body.
-
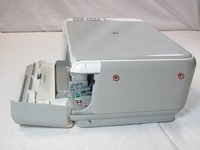
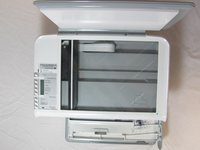
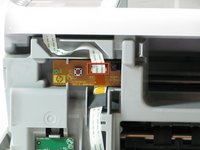
Unscrew the T10 12 mm Torx screw.
-
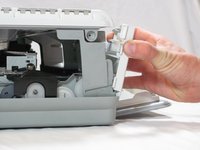
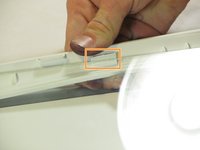
Remove the plastic tab holding the glass in place.
-


To reassemble your device after replacing the glass, follow these instructions starting from the removal of the top panel in reverse order.
To reassemble your device after replacing the glass, follow these instructions starting from the removal of the top panel in reverse order.
Cancelar: No complete esta guía.
2 personas más completaron esta guía.
Equipo

Cal Poly, Team 20-30, Maness Fall 2011 Miembro de Cal Poly, Team 20-30, Maness Fall 2011
CPSU-MANESS-F11S20G30
Miembros de 4
25 Guías creadas
Un comentario
If I hadn't already taken mine all the way apart to clean it up good this is all I needed to do to start off with. Good direction step by step. Thanks