
HP Envy m6-1225dx Speakers Replacement
Introducción
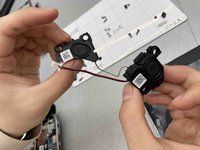
Ir al paso 1Hp Envy M6-1225dx speakers (includes cables and 4 rubber isolators) part number 686925-001
This laptop has Built-in Beats Audio speakers that provide the user with high-quality sound performance.
This guide will show the user how to remove the speakers if they require replacement.
Speakers work by use of an electromagnet on the back of the speaker cone that uses a magnetic field to vibrate the cone and produce sound
Check out the Troubleshooting guide for other issues that could be related to the speakers.
Qué necesitas


-
-
Herramienta utilizada en este paso:Tweezers$4.99
-
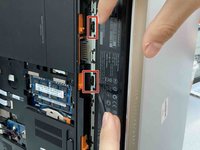
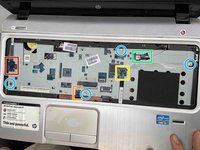
Disconnect Power button board cable using a pair tweezers.
-
Disconnect Touch Pad button board cable using a pair tweezers.
-
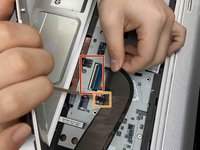
Disconnect Fingerprint reader board cable using a pair tweezers.
-
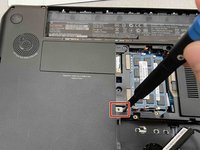
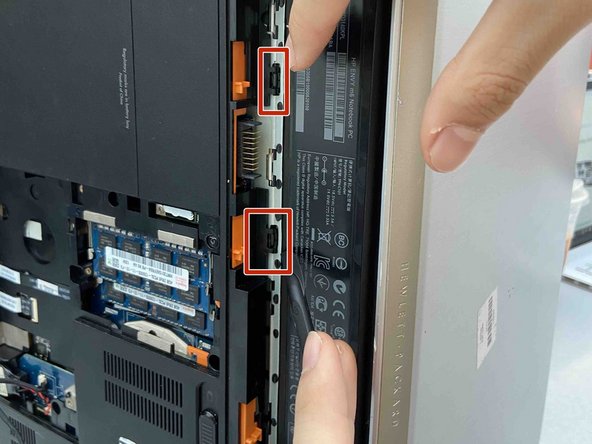
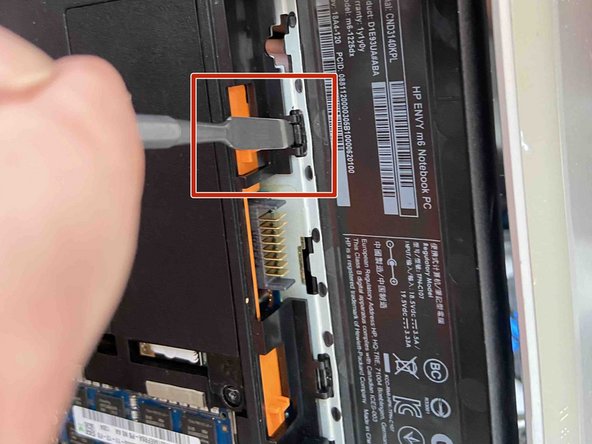
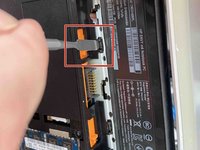
Disconnect Right speaker cable using a pair tweezers.
-
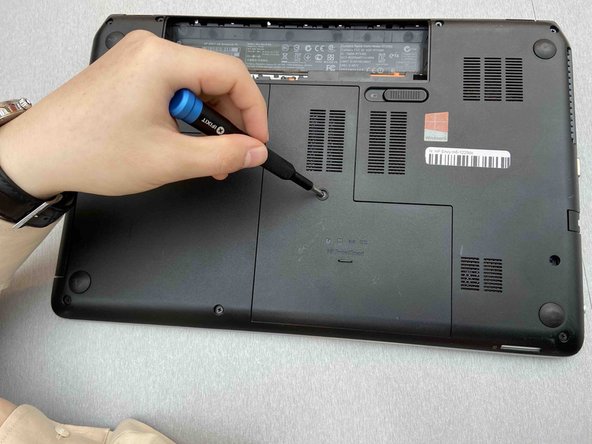
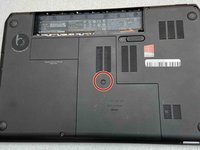
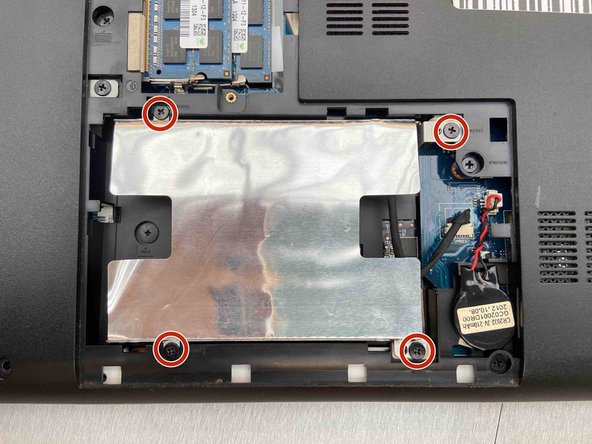
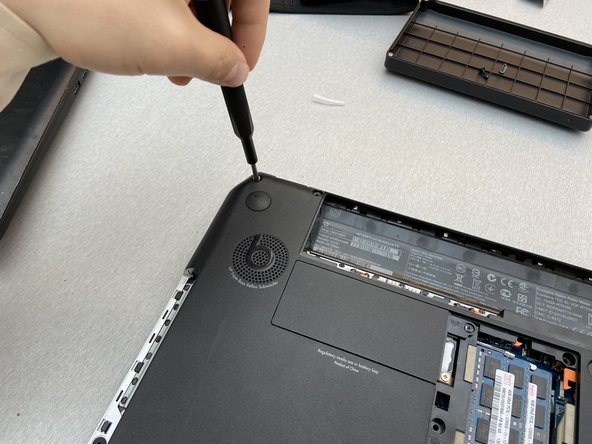
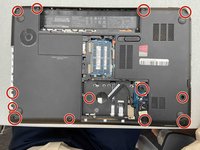
Remove the 4 screws using a Phillips #1 screwdriver.
-
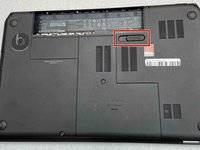
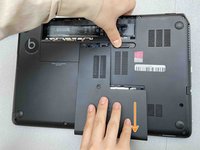
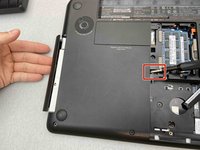
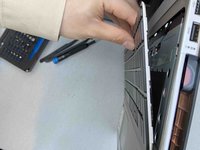
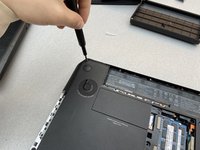
Apply force to the base of the cover to pop if off from the laptop base.
-
-
-
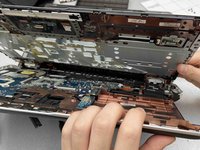
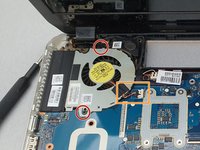
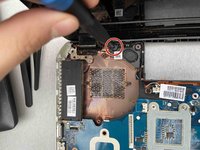
Remove the one screw on the left speaker with a Phillips #1 screwdriver.
-
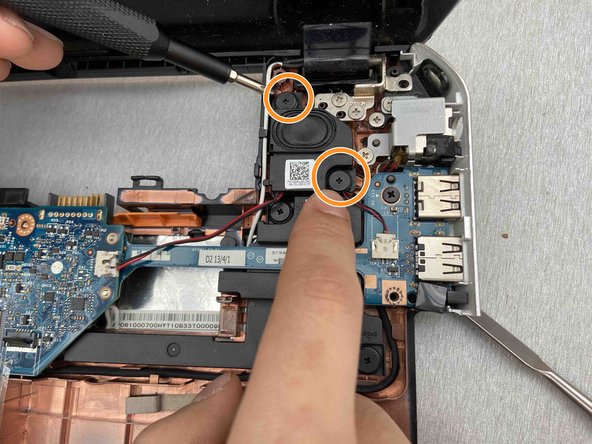
Remove the two screws on the right speaker with a Phillips #1 screwdriver.
-
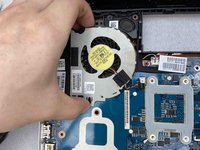
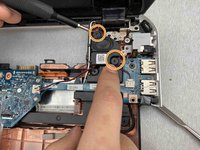
Lift the speakers straight out to remove them.
-


To reassemble your device, follow these instructions in reverse order.
To reassemble your device, follow these instructions in reverse order.
Equipo

Embry-Riddle Aeronautical University, Team S14-G3, Lamothe Spring 2020 Miembro de Embry-Riddle Aeronautical University, Team S14-G3, Lamothe Spring 2020
ERAU-LAMOTHE-S20S14G3
Miembros de 5
5 Guías creadas