
HP Envy X2-15-C001Dx Hard Drive Replacement
Introducción
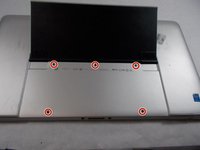
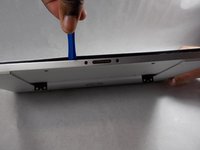
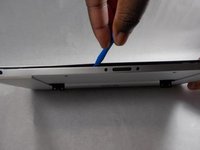
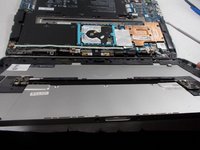
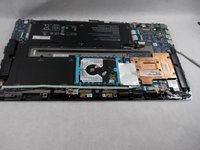
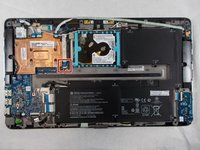
Ir al paso 1This guide will explain how to remove and replace the hard drive in the HP Envy X2-15-C001Dx.
The hard drive is the part of the computer that stores and retrieves data. Replacing the hard drive can solve different problems such as irregular noises and computer crashes.
Be sure to back up your hard drive before replacing.
Qué necesitas


-
-
-
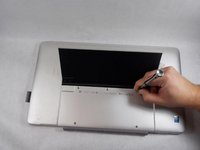
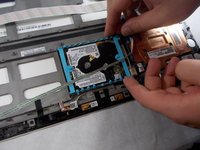
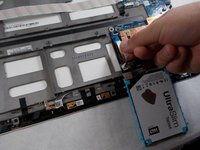
Lift the hard drive out from its slot, taking care not to tear the ribbon cable that is connecting it to the motherboard.
-
Unplug the hard drive from the motherboard.
-
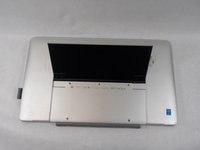
Completely remove the hard drive from the laptop.
-


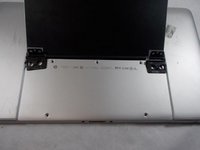


To reassemble your device, follow these instructions in reverse order.
To reassemble your device, follow these instructions in reverse order.
Cancelar: No complete esta guía.
2 personas más completaron esta guía.
Equipo

UMass Dartmouth, Team 2-6, Sinclaire Fall 2021 Miembro de UMass Dartmouth, Team 2-6, Sinclaire Fall 2021
UMASSD-SINCLAIRE-F21S2G6
Miembros de 3
6 Guías creadas