
HP Envy Ultrabook 4-1015dx Battery Replacement
Introducción
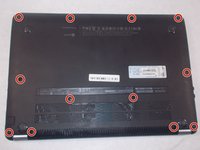
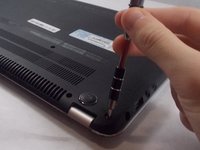
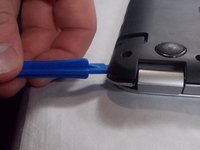
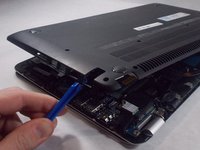
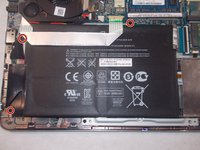
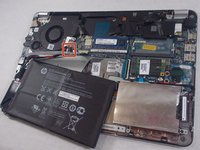
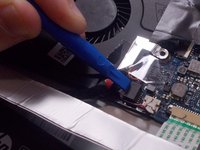
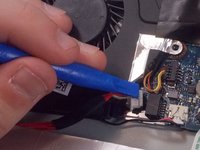
Ir al paso 1This repair requires a size 0 Phillips head screwdriver and a plastic opening tool. If you think that you are having an issue with your battery, but are not sure, follow this guide to access the battery for troubleshooting purposes. In addition, if you have determined that there is a problem with the battery and you have obtained a replacement, you can use this guide to replace the battery as well.
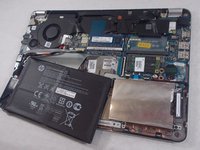
Removing the battery may be a necessary prerequisite for performing replacement of a different part of the device as well. In this case, this guide can also be useful for learning how to perform this first step.
Qué necesitas
Herramientas


-
-
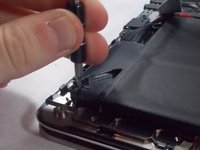
Make sure that the device is turned off and that all external devices are removed.
-
-


To reassemble your device, follow these instructions in reverse order.
To reassemble your device, follow these instructions in reverse order.
Equipo

UMass Dartmouth, Team S1-G3, Valliere Fall 2018 Miembro de UMass Dartmouth, Team S1-G3, Valliere Fall 2018
UMASSD-VALLIERE-F18S1G3
5 Miembros
6 Guías creadas