
HP Envy TouchSmart 15 CMOS Battery Replacement
Introducción
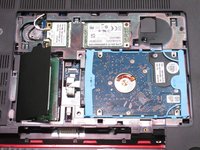
Ir al paso 1Upon boot up, the computer may read a “CMOS checksum error,” or date and time keep getting reset. If this is the error you are receiving you should replace your CMOS Battery.
Qué necesitas


-
-
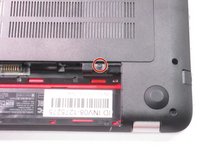
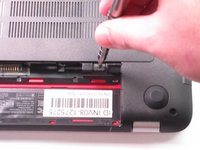
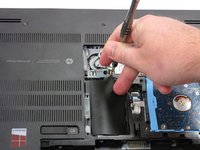
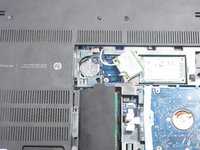
Remove the single screw holding the accessory plate. This is a PH0 2.0x2.5 screw.
-
-
-
-
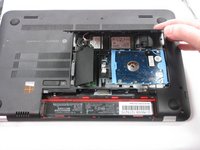
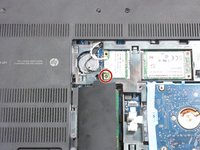
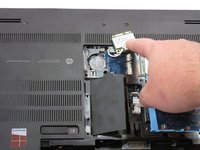
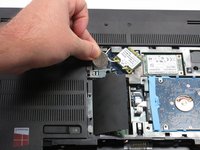
Remove the screw from the wireless adapter with a PH0 screwdriver then move the adapter out of the way to access the CMOS battery.
-


To reassemble your device, follow these instructions in reverse order.
To reassemble your device, follow these instructions in reverse order.
Cancelar: No complete esta guía.
Una persona más ha completado esta guía.
Equipo

USF Tampa, Team 2-6, Sullivan Fall 2015 Miembro de USF Tampa, Team 2-6, Sullivan Fall 2015
USFT-SULLIVAN-F15S2G6
4 Miembros
10 Guías creadas