
HP Elitebook 8460p Keyboard Replacement

Introducción
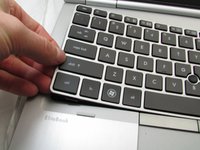
Ir al paso 1If the keyboard is bad or malfunctioning, use this guide to replace the keyboard or check the keyboard connections on the inside of the laptop.
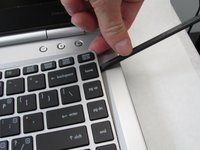
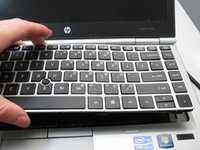
This guide requires a bit of prying to unsnap the keyboard from the laptop chassis. Following the instructions, pry carefully and do not force anything to avoid breaking any components.
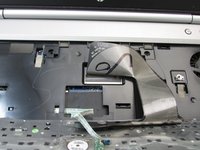
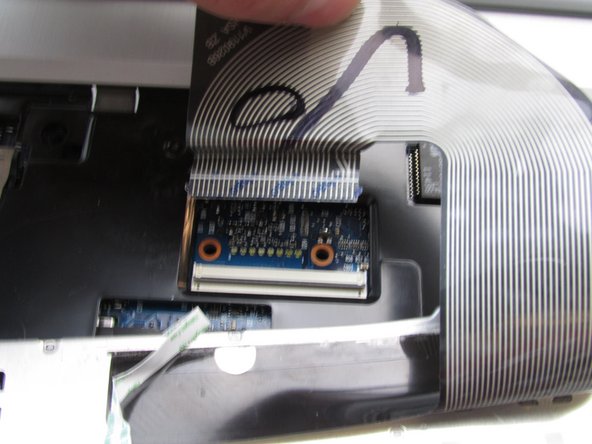
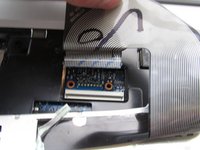
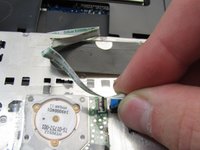
The keyboard has two electrical connectors that attach to the motherboard. Before touching the connectors, make sure you are properly grounded to avoid damaging the motherboard itself.
To complete this guide you will need a Phillips #0 screw driver; an ESD strap; and a thin, sturdy plastic pry tool.
Qué necesitas


-
-
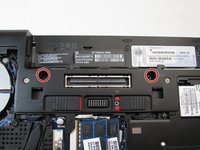
On the back of the computer, slide the left switch towards the outside of the laptop until you hear a click.
-
-
-
On the back of the laptop, slide the right switch toward the outside of the laptop until you hear a click.
-
-
-
-
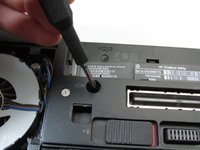
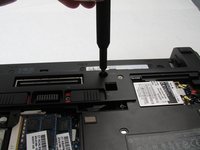
Using a Phillips #0 bit, unscrew the two screws in front of the battery slot located on the bottom of the laptop.
-


To reassemble your device, follow these instructions in reverse order.
To reassemble your device, follow these instructions in reverse order.
Cancelar: No complete esta guía.
3 personas más completaron esta guía.

Equipo

Embry-Riddle Aeronautical University, Team S12-G1, Lamothe Fall 2019 Miembro de Embry-Riddle Aeronautical University, Team S12-G1, Lamothe Fall 2019
ERAU-LAMOTHE-F19S12G1
4 Miembros
10 Guías creadas
2 comentarios
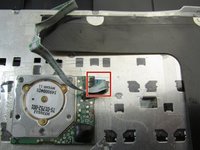
There's a third keyboard screw right beside the fan
yeah just wanted to say this ...
Also the screws are PH1 not PH0