Saltar al contenido principal
Epson VS240 Buttons Replacement

Epson VS240 Buttons Replacement

Tyler Kelly

Tyler Kelly y 3 otros contribuidores

Última actualización: June 20, 2022

20 - 40 minutos
Moderado
Necesita más imágenes

Introducción

Ir al paso 1

This guide explains how to replace the buttons on the Epson VS240. The buttons control many functions of the device, and if one or more have stopped functioning, it may be necessary to replace them. Special requirements include a Phillips #1 screwdriver and having a gentle touch, because the piece you'll be fixing is very delicate.

Power down and unplug the projector before beginning.

Qué necesitas

Herramientas

iFixit gana una comisión si finalizas una compra usando estos enlaces.
  1. Epson VS240 Buttons Replacement, Shell: paso 1, imagen 1 de 3 Epson VS240 Buttons Replacement, Shell: paso 1, imagen 2 de 3 Epson VS240 Buttons Replacement, Shell: paso 1, imagen 3 de 3
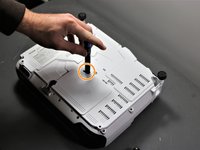
    • Using the Phillips #2 screwdriver, loosen the single captive screw on the left side of the projector.

    • The captive screw will loosen, but it cannot be fully removed.

    • Slide the panel off and remove it from the device.

  2. Epson VS240 Buttons Replacement: paso 2, imagen 1 de 2 Epson VS240 Buttons Replacement: paso 2, imagen 2 de 2
    • Use the Phillips #2 screwdriver to remove the three 5 mm screws.

    • Using the same Phillips #2 screwdriver, remove the single 8 mm silver screw.

  3. Epson VS240 Buttons Replacement: paso 3, imagen 1 de 1
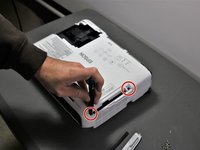
    • Use a Phillips #1 screwdriver to remove the two 10 mm silver screws from the bottom of the device.

  4. Epson VS240 Buttons Replacement: paso 4, imagen 1 de 1
    • Use a Phillips #1 screwdriver to remove the single 10 mm screw where the panel was removed in Step 1.

    • Remove the white back plate from the device.

  5. Epson VS240 Buttons Replacement: paso 5, imagen 1 de 3 Epson VS240 Buttons Replacement: paso 5, imagen 2 de 3 Epson VS240 Buttons Replacement: paso 5, imagen 3 de 3
    • Flip the projector over so that the underside (side with the feet) is facing you.

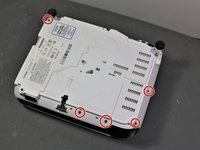
    • Use a Phillips #1 screwdriver to remove five 10 mm screws on the underside of projector.

    • Using the same Phillips #1 screwdriver, remove a single 10 mm screw in the center hole.

    • You may need to use a screwdriver extender to reach the single screw.

  6. Epson VS240 Buttons Replacement: paso 6, imagen 1 de 3 Epson VS240 Buttons Replacement: paso 6, imagen 2 de 3 Epson VS240 Buttons Replacement: paso 6, imagen 3 de 3
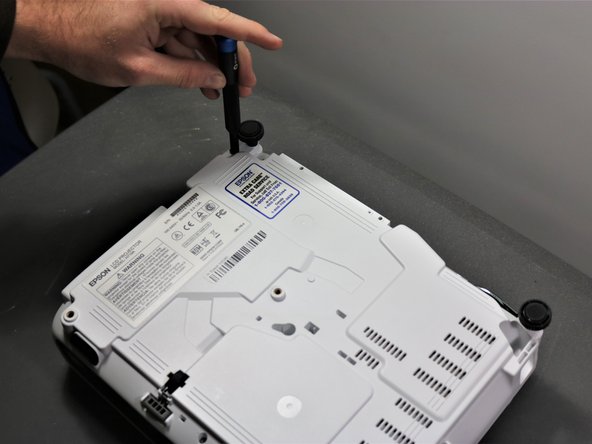
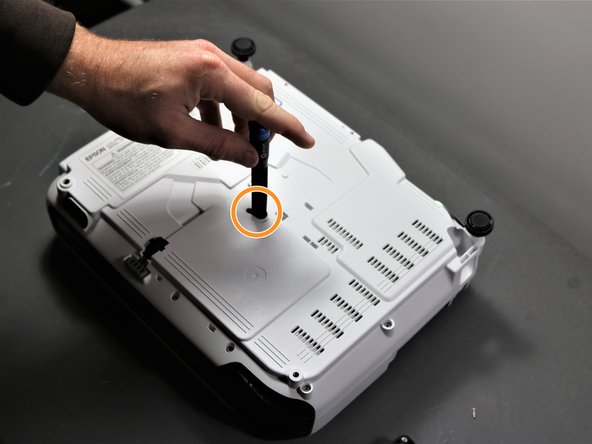
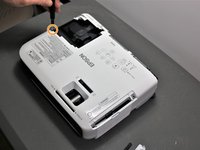
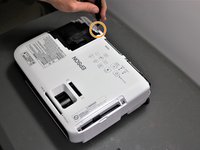
    • Use a Phillips #1 screwdriver to remove two 10 mm screws from the openings on each side of the air filter, on the topside of the projector.

    • You may need to use a screwdriver extender to reach the two screws.

    • Using the same Phillips #1 screwdriver, remove the two 10 mm screws where the white panel was removed on the topside of the projector in Step 1.

  7. Epson VS240 Buttons Replacement: paso 7, imagen 1 de 2 Epson VS240 Buttons Replacement: paso 7, imagen 2 de 2
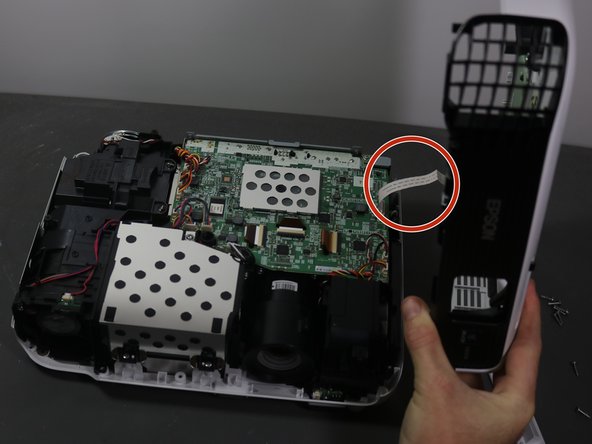
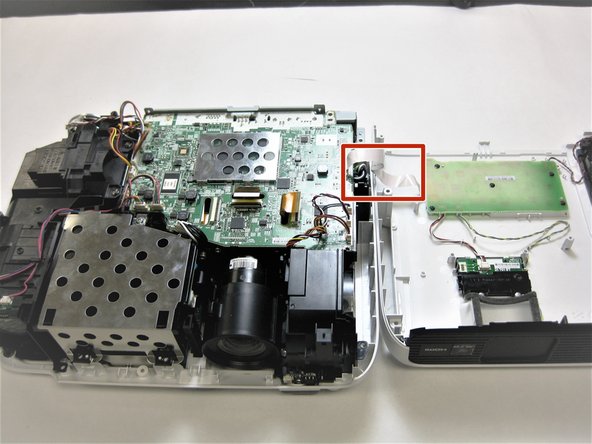
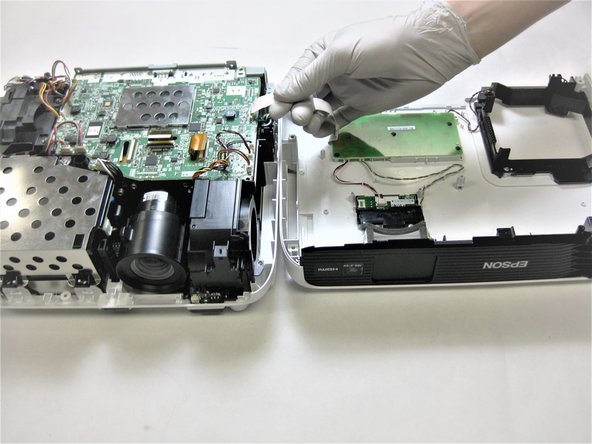
    • Be careful when removing the top cover of projector as there is as white ribbon cable connecting it to the motherboard.

    • Gently lift top cover and place it on its top next to the projector so that the ribbon has no tension on it.

    • Gently pull the brown tape connecting the cable to the motherboard and then remove the shell from the device.

  8. Epson VS240 Buttons Replacement, Buttons: paso 8, imagen 1 de 3 Epson VS240 Buttons Replacement, Buttons: paso 8, imagen 2 de 3 Epson VS240 Buttons Replacement, Buttons: paso 8, imagen 3 de 3
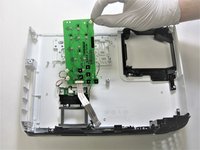
    • Gently disconnect the white ribbon cable connecting the motherboard to the button panel.

  9. Epson VS240 Buttons Replacement: paso 9, imagen 1 de 3 Epson VS240 Buttons Replacement: paso 9, imagen 2 de 3 Epson VS240 Buttons Replacement: paso 9, imagen 3 de 3
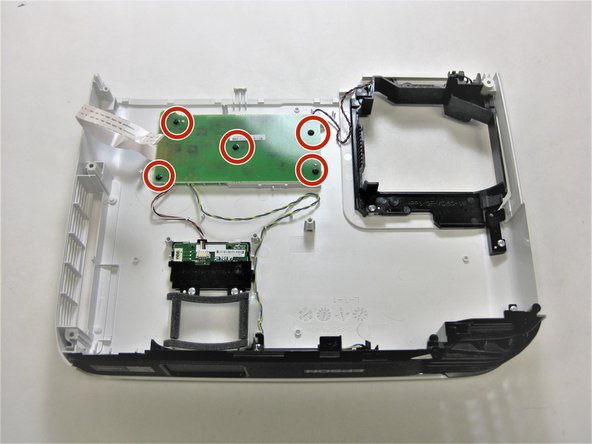
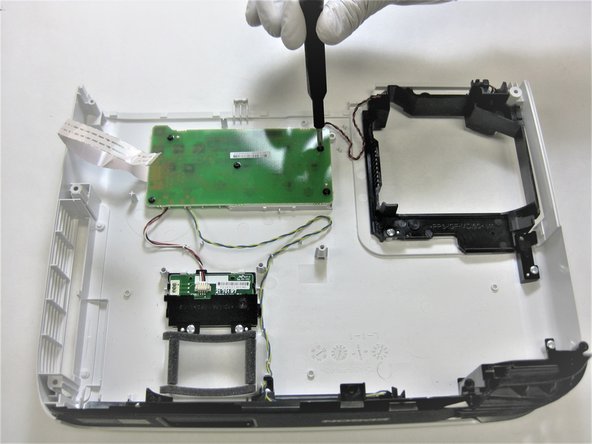
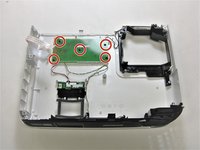
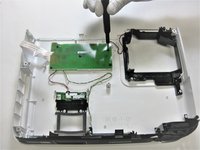
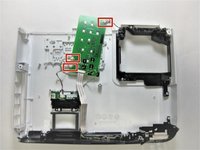
    • Use a Phillips #1 screwdriver to remove the five 3 mm screws securing the button panel to the shell.

  10. Epson VS240 Buttons Replacement: paso 10, imagen 1 de 3 Epson VS240 Buttons Replacement: paso 10, imagen 2 de 3 Epson VS240 Buttons Replacement: paso 10, imagen 3 de 3
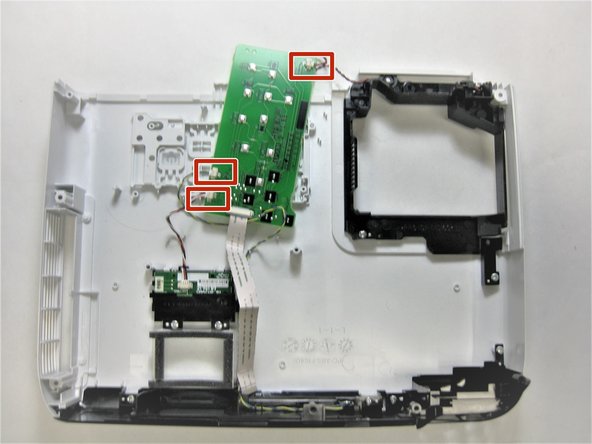
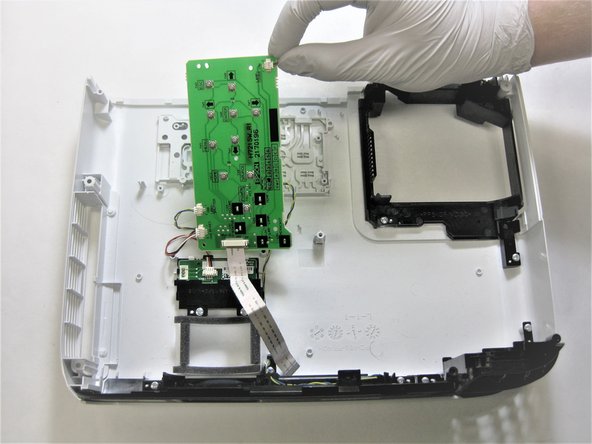
    • Disconnect the three cables connected to the button panel.

    • Lift the button panel up and out.

Conclusión

To reassemble your device, follow these instructions in reverse order.

0 comentarios

Agregar Comentario

Ver Estadísticas:

Ultimas 24 horas: 0

Ultimos 7 días: 0

Ultimos 30 días: 1

Todo El Tiempo: 80