
Disassembling Nokia 3100b Microphone

Introducción
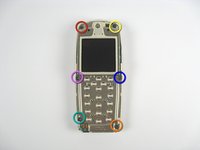
Ir al paso 1This guide will show you how to access the phone's microphone, the component that receives sound when making a call. This guide has a moderate difficulty and should only take about 15-20 minutes!
Qué necesitas
Herramientas

-
-
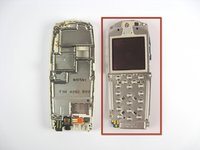
Gently pull back the small metal frame holding the SIM card into place, and lift open the frame.
-


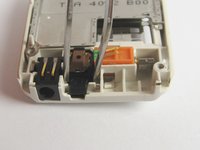

To reassemble your device, follow these instructions in reverse order.
To reassemble your device, follow these instructions in reverse order.
Cancelar: No complete esta guía.
Una persona más ha completado esta guía.

Equipo

Cal Poly, Team 29-64, Johann Spring 2010 Miembro de Cal Poly, Team 29-64, Johann Spring 2010
CPSU-JOHANN-S10S29G64
3 Miembros
8 Guías creadas