
Disassembling Canon PowerShot SD700 Lens
Introducción
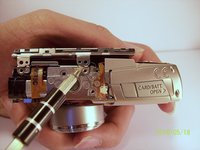
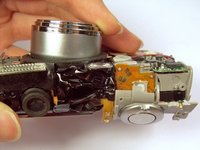
Ir al paso 1This guide is used to disassemble the lens from the camera. This will be used to further clean the lens if you experience the E18 error.
Qué necesitas
Herramientas

-
-
Remove the two screws that connect the LCD and backlight to the main body of the camera.
-
-
-
Herramienta utilizada en este paso:Tweezers$4.99
-
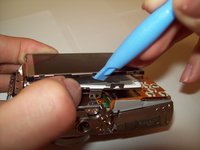
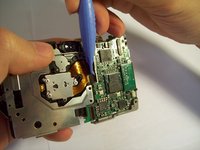
Unplug the ribbon from the housing on the circuitry.
-
Take the new ribbon and insert it into the housing.
-
Tweezers or a tool with a sharp point can be used.
-
-
-
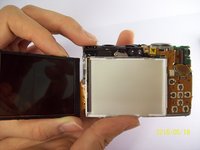
Detach the LCD and backlight.
-
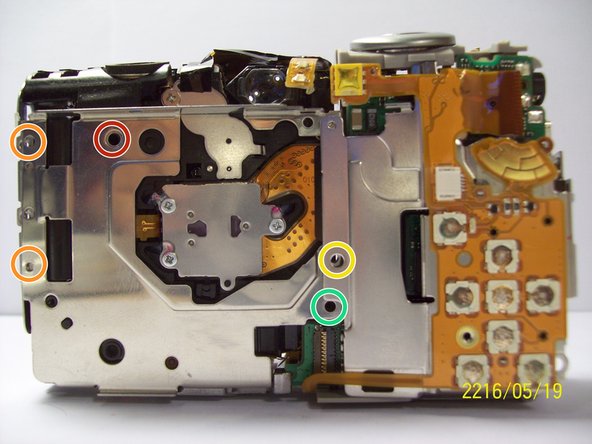
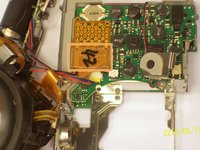
Remove the larger screw.
-
Remove the two smaller sized screws.
-
Remove the small screw.
-
Remove the small screw.
-
-
-
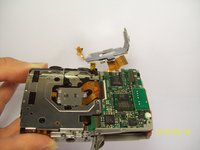
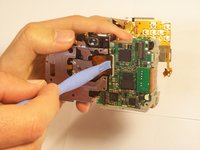
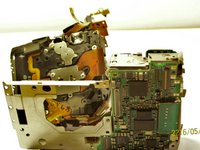
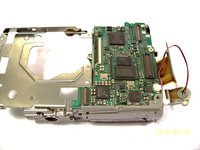
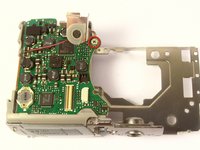
With the motherboard casing detached, remove the short orange ribbon by lifting the ZIF connector with a spudger or other plastic opening tools and slide the ribbon out. Detaching this ribbon will disconnect the side of the camera containing the motherboard from the rest of the camera.
-
-
-
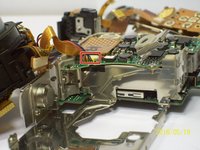
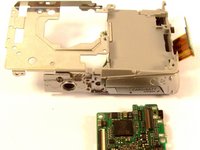
Once you have removed the lens from the main chassis, gently brush off any dirt, sand, or dust that may have accumulated in the crevices. Using a compressed air canister or a brush can help remove all the dirt.
-


To reassemble your device, follow these instructions in reverse order.
To reassemble your device, follow these instructions in reverse order.
Cancelar: No complete esta guía.
2 personas más completaron esta guía.
Equipo

Cal Poly, Team 9-71, Walters Spring 2011 Miembro de Cal Poly, Team 9-71, Walters Spring 2011
CPSU-WALTERS-S11S9G71
Miembros de 4
9 Guías creadas