
Dell XPS 15 9550 Solid State Drive Replacement
Introducción
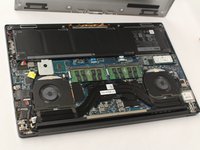
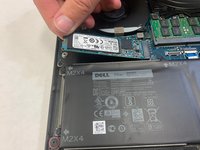
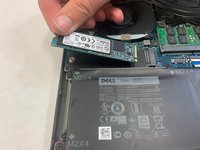
Ir al paso 1The may need to be replaced if you are running out of storage space, or if you have saved files being corrupted. If the battery works but the computer will not boot up, it may be the SSD. On the Dell XPS 15 9550, it is easily accessible after the back panel is removed.
Qué necesitas
Kits de reparación
Estos kits contienen todas las piezas y herramientas necesarias para completar esta guía.


Partes


Herramientas


Ver más…
-
-
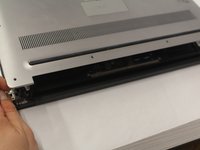
Turn the laptop upside down.
-
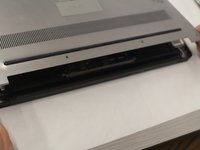
Use a T5 Torx Screwdriver to remove the ten 3 mm long screws from the perimeter of the back of the laptop.
-
-


To reassemble your device, follow these instructions in reverse order.
To reassemble your device, follow these instructions in reverse order.
Cancelar: No complete esta guía.
Una persona más ha completado esta guía.
Equipo

IUPUI, Team 2-4, Harley Spring 2022 Miembro de IUPUI, Team 2-4, Harley Spring 2022
IUPUI-HARLEY-S22S2G4
3 Miembros
3 Guías creadas