
Dell Vostro 3550 Display Assembly Replacement
30 minuto
Moderado
Introducción
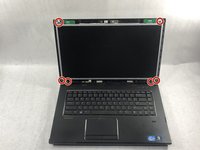
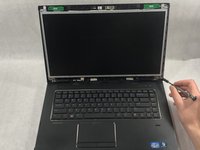
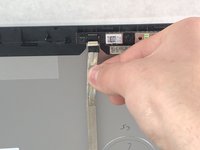
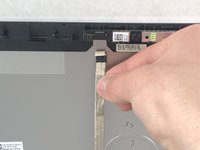
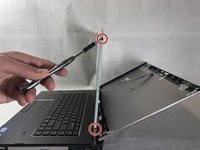
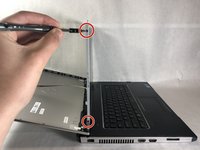
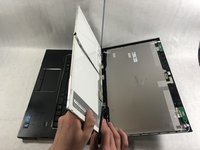
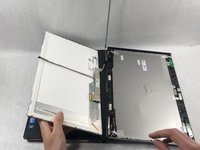
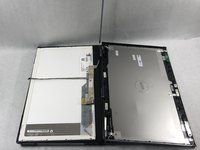
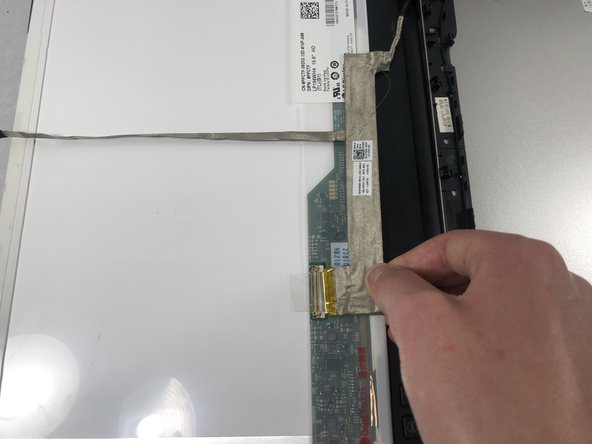
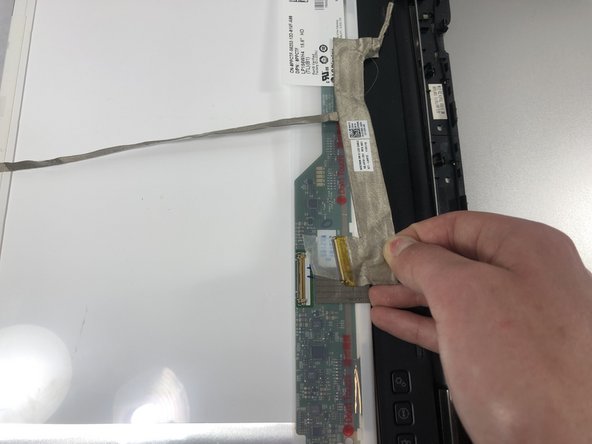
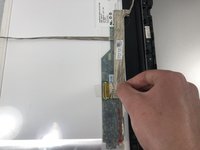
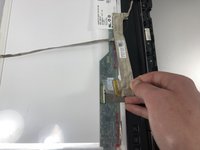
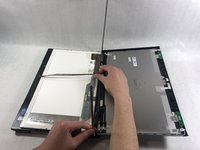
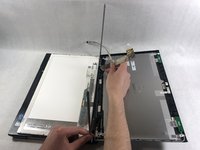
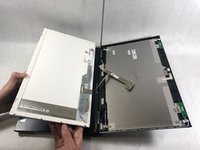
Ir al paso 1This guide will demonstrate how to replace the display assembly on the Dell Vostro 3550. This replacement may be needed if the screen is cracked or damaged. When performing the steps in this guide, be sure to exercise caution with all steps involving wires or cables.
Qué necesitas
Herramientas


Casi Terminas!
To reassemble your device, follow these instructions in reverse order.
Conclusión
To reassemble your device, follow these instructions in reverse order.
Equipo

UMass Dartmouth, Team S8-G6, Bailey Spring 2019 Miembro de UMass Dartmouth, Team S8-G6, Bailey Spring 2019
UMASSD-BAILEY-S19S8G6
3 Miembros
7 Guías creadas