Dell Vostro 1220 Hard Drive Replacement

Introducción
Ir al paso 1The aim of this tutorial is to replace the hard disk of the Dell Vostro 1220 laptop, which is a 2.5" format compatible with SSDs.
As the design is not really optimal for repair, a lot of components must be removed or disassembled to do so.
So, please be patient during disassembly, and good luck!
-
-
To remove the battery, unlock the two latches outwards (Orange) and hold them to remove the battery (Red)
-
-
-
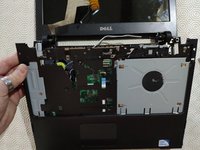
We're going to have to remove the top bar. To do this, simply unclip the edges carefully (no screws here).
-
The tablecloth is in the middle of the bar. We will remove it after the keyboard so be careful when handling not to tear it off
-
-
-
We have three screws to remove (red) below the bar that we unclipped in step 2 (be careful, the cable is still connected).
-
The keyboard unclips at the top and then removes by sliding upwards (the lower part inserts into the shell directly).
-
-
-
Disconnect the cable from the keyboard and the top bar so that you can remove the assembly and have access below.
-
-
-
-
To disconnect the CD player, turn the laptop over and remove the only screw that holds it.
-
Once the screw is removed, simply take out the CD player.
-
-
-
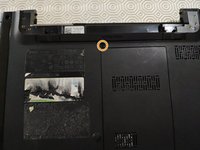
In order to disconnect the WiFi card, we will open the door by unscrewing two screws and unclipping the cover.
-
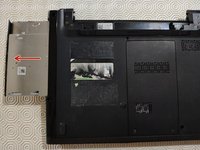
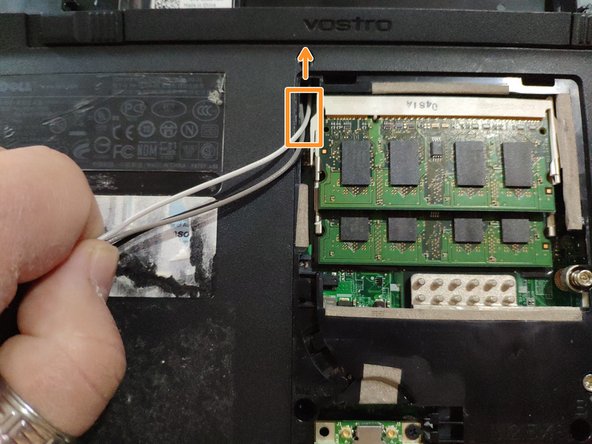
We then remove the two connectors from the Wi-Fi card.
-
Finally, we remove the cables from the front of the laptop (the Wi-Fi card is located behind the laptop but the antenna is located in the screen).
-
-
-
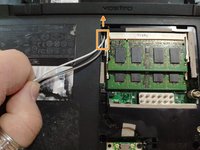
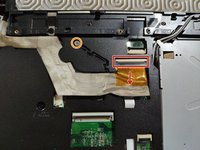
To disconnect the screen, we will detach the cable and the ground screw.
-
We will also disconnect the tablecloth from the motherboard.
-
-
-
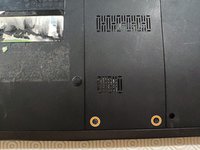
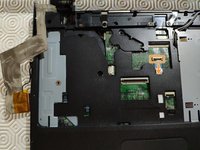
In order to detach the part of the shell below the keyboard, we will remove the last screws behind the laptop.
-
-
-
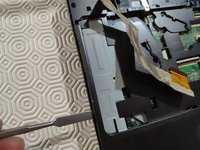
The upper part of the shell is removed by sliding down.
-
We will first unclip both sides and the top, then we will slide the shell down
-
-
-
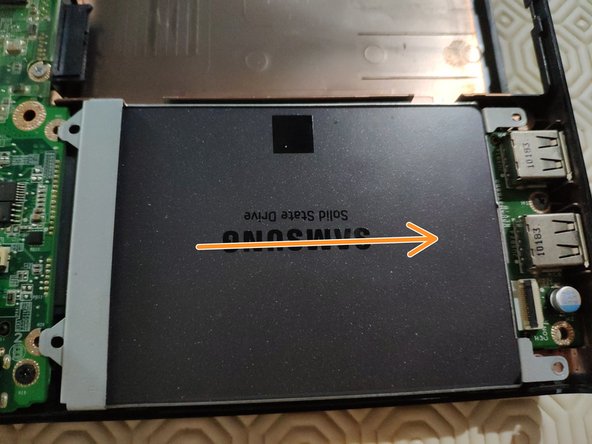
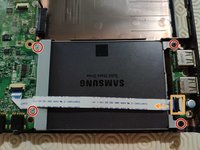
We will unscrew the hard drive cage as well as the tablecloth.
-
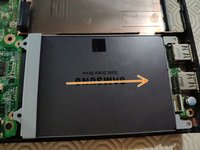
Then we slide the cage to the right.
-


To reassemble your device, follow the instructions in reverse order.
Pay attention to the alignment of the Wi-Fi button on the motherboard (at the bottom of the laptop) with that of the laptop shell when reassembly.
To reassemble your device, follow the instructions in reverse order.
Pay attention to the alignment of the Wi-Fi button on the motherboard (at the bottom of the laptop) with that of the laptop shell when reassembly.
Un agradecimiento especial a estos traductores:
100%


Estos traductores nos están ayudando a reparar el mundo! ¿Quieres contribuir?
Empezar a traducir ›