
Dell Studio 1558 Wi-Fi Card Replacement
Introducción
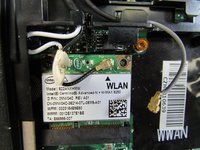
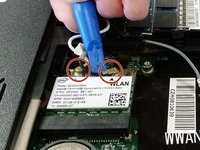
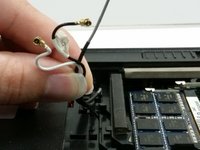
Ir al paso 1The Wi-Fi card on a computer is the key component when it comes to connecting to the internet. Most Wi-Fi cards are easy to remove or replace if needed, and the Dell Studio 1558's Wi-Fi card is no different. Care has to be taken in order to avoid damaging the connectors.
Qué necesitas
Herramientas


Ver más…
-
-
-
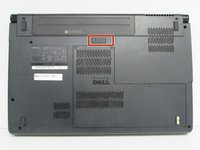
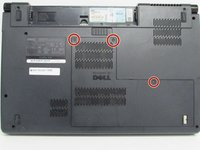
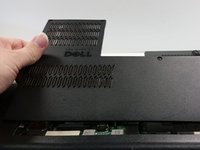
Unscrew the three screws (Phillips #0) on the back panel to reveal the innards underneath the panel. It is helpful to keep these screws in the holes of the back panel.
-
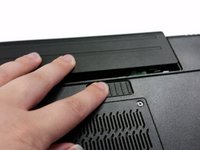
Pry the back panel off and set aside.
-


To reassemble your device, follow these instructions in reverse order.
To reassemble your device, follow these instructions in reverse order.
Equipo

IUPUI, Team 4-4, Beck Spring 2022 Miembro de IUPUI, Team 4-4, Beck Spring 2022
IUPUI-BECK-S22S4G4
4 Miembros
4 Guías creadas