
Dell Latitude 3190 Power Switch Board Replacement

Introducción
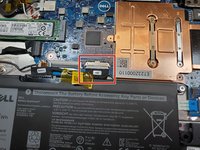
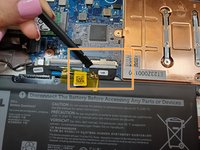
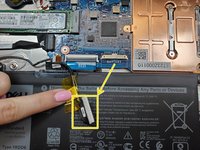
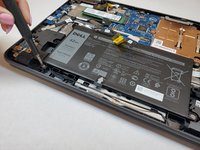
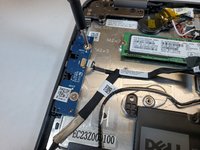
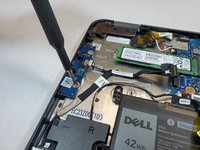
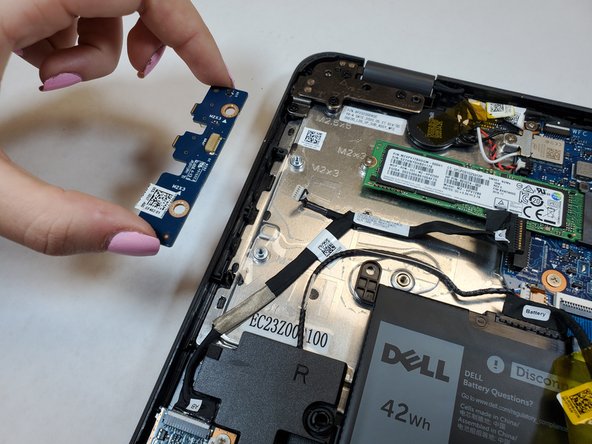
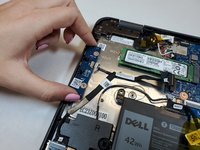
Ir al paso 1Turning your laptop on is a very important step in using your device. If you are unable to do this and/or your volume button no longer works properly, it may be time to replace the power switch board. The following guide outlines a step-by-step process in removing and replacing the power switch board on your Dell Latitude 3190.
The power switch board is a key component to tuning on your laptop and other components necessary to using the Dell Latitude 3190. This removal and replacement process requires no background experience and the list of needed tools are shown below.
Qué necesitas


-
-
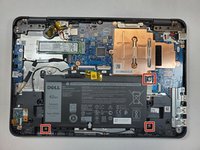
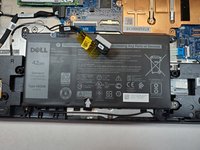
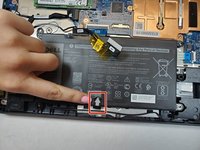
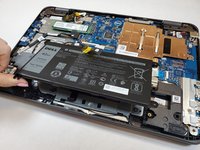
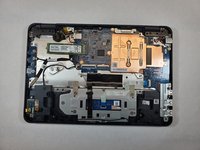
Use a Phillips #0 screwdriver to remove the seven 7 mm screws securing the back case.
-
-


To reassemble your device, follow these instructions in reverse order.
To reassemble your device, follow these instructions in reverse order.

Equipo

Gateway, Team 1-5, Saknee Fall 2021 Miembro de Gateway, Team 1-5, Saknee Fall 2021
GCC-SAKNEE-F21S1G5
3 Miembros
9 Guías creadas