
Dell Inspiron 13 7378 Back Cover Replacement
Introducción
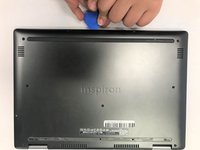
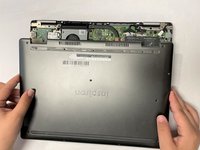
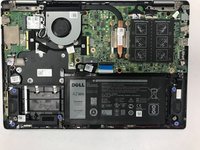
Ir al paso 1Need to access the hardware inside of your Dell Inspiron 13 7378 for a hardware fix? Or need to replace the back cover of your laptop due to physical damage? This replacement guide will guide you step by step on how to easily remove the back cover of your computer.
Qué necesitas


To reassemble your device, follow these instructions in reverse order.
To reassemble your device, follow these instructions in reverse order.
Cancelar: No complete esta guía.
2 personas más completaron esta guía.
Equipo

Gateway, Team 1-3, Saknee Spring 2022 Miembro de Gateway, Team 1-3, Saknee Spring 2022
GCC-SAKNEE-S22S1G3
Miembros de 5
16 Guías creadas