Cricut Maker Roller Bar Replacement

Introducción
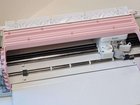
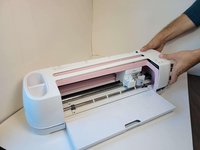
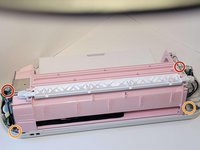
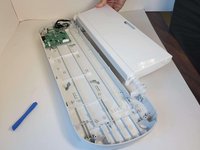
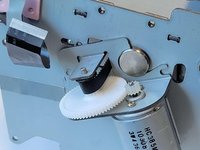
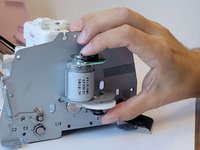
Ir al paso 1The roller bar mechanism of the Cricut Maker is the piece that allows the machine to create these designs and patterns. It rotates to keep the blades and engraving tips in line and precise.
If you find that your roller bar is not working, or it is damaged, this replacement guide is for you!
Before you begin the repair, be sure to turn the device off and unplug it from the outlet.
Qué necesitas
Herramientas


Ver más…
-
-
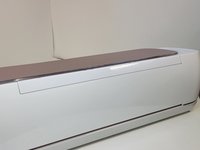
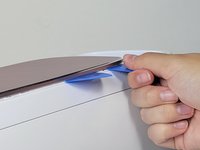
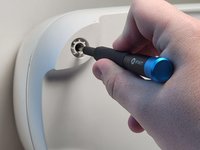
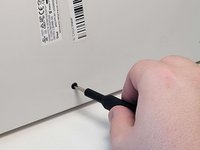
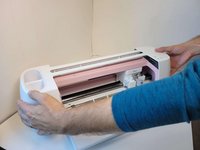
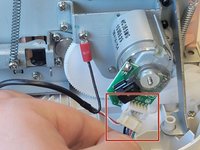
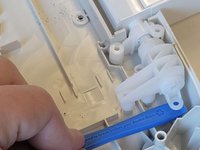
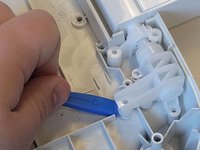
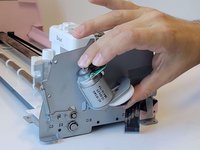
To remove the cover from the connecting joint, use an iFixit opening tool, and pry around the perimeter of the cover to release it.
-
Remove the cover from the connecting joint and set it aside.
-
-
-
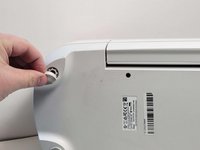
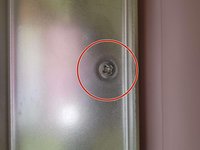
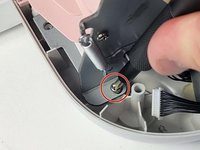
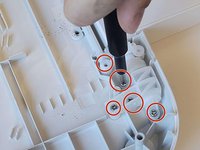
Using your hands or an opening tool, remove the four foot pads covering four screws.
-
Use a Phillips #1 screwdriver to remove four 41 mm screws from the feet.
-
-
-
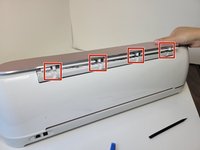
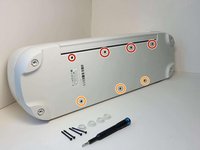
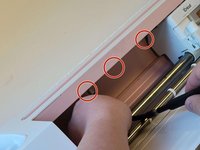
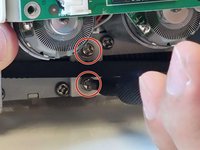
Remove the seven screws (Four 8.5 mm screws, and three 12.5 mm screws) on the bottom of the device, this will allow you to remove the cover later on.
-
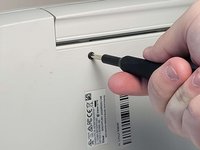
Use a Phillips #1 screwdriver to remove the four 8.5 mm screws from the bottom of the device.
-
Use a Phillips #0 screwdriver to remove the three 12.5 mm screws.
-
-
-
-
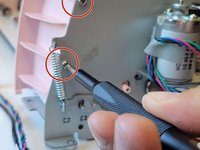
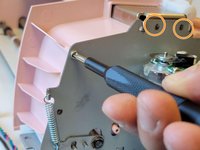
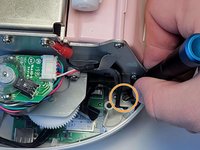
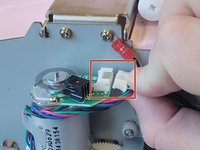
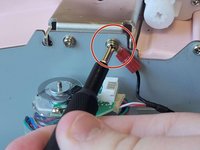
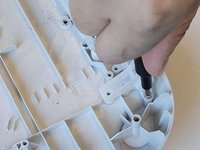
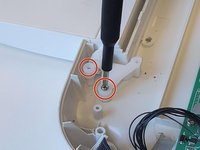
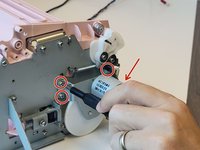
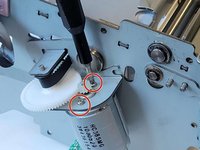
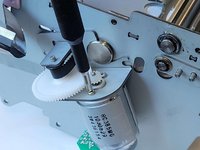
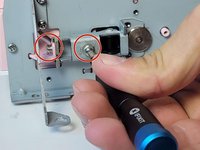
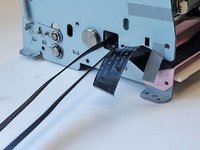
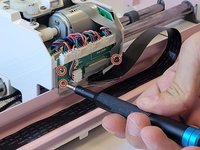
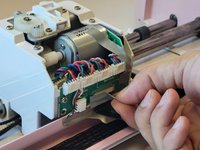
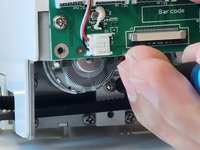
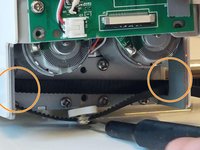
Use a Phillips #1 screwdriver to remove the four 5 mm screws that attach the motor on the left side of the machine.
-
-
-
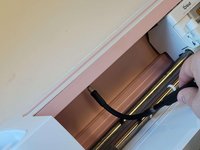
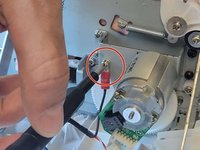
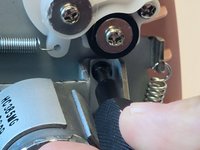
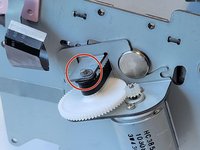
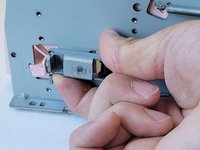
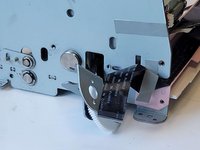
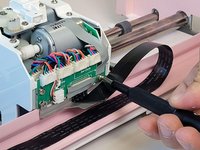
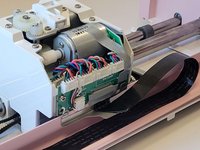
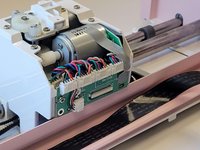
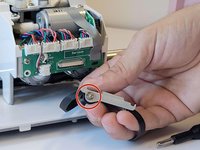
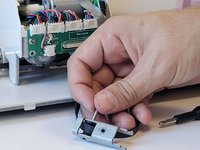
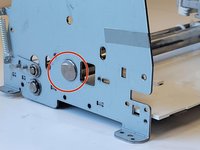
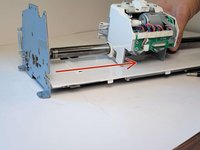
Pull the bar to the right of the machine, to free it from its placement.
-


To reassemble your device, follow these instructions in reverse order.
To reassemble your device, follow these instructions in reverse order.
Cancelar: No complete esta guía.
3 personas más completaron esta guía.

Equipo

Austin Community College, Team 9-1, Watkins Fall 2022 Miembro de Austin Community College, Team 9-1, Watkins Fall 2022
AUSTINCC-WATKINS-F22S9G1
3 Miembros
23 Guías creadas
4 comentarios
I think there's a step missing between step 4 and 5. Took the lid off in 4 and in 5 we can already see the motor...
Do you have aline the gears when you put it back together that are on the left side for the small roller ?
Someone can tell me where we can get this gear?