
Corsair HS80 Earpad Replacement

Introducción
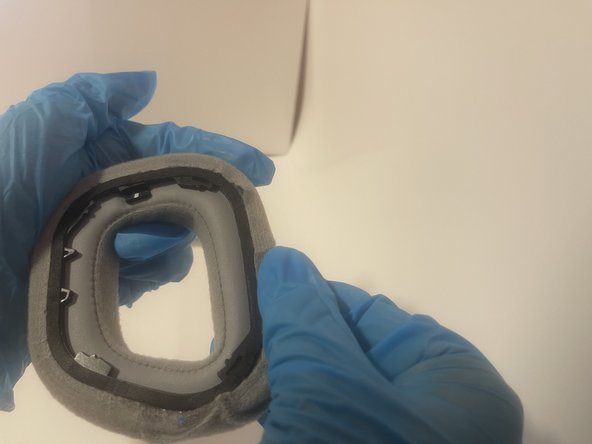
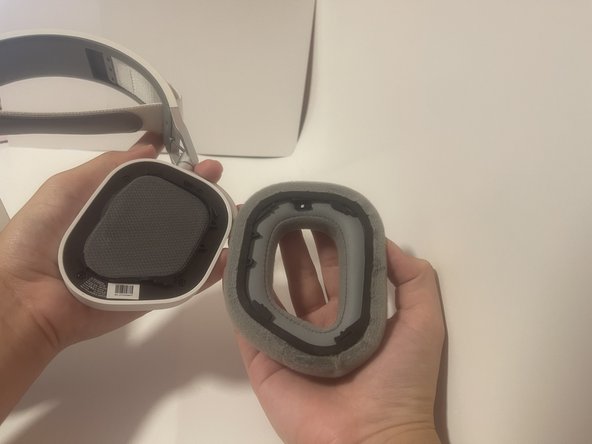
Ir al paso 1With prolonged use and improper storage, the earpad cushions on a headset may detach from the earpad. These earpads have a unique shape, and buying replacement earpads may be expensive as they are only available on the Corsair website with $10 shipping. This guide will demonstrate how to fix the broken earpad.
Steps 4 to 7 uses strong adhesives that may result in skin irritation or bonded skin. Wear gloves or have a glue debonder ready.
Before beginning, set up the project in a well-ventilated area as adhesive fumes may irritate eyes and cause respiratory irritation.
Qué necesitas
Herramientas


Ver más…
-
-
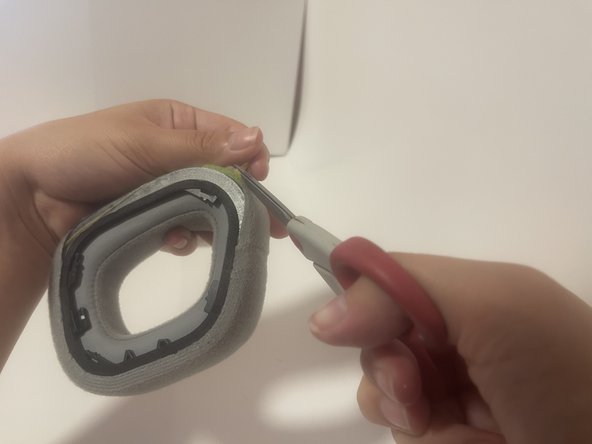
Remove the earpad from the headset by holding the earpad and twisting clockwise.
-
-


Equipo

CSU Los Angeles, Team 4-84, Harris Fall 2024 Miembro de CSU Los Angeles, Team 4-84, Harris Fall 2024
CSULA-HARRIS-F24S4G84
1 Miembro
1 Guía escrita