Saltar al contenido principal

Canon Powershot SX500 IS Back Cover Replacement

Qué necesitas

  1. Canon Powershot SX500 IS Back Cover Replacement, Battery: paso 1, imagen 1 de 1
    • Rotate the camera to expose the underside of the camera.

  2. Canon Powershot SX500 IS Back Cover Replacement: paso 2, imagen 1 de 1
    • Slide the rounded rectangle tab to the left to release the battery cover.

  3. Canon Powershot SX500 IS Back Cover Replacement: paso 3, imagen 1 de 1
    • Push the small orange tab forward to release the battery (Battery is ready for removal).

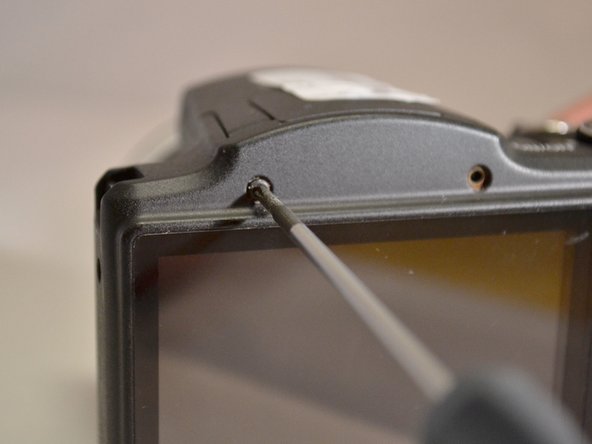
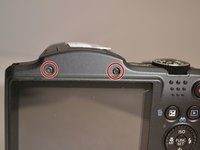
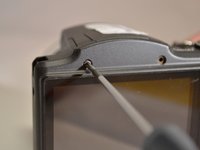
  4. Canon Powershot SX500 IS Back Cover Replacement, Back Cover: paso 4, imagen 1 de 3 Canon Powershot SX500 IS Back Cover Replacement, Back Cover: paso 4, imagen 2 de 3 Canon Powershot SX500 IS Back Cover Replacement, Back Cover: paso 4, imagen 3 de 3
    • Using the Phillips 00 screwdriver, remove the two 4mm top screws above the LCD screen.

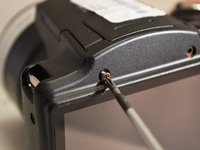
  5. Canon Powershot SX500 IS Back Cover Replacement: paso 5, imagen 1 de 1
    • Using the Phillips 00 screwdriver, remove the two 4mm side screws to the left of the LCD screen.

  6. Canon Powershot SX500 IS Back Cover Replacement: paso 6, imagen 1 de 1
    • Using the Phillips 00 screwdriver, remove the two 4mm side screws to the left of the LCD screen.

  7. Canon Powershot SX500 IS Back Cover Replacement: paso 7, imagen 1 de 1
    • Using the Phillips 00 screwdriver, remove the three 4mm screws from the underside of the camera.

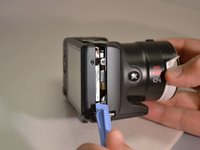
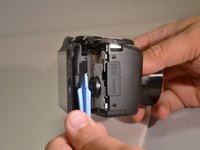
  8. Canon Powershot SX500 IS Back Cover Replacement: paso 8, imagen 1 de 2 Canon Powershot SX500 IS Back Cover Replacement: paso 8, imagen 2 de 2
    • Using the plastic pry tool, remove the back cover from camera.

Conclusión

To reassemble your device, follow these instructions in reverse order.

3 personas más completaron esta guía.

0 comentarios

Agregar Comentario

Ver Estadísticas:

Ultimas 24 horas: 0

Ultimos 7 días: 3

Ultimos 30 días: 5

Todo El Tiempo: 484