
Canon PowerShot SX520 HS Metal Plate Replacement
Introducción
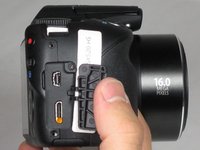
Ir al paso 1This guide will show how to remove the metal plate that leads to the inside of the camera. This will allow access to the lens and motherboard.
Qué necesitas
Herramientas

-
-
Remove 2-3.4 mm screws that secure the back panel using a Phillips #000 screwdriver.
-
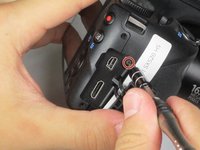
Remove 4-4 mm screws on the left and right sides of the camera using a Phillips #000 screwdriver.
-
-
-
-
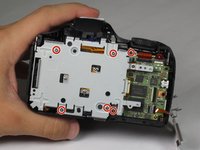
Remove 3-4.4 mm screws that secure the small metal plate using a Phillips #000 screwdriver.
-
-
-
Remove 6-4.4 mm screws that secure the metal cover using a Phillips #000 screwdriver.
-
Remove 2-2.5 mm screws that secure the back panel using a Phillips #000 screwdriver.
-
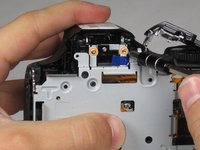
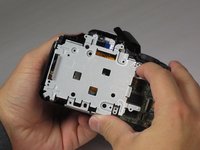
After all 8 screws are removed, pull the metal plate out with your fingers.
-


To reassemble your device, follow these instructions in reverse order.
To reassemble your device, follow these instructions in reverse order.
Equipo

Baylor, Team 4-4, Williams Fall 2015 Miembro de Baylor, Team 4-4, Williams Fall 2015
BU-WILLIAMS-F15S4G4
Miembros de 4
6 Guías creadas