
Canon PowerShot SD850 IS LCD Screen Replacement

15 - 45 minutos
Moderado
Imágenes Inconsistentes
Fotos de acción
Guía aportada por comunidad
Guía Archivada
Esta guía se mantiene únicamente para fines históricos. Utiliza la última versión de la guía para llevar a cabo tu reparación.
Introducción
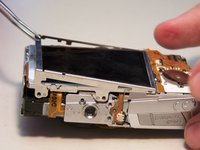
Ir al paso 1Use this guide to access LCD screen and make repairs.
Qué necesitas


-
-
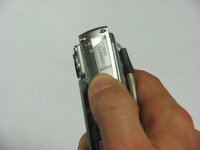
Slide the light grey tab toward the edge of the camera using your fingernail.
-
Pull the light grey tab up to open the door.
-
-
-
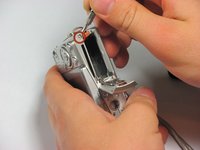
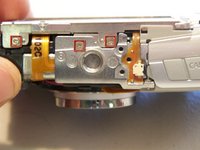
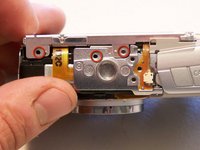
Remove the following 4 screws:
-
Two 2.8 mm Phillips #00 at the bottom of the camera.
-
Two 2.75 mm Phillips #00 on the opposite side of the wrist strap.
-
-


Casi Terminas!
To reassemble your device, follow these instructions in reverse order.
Conclusión
To reassemble your device, follow these instructions in reverse order.
