
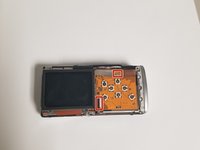
Canon PowerShot SD30 Control Panel Replacement
Introducción
Ir al paso 1Use this guide to replace the control panel in your camera.
Qué necesitas
Herramientas


-
-
Remove the two 2mm black screws that are located on the underside of the camera.
-
Remove the two 3mm silver screws from the right side of camera.
-
-
-
Remove the 2mm screw from the back of the camera.
-
Remove two 2mm screws from the bottom of the camera.
-
Remove two 2mm screws the left side of camera.
-
-
-
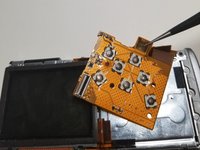
Herramienta utilizada en este paso:Tweezers$4.99
-
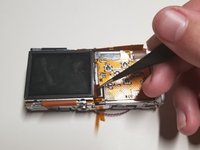
Use the tweezers to pull up on the piece of black plastic connected to the ribbon to unhook and remove the ribbon connected to the screen.
-


To reassemble your device, follow these instructions in reverse order.
To reassemble your device, follow these instructions in reverse order.
Cancelar: No complete esta guía.
2 personas más completaron esta guía.
Equipo

University of North Texas, Team S5-G3, Thompson Fall 2018 Miembro de University of North Texas, Team S5-G3, Thompson Fall 2018
UNT-THOMPSON-F18S5G3
4 Miembros
5 Guías creadas