
Canon PowerShot SD 600 Exterior Frame Replacement
Introducción
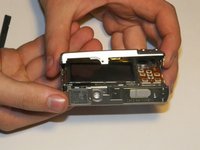
Ir al paso 1In this guide, we will remove the battery, the SD card, the screws on the exterior frame, other exterior components, and finally the exterior frame itself.
Qué necesitas
Herramientas


-
-
Turn the camera over so that the battery compartment is visible. The compartment should read "Card/Batt. Open".
-
Open the compartment.
-
Lightly push the compartment lid down and outward. The arrow next to "Card/Batt. Open" indicates the direction you should be pushing.
-
-
-
-
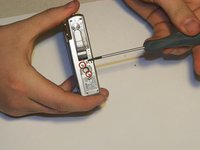
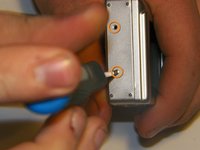
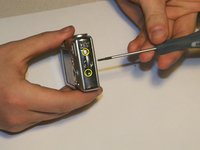
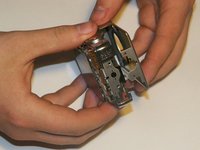
There are six 3mm exterior screws that will need to be removed in order to remove the exterior frame.
-
Two screws near the tripod mount on the underside of the camera.
-
Two screws on the camera left hand side (the face with nothing but screws on it).
-
Two screws on the camera right hand side, by the wrist strap attachment.
-
Remove the screws using the screwdriver.
-
-
-
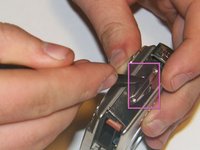
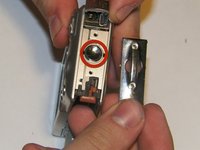
Carefully pull apart the two parts of the exterior frame.
-
Use the spudger to pry apart the two frame components.
-
Once disconnected, the two parts of the frame can be easily separated by using your fingers.
-
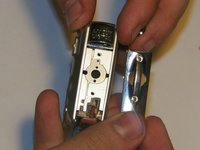
The rear frame should be removed first.
-
There should be an O-ring on the front face of the camera. Ensure to keep the O-ring with the front part of the frame.
-


To reassemble your device, follow these instructions in reverse order.
To reassemble your device, follow these instructions in reverse order.
Equipo

Clemson, Team 13-5, Benson Spring 2013 Miembro de Clemson, Team 13-5, Benson Spring 2013
CLEM-BENSON-S13S13G5
3 Miembros
11 Guías creadas