
Canon PowerShot S100 Top Panel Replacement
Introducción
Ir al paso 1The top panel of the camera grants access to the shutter button and the rotating dial. Removing the top panel is also necessary to access and remove other internal parts.
Qué necesitas


-
-
Remove the 2 screws (3.2mm, Phillips #00) found on the bottom side of the camera.
-
Remove the 2 screws (3.2mm, Phillips #00) found on the side of the camera.
-
Remove the 2 screws (3.2mm, Phillips #00) found on the side of the camera where the terminals are.
-
Open the flap revealing the cable inputs and remove the final screw (3.8mm, Phillips #00) found inside.
-
-
-
Herramienta utilizada en este paso:Tweezers$4.99
-
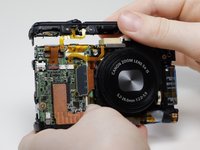
Turn the camera so that the lens is facing you.
-
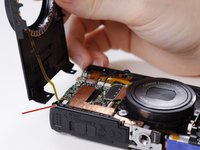
Slowly lift the front panel from the camera.
-
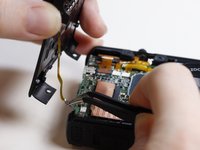
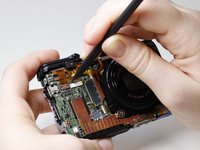
The ribbon cable is connecting the front panel to the camera. Using the tweezers, gently pull the ribbon cable out of its socket.
-
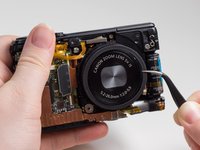
Remove the rubber guard that rests on top of the lens.
-
-
-
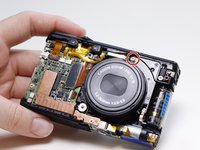
Turn the camera over on its side so that the terminals are facing you.
-
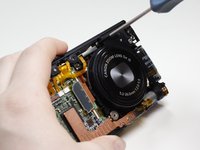
Remove the screw (3.9mm, Phillips #00) that is connecting the top panel to the metal frame.
-


To reassemble your device, follow these instructions in reverse order.
To reassemble your device, follow these instructions in reverse order.
Cancelar: No complete esta guía.
3 personas más completaron esta guía.
Equipo

USF Tampa, Team 1-4, Leahy Winter 2015 Miembro de USF Tampa, Team 1-4, Leahy Winter 2015
USFT-LEAHY-W15S1G4
4 Miembros
5 Guías creadas