
Azpen A701 Screen Replacement
Introducción
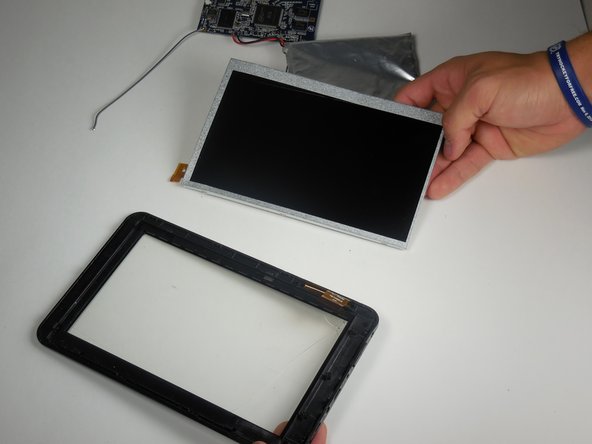
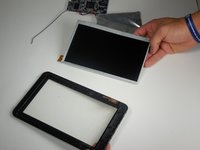
Ir al paso 1The screen assembly is located underneath all of the other parts of the device. To access it, you will have to remove these pieces first. Make sure to keep track of all five screws and any connected parts.
Qué necesitas
Herramientas


-
-
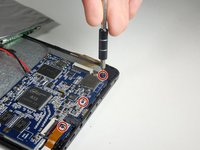
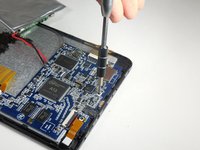
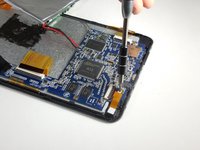
Remove the two 2cm screws on the bottom using the PH0 Phillips head screw driver.
-
-
-
-
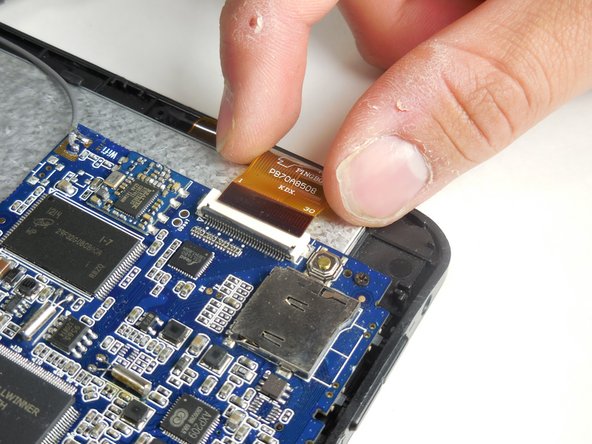
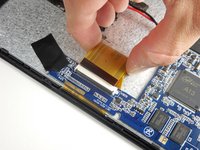
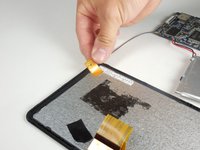
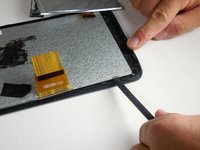
Disconnect the two larger of the three ZIF cables by prying open the flap with a plastic spudger and gently removing the cable.
-


To reassemble your device, follow these instructions in reverse order.
To reassemble your device, follow these instructions in reverse order.
Cancelar: No complete esta guía.
Una persona más ha completado esta guía.
Equipo

Colorado Springs, Team 2-1, Panko Spring 2015 Miembro de Colorado Springs, Team 2-1, Panko Spring 2015
UCCS-PANKO-S15S2G1
3 Miembros
12 Guías creadas