
Asus X551CA Keyboard Plate Cover Replacement

Introducción
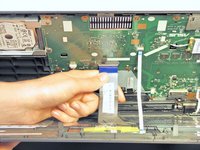
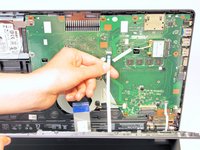
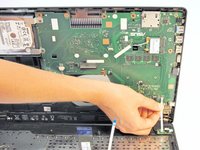
Ir al paso 1Removing the keyboard plate cover will allow access to all internal components of the laptop.
Qué necesitas
Herramientas


-
-
Turn the laptop upside-down and remove the following screws using a Phillips #0 driver:
-
Two 9.5 mm screws in the middle of the back edge, and one 9.5 mm screw in the right edge
-
Two 4.3 mm screws in the back corners
-
One 17.5 mm screw at the left edge near the optical drive
-
Three 4.3 mm screws in the front edge
-
-


To reassemble your device, follow these instructions in reverse order.
To reassemble your device, follow these instructions in reverse order.
Cancelar: No complete esta guía.
11 personas más completaron esta guía.

Equipo

Cal Poly, Team 7-22, Regan Spring 2014 Miembro de Cal Poly, Team 7-22, Regan Spring 2014
CPSU-REGAN-S14S7G22
5 Miembros
15 Guías creadas
2 comentarios
WARNING the screw lengths in step 1 are wrong. I tried installing the wrong screws and now my touch pad us ruine
The screw info has been updated. I’m still not sure if it’s 100% correct, so be sure to keep your screws organized and put each one back where it came from to avoid damage.