Saltar al contenido principal
Asus ROG G74SX-DH73-3D Disc/Optical Drive Replacement

Asus ROG G74SX-DH73-3D Disc/Optical Drive Replacement

Jackson Reynolds

Jackson Reynolds y otro contribuidor

Última actualización: December 27, 2018

2 - 3 minutos
Fácil
Mejor introducción

Qué necesitas

Herramientas

  • iFixit Opening Tool
    iFixit Opening Tool
  • Spudger
    Spudger
  1. Asus ROG G74SX-DH73-3D Disc/Optical Drive Replacement, Disc/Optical Drive: paso 1, imagen 1 de 2 Asus ROG G74SX-DH73-3D Disc/Optical Drive Replacement, Disc/Optical Drive: paso 1, imagen 2 de 2
    • Place the device upside-down. Unscrew the screw at the top of the cover and remove the cover by using a plastic opening tool.

  2. Asus ROG G74SX-DH73-3D Disc/Optical Drive Replacement: paso 2, imagen 1 de 1
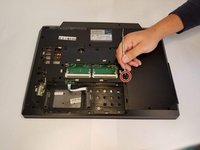
    • Remove the screw that is located on the right edge of the removed cover. The screw is in a small opening.

  3. Asus ROG G74SX-DH73-3D Disc/Optical Drive Replacement: paso 3, imagen 1 de 2 Asus ROG G74SX-DH73-3D Disc/Optical Drive Replacement: paso 3, imagen 2 de 2
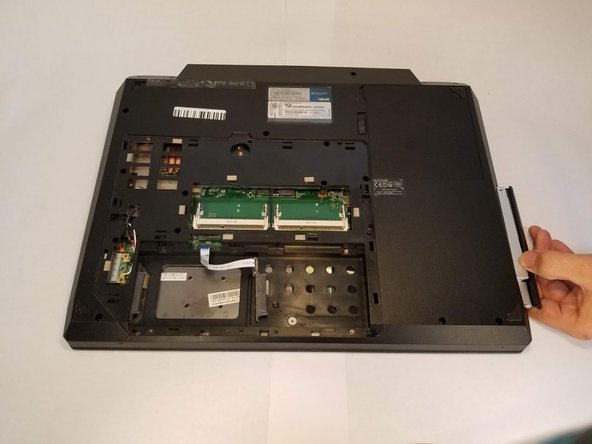
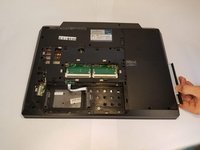
    • Inside the opening that the screw was in, use a nylon spudger or any thin tool to push against the inside edge of the disc/optical drive.

    • With the disc/optical drive slightly popped out of the socket, pull the rest of it out by hand.

Conclusión

To reassemble your device, follow these instructions in reverse order.

0 comentarios

Agregar Comentario

Ver Estadísticas:

Ultimas 24 horas: 5

Ultimos 7 días: 11

Ultimos 30 días: 32

Todo El Tiempo: 313