
Asus Chromebook C201 Keyboard Replacement
Introducción
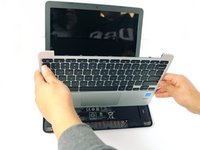
Ir al paso 1If your Chromebook’s keyboard is not working correctly, then this guide is going to help you get your keys working the way they're suppose to. When working on replacing your keyboard, be sure to ground yourself. Static can short circuit your Chromebook, so be sure to either wear an anti-static wrist strap or work on a surface that doesn't generate static electricity, like wood, tile, or other hard floors.
Qué necesitas


-
-
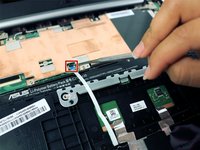
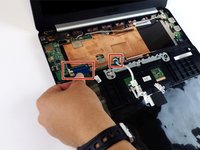
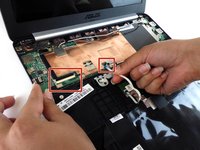
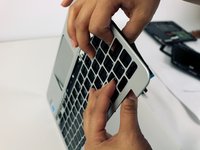
Flip the laptop upside down with the rear end of the computer away from you.
-
-


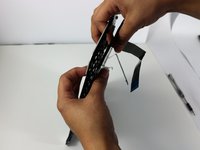
To reassemble your device, follow these instructions in reverse order.
To reassemble your device, follow these instructions in reverse order.
Cancelar: No complete esta guía.
4 personas más completaron esta guía.
Equipo

USF Tampa, Team 2-51, Cagle Spring 2016 Miembro de USF Tampa, Team 2-51, Cagle Spring 2016
USFT-CAGLE-S16S2G51
4 Miembros
10 Guías creadas
2 comentarios
Thanks!
Took me about 30 minutes, despite losing a couple of screws (which I did find on the floor/chair), interruptions from kids, and forgetting to put a little rubber pad on the new keyboard, requiring almost complete re-disassembly and assembly.
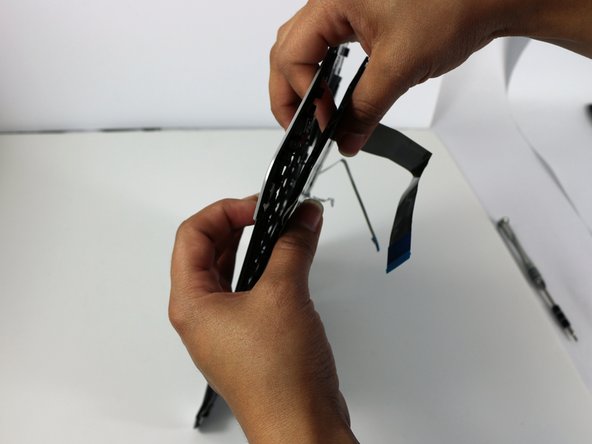
Only real issue I had was that the old keyboard coming out was basically snapping off little bits of the white keyboard case. (The “gently with force” section.) I suspect that it’s designed as a one-way connection and removal will break those little snaps irrespective of what care is taken. But reassembling it seems to work without those snaps just fine.
Thanks!
A couple more notes:
I did it without removing the cable for the touchpad at all. I didn’t see any reason to disconnect that.
After examining the old keyboard more carefully, I realized the plastic sheet on the bottom was removable (it’s just glued on) and should be affixed to the bottom of the old one, so once more I took it apart and added that back. (That sheet had probably saved the computer from killing more than the keyboard when coffee was spilled.)
Also, the two slightly longer screws go under the rubber feet.