
ASUS MeMo Pad FHD10 Motherboard Replacement
Introducción
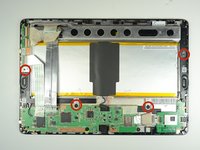
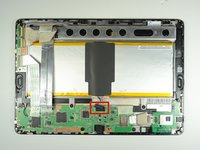
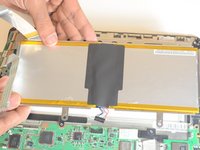
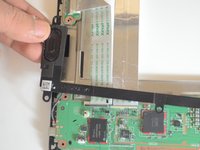
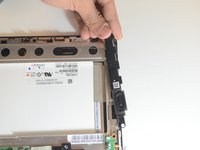
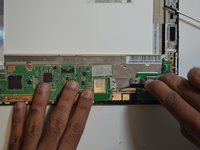
Ir al paso 1The motherboard has lots of other parts mounted into it, therefore it is important to treat the board carefully, and follow instructions as shown on the steps.
Qué necesitas


-
-
Unplug the charger and remove any memory card you may have in the device.
-
Wedge the plastic opening tool between the front and back cover on every side.
-
Slide the plastic opening tool back and forth to make sure that the back cover is disconnected.
-
Once disconnected, remove the back cover from the device screen.
-
-


To reassemble your device, follow these instructions in reverse order.
To reassemble your device, follow these instructions in reverse order.
Cancelar: No complete esta guía.
Una persona más ha completado esta guía.
Equipo

USF Tampa, Team 9-5, Blackwell Winter 2015 Miembro de USF Tampa, Team 9-5, Blackwell Winter 2015
USFT-BLACKWELL-W15S9G5
Miembros de 4
10 Guías creadas