
ASUS Eee Pad Transformer Screen Replacement
Introducción
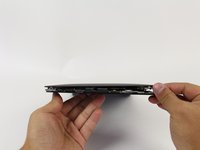
Ir al paso 1One drop can mean the difference in having a usable tablet or not. That is why being able to replace a cracked or damaged screen is crucial to an electronics life span. Use this guide to replace the screen on your ASUS Eee Pad Transformer.
Qué necesitas


-
-
Use T5 Torx Screwdriver to remove two 4.5 millimeter T5 screws on either side of the port on the bottom of the tablet.
-
-
-
Use Phillips #00 Screwdriver to remove four 3 millimeter screws found on the metal panel.
-
-
-
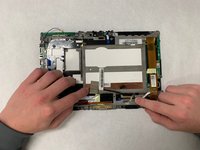
Use Plastic Opening Tool to pry off the metal panel from the battery starting on the right side corners and working around the rest of the panel.
-
-
-
-
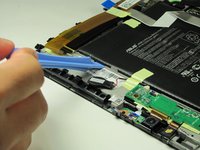
Peel off tape from around the edges of the battery.
-
Insert Plastic Opening Tool into slot on side of battery found near the wire bundle.
-
Lift up the battery off of the device.
-
-
-
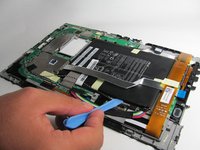
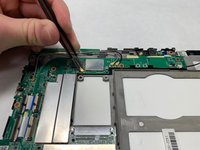
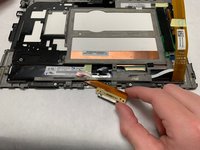
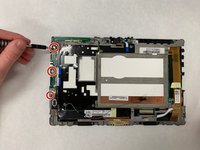
Use a Phillips #00 Screwdriver to remove the six 3 millimeter screws securing the motherboard to the screen.
-
-
-
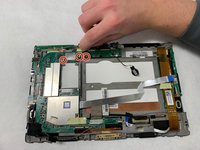
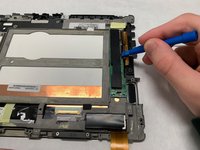
Use a Phillips #00 Screwdriver to remove the four 3 millimeter screws securing the two black ports at the bottom.
-
-
-
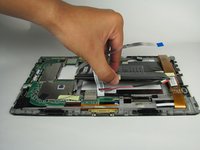
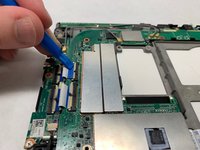
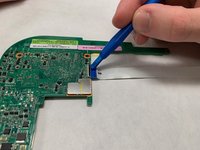
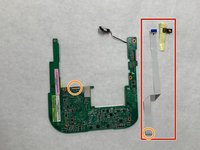
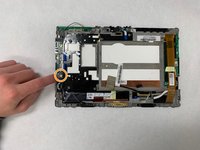
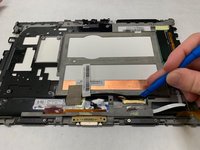
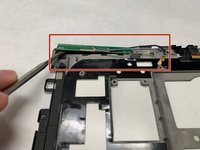
Detach the Wifi and GPS antenna from the screen. This piece is glued down so use a metal spudger to get under the piece and lift up.
-
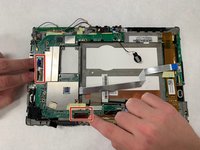
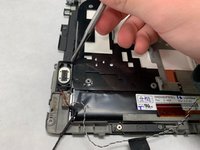
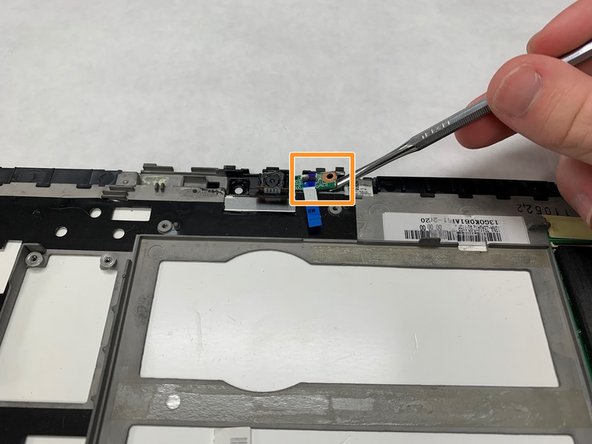
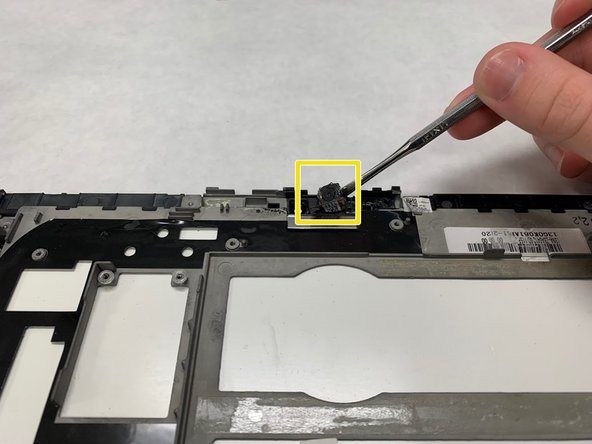
Use a metal spudger to lift up the small electric board next to the camera. This piece is glued down as well as secured by plastic pillars.
-
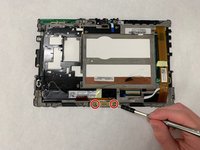
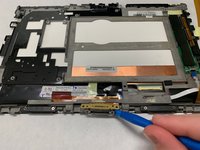
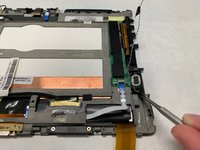
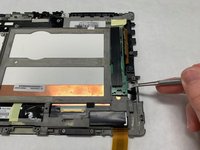
Using a metal spudger, lift the camera out of its spot. The camera is glued down.
-


To reassemble your device, follow these instructions in reverse order.
To reassemble your device, follow these instructions in reverse order.
Cancelar: No complete esta guía.
Una persona más ha completado esta guía.
Equipo

IUPUI, Team S2-G5, Harley Fall 2018 Miembro de IUPUI, Team S2-G5, Harley Fall 2018
IUPUI-HARLEY-F18S2G5
3 Miembros
2 Guías creadas
Un comentario
First Class for your Instruction.
With Best Regards
Jürgen Pogoda