Introducción
Ir al paso 1This guide provides instructions to strip down the Lenovo T6xx series laptops down to the motherboard, also removing all other internal components and bare LCD panel somewhere along the way.
Qué necesitas
Herramientas


-
-
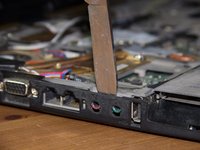
All externally accessible components must be removed first.
-
It is critical that the battery be removed first, before reaching any electronic components!
-
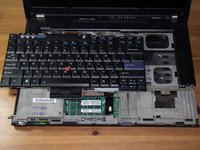
One screw holds in the hard drive caddy/bracket/enclosure.
-
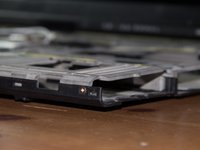
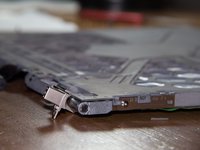
There is a lever on the side of the laptop next to the optical drive that pops out a tab. Pull the tab to remove the optical drive.
-
-
-
-
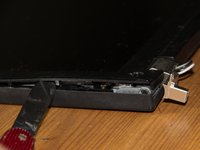
Prying of the bezel will require some force and may break a few clips. It is also glued to the metallic LCD edge, making it even harder to remove.
-
Be very careful with your prying tool/knife to not over insert and scratch the LCD panel. One scratch and the value is gone!
-
Remove the rubber stickers covering the display bezel screws, and remove all of these screws.
-
-
-
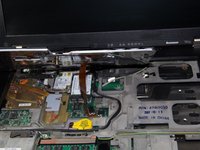
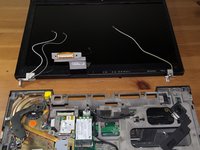
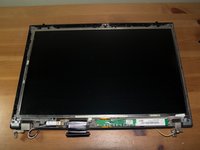
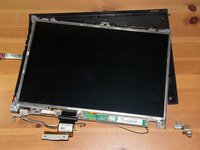
Remove the visible screws holding down the LCD panel frame and the inverter and bluetooth circuit boards located below the LCD. The metal assembly will come out from the plastic backing.
-
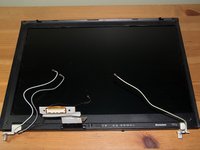
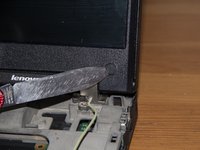
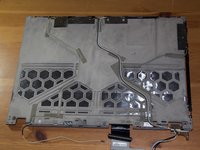
The LCD housing is attached to the plastic back panel on the 4 corners, including on the hinges. Remove these screws.
-
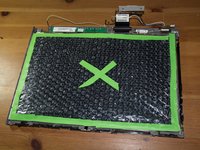
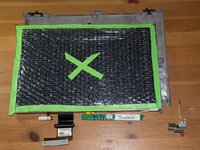
Now would be a good time to protect your screen with bubble wrap or foam bordered by tape. Green X is for visibility and warning.
-
-
-
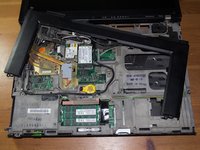
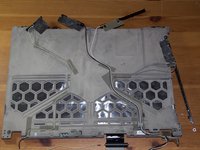
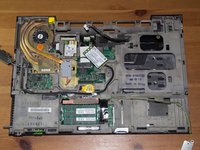
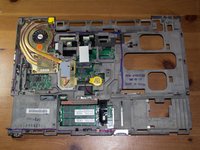
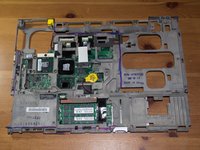
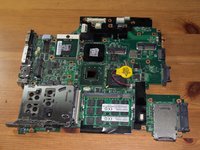
The only screws remaining in this build are holding in the motherboard. Find all of them and free the board itself from the tray.
-
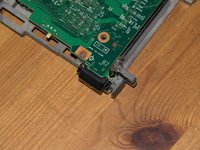
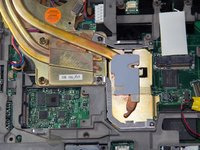
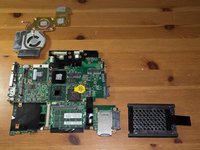
The PCMCIA slot enclosure can also be removed from the motherboard. Just pull it up!
-
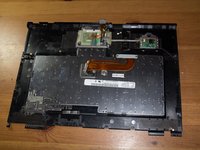
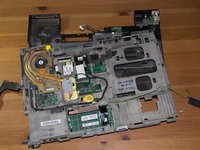
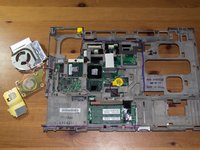
Congratulations, you have removed the motherboard from its shackles!
-


5 comentarios
What kind of processor?
If my laptop cant power on or when it power on it turns off in 5 minutes and when i remove the battery and plug in the power cable it turns on ,how can i fix that on the mother board or any better way to fix it.
Hi, I have the same problem in my Thinkpad T61. I think the problem is the charger. I use an universal charger with the same voltage (20V) but different amperage. Today I bought online a 20v - 4,5A charger. I hope to resolve this problem.
this was the best teardown I ever did you did a great job going step by step you made it real easy how you explained it thanks