Introducción
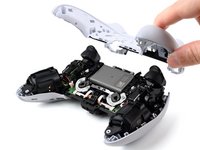
Follow this guide to replace, change, or upgrade the directional or action buttons in your Sony DualSense Edge controller.
Qué necesitas
-
-
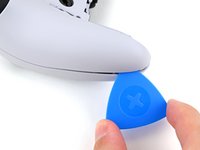
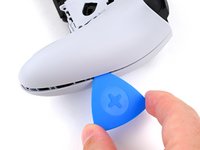
Place the controller on a work surface with the joysticks facing down.
-
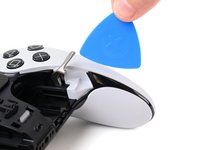
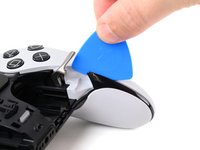
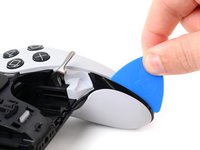
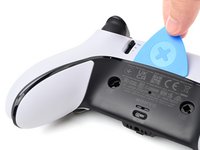
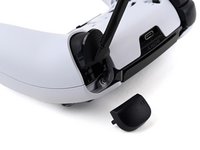
Use a spudger or your finger to slide the Release tab to the left. The front trim should fall to the table.
-
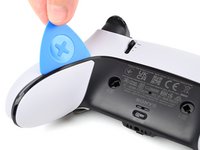
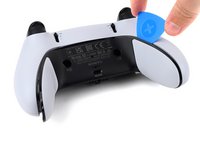
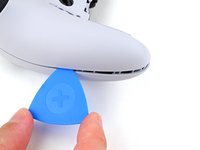
Lift the controller up, leaving the front trim on the table.
-
-
-
Flip the controller over so the joysticks are facing up.
-
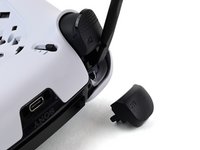
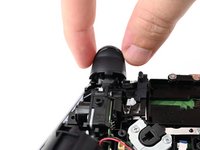
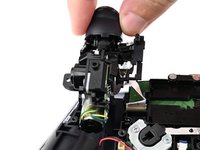
Lift the metal lever that holds the joystick in place until the joystick slides out slightly.
-
Slide the joystick out from its slot.
-
-
-
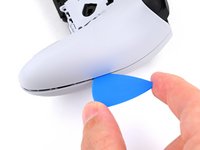
Insert the flat edge of an opening pick between the black portion of the rear trim and the top cover, near the joystick lever.
-
Slide the opening pick towards the bottom of the grip to release the clips.
-
-
-
Slide the pick around to the rear of the controller and flip the controller over so the buttons are facing down.
-
Slide the opening pick around the edge of the rear trim to release the clips.
-
-
-
Slide the opening along the edge of the trim on the other grip.
-
Once all clips are released, remove the trim.
-
-
-
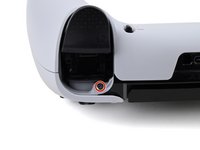
Insert the flat end of a spudger in the gap between the L1 and L2 buttons.
-
Use the spudger to pry out the L1 button.
-
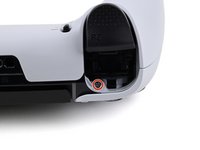
Repeat this process to remove the R1 button.
-
-
-
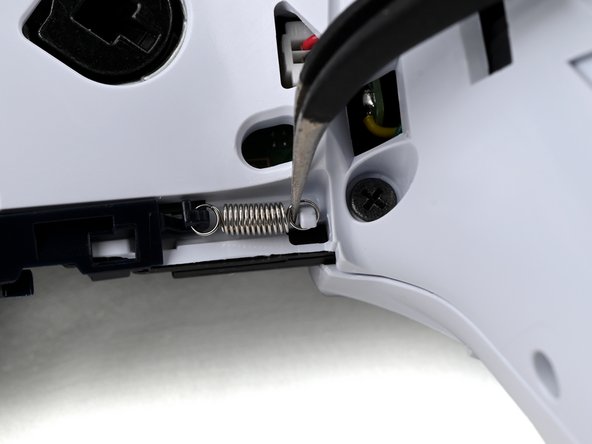
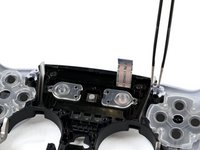
Rotate the controller so the grips are pointing towards you.
-
Use a pair of angled tweezers to lift the right end of the release bar spring off of the white post.
-
-
-
Use a pair of tweezers or your fingers to slide the release bar to the left.
-
Slide the release bar away from the controller to remove it.
-
-
-
Remove the nine screws securing the rear case:
-
Seven 6.4 mm‑long screws
-
Two 10.5 mm‑long screws
-
-
-
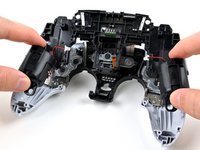
Insert the point an opening pick in the gap along the outside edge of one of the controller grips, near the bottom.
-
-
-
Pry with the opening pick to separate the rear case from the front case by releasing the clips that hold them together.
-
Continue prying along the edge of the controller until one side is separated.
-
-
-
-
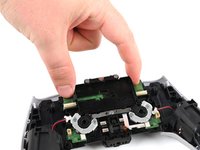
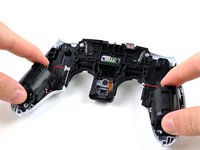
Hold the main body of the controller with one hand.
-
Lift the rear case with your other hand. It should lift at an angle.
-
Pushing slightly towards the L and R buttons, lift the rear case off of the controller and remove it.
-
-
-
Use a pair of tweezers or your fingers to lift the cover from the controller.
-
Slide the flat end of the cover under the plastic tab in the rear case.
-
-
-
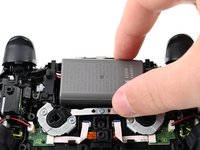
Lift the battery and move it to the right, so the connector underneath the battery is accessible.
-
-
-
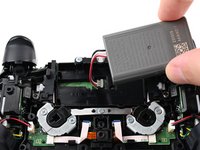
Use the flat end of a spudger to pry up the low profile connector.
-
Remove the battery.
-
-
-
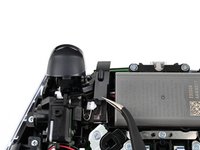
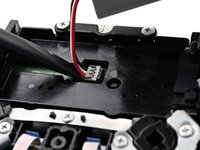
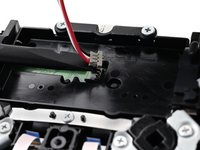
Use a pair of tweezers to disconnect the vibration motor cable by lifting the JST connector out of its socket.
-
Continue lifting until the vibration motor cable is free of the clip on the trigger assembly.
-
-
-
Remove the two 6.4 mm‑long screws securing the trigger assembly.
-
-
-
Lift the trigger assembly away from the controller and hold it so you can access the ribbon cable underneath it.
-
-
-
While holding the trigger assembly above the controller, use a pair of tweezers to disconnect the trigger assembly ribbon cable by gripping the pull tab and pulling away from the connector.
-
Remove the trigger assembly
-
-
-
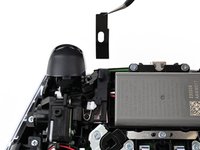
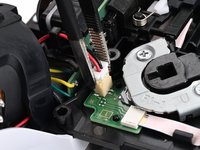
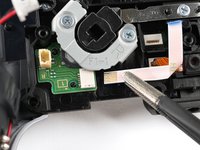
Use a pair of tweezers to disconnect the RB back button ribbon cable connector from the motherboard by griping the blue tab on the ribbon cable and pulling away from the connector.
-
-
-
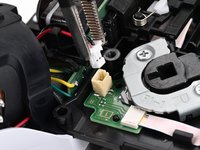
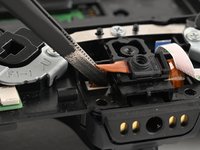
Use a pair of tweezers to disconnect the rear microphone ribbon cable from the motherboard.
-
Continue lifting to remove the microphone.
-
-
-
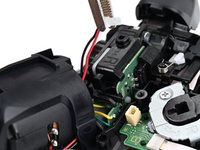
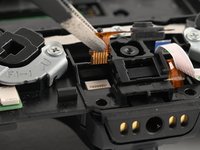
Use a pair of tweezers to disconnect the LB back button ribbon cable from the motherboard by gripping the blue tab and pulling away from the connector.
-
-
-
Remove the three screws securing the battery bracket:
-
Two 6.4 mm‑long screws near the middle of the left and right edges of the battery bracket
-
One 10.4 mm‑long screw near the center of the battery bracket
-
-
-
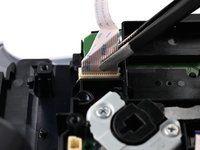
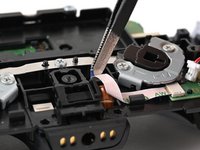
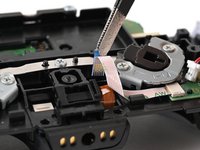
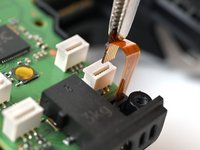
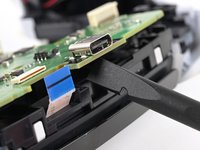
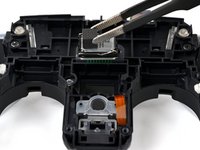
Use a pair of tweezers to disconnect the front microphone ribbon cable from the motherboard by gripping the blue pull tab and pulling away from the connector.
-
-
-
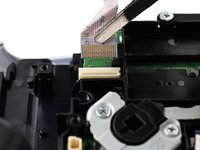
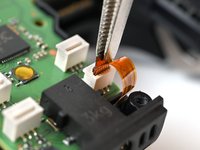
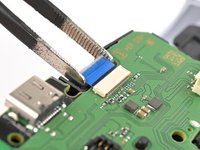
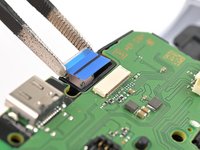
Use a pair of tweezers to disconnect the touchpad ribbon cable from the motherboard by gripping the blue pull tab and pulling away from the connector.
-
-
-
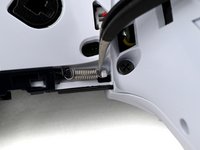
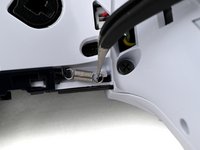
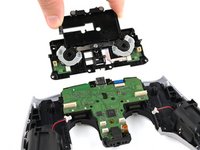
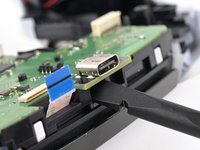
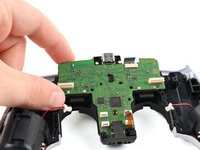
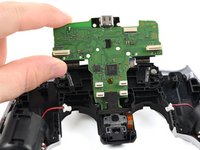
Insert the flat end of a spudger underneath the motherboard, below the USB-C port.
-
Use the spudger to lift the motherboard free of the small clips that secure it.
-
-
-
Use tweezers or your fingers to lift and remove the speaker from the center of the midframe.
-
Check that your new speaker has a piece of foam on the back. If it doesn't, transfer the foam from the old speaker to the new one.
-
Install the speaker so the raised portion of the contact springs are to the right. If you are unsure of the correct orientation, check the motherboard and make sure the springs make contact with the posts on the motherboard.
-
-
-
Remove the five screws securing the midframe:
-
Three 6.4 mm‑long screws
-
Two 10.4 mm‑long screws
-
-
-
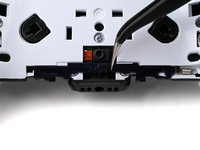
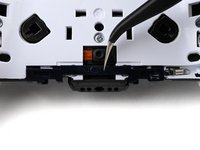
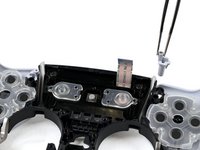
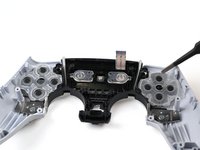
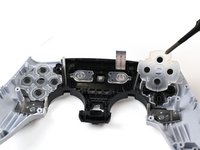
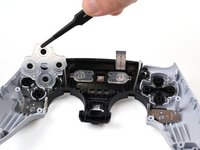
Use tweezers or your fingers to lift and remove the Create button and the Option button.
-
-
-
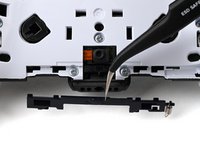
Use tweezers or your fingers to remove the silicone pads behind the directional buttons and the action buttons.
-
-
-
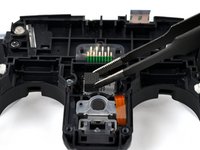
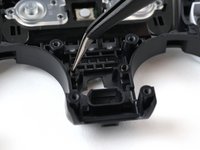
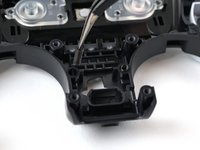
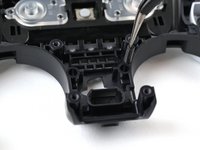
Use angled tweezers to remove the two springs near the PS button cutout.
-
-
-
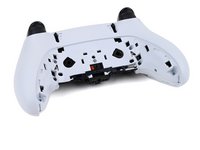
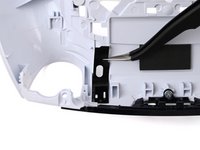
Flip the front case over so the buttons fall out onto your work surface.
-
Alternatively, use tweezers to remove individual action buttons or the directional buttons.
-


To reassemble your device, follow these instructions in reverse order.
Take your e-waste to an R2 or e-Stewards certified recycler.
Repair didn’t go as planned? Try some basic troubleshooting, or ask our Answers community for help.
To reassemble your device, follow these instructions in reverse order.
Take your e-waste to an R2 or e-Stewards certified recycler.
Repair didn’t go as planned? Try some basic troubleshooting, or ask our Answers community for help.
Cancelar: No complete esta guía.
2 personas más completaron esta guía.

