Saltar al contenido principal
Únete a la Comunidad de Reparación - Crear Cuenta

Creating a Buttonhole Using a Sewing Machine

Qué necesitas

    1. Creating a Buttonhole Using a Sewing Machine, Creating a Buttonhole Using a Sewing Machine: paso 1, imagen 1 de 2 Creating a Buttonhole Using a Sewing Machine, Creating a Buttonhole Using a Sewing Machine: paso 1, imagen 2 de 2
      • Select your buttonhole foot. Buttonhole feet can vary in appearance, so check you manual.

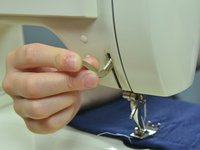
      • Thread the buttonhole foot by sliding the thread through the diagonal slit into the center hole.

      Pregunta a FixBot

      Agregar Comentario

    2. Creating a Buttonhole Using a Sewing Machine: paso 2, imagen 1 de 2 Creating a Buttonhole Using a Sewing Machine: paso 2, imagen 2 de 2
      • Mark where you would like the top and bottom of the buttonhole to be with tailor's chalk.

      • You can measure your button if you aren't sure.

      • Align the sewing machine at the upper left corner of the buttonhole.

      Pregunta a FixBot

      Agregar Comentario

    3. Creating a Buttonhole Using a Sewing Machine: paso 3, imagen 1 de 2 Creating a Buttonhole Using a Sewing Machine: paso 3, imagen 2 de 2
      Pregunta a FixBot

      Agregar Comentario

    4. Creating a Buttonhole Using a Sewing Machine: paso 4, imagen 1 de 2 Creating a Buttonhole Using a Sewing Machine: paso 4, imagen 2 de 2
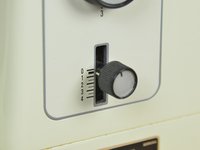
      • Set your stitch length dial to nearly zero, this will create a satin stitch. The usual stitch length is around the 2.5.

      Pregunta a FixBot

      Agregar Comentario

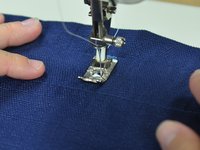
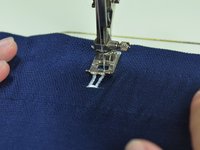
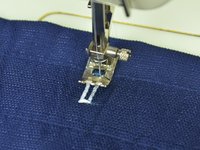
    5. Creating a Buttonhole Using a Sewing Machine: paso 5, imagen 1 de 3 Creating a Buttonhole Using a Sewing Machine: paso 5, imagen 2 de 3 Creating a Buttonhole Using a Sewing Machine: paso 5, imagen 3 de 3
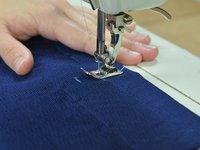
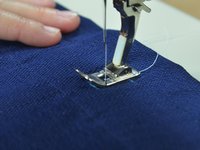
      • Set your button hole dial to one. If you have an electronic sewing machine, refer to your manual.

      • Every time you adjust this dial, your needle will move. That's okay; it's supposed to do that.

      • Start sewing. Sew to your second line.

      Pregunta a FixBot

      Agregar Comentario

    6. Creating a Buttonhole Using a Sewing Machine: paso 6, imagen 1 de 2 Creating a Buttonhole Using a Sewing Machine: paso 6, imagen 2 de 2
      • Set your button hole dial to two.

      • Sew the bar tack at the bottom of the buttonhole.

      • Setting the button hole dial to two tells your sewing machine what to do, all you need to do is sew a few stitches to create the bar tack.

      Pregunta a FixBot

      Agregar Comentario

    7. Creating a Buttonhole Using a Sewing Machine: paso 7, imagen 1 de 2 Creating a Buttonhole Using a Sewing Machine: paso 7, imagen 2 de 2
      • Set your buttonhole dial to three.

      • Sew up the second side of your buttonhole, stopping at your top mark.

      Pregunta a FixBot

      Agregar Comentario

    8. Creating a Buttonhole Using a Sewing Machine: paso 8, imagen 1 de 2 Creating a Buttonhole Using a Sewing Machine: paso 8, imagen 2 de 2
      • Set your buttonhole dial to four.

      • Sew the top bar tack at the top of the buttonhole.

      Pregunta a FixBot

      Agregar Comentario

    9. Creating a Buttonhole Using a Sewing Machine: paso 9, imagen 1 de 2 Creating a Buttonhole Using a Sewing Machine: paso 9, imagen 2 de 2
      • Set your buttonhole dial to five.

      • This setting backstitches to hold the thread in place. Sew a few more stitches, which will finish the buttonhole.

      Pregunta a FixBot

      Agregar Comentario

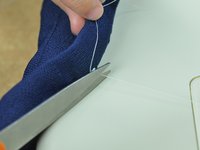
    10. Creating a Buttonhole Using a Sewing Machine: paso 10, imagen 1 de 2 Creating a Buttonhole Using a Sewing Machine: paso 10, imagen 2 de 2
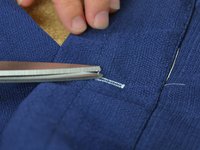
      • Clip the threads, freeing the fabric from the machine.

      • Clip any extra loose threads.

      Pregunta a FixBot

      Agregar Comentario

    11. Creating a Buttonhole Using a Sewing Machine: paso 11, imagen 1 de 2 Creating a Buttonhole Using a Sewing Machine: paso 11, imagen 2 de 2
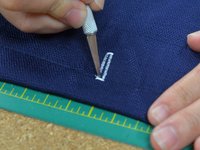
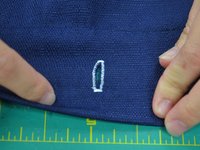
      • Use a hobby knife to cut open the buttonhole.

      • Be careful not to cut through the stitching, you only want to cut the fabric between the rows of stitching.

      Pregunta a FixBot

      Agregar Comentario

Linea de Meta

Cancelar: No complete esta guía.

7 personas más completaron esta guía.

Brittany McCrigler

Miembro Desde 03/05/12

91,032 Reputación

142 Guías creadas

Equipo

iFixit Miembro de iFixit

Staff

Miembros de 123

64,389 Guías creadas

2Guía Comentarios

I got up to position (!) 2 ok, then when I tried to go back up on position 3 it didn't work and just chewed up my fabric. Is it supposed to go backwards, or are you supposed to turn the fabric around? Did I do something wrong?

Holly - Contestar Compartir
The same thing happened to me when I first tried this too, Holly.

I discovered that I was over-stitching position 2.

Now, I do a maximum 3 stitches only, before I go on to position 3 and everything works beautifully. I don’t have to turn the fabric around - position 3 stitches in reverse, and I finish off with a couple of stitches in position 2, to top off the button-hole.

I hope this helps!

Roszarie - Contestar Compartir

Agregar Comentario

Ver Estadísticas:

Ultimas 24 horas: 1

Ultimos 7 días: 17

Ultimos 30 días: 100

Todo El Tiempo: 29,928