Saltar al contenido principal

Desmontaje de Microsoft Surface Pro 6

Inglés
Español
Paso 3
Microsoft Surface Pro 6 Teardown: paso 0, imagen 1 de 3 Microsoft Surface Pro 6 Teardown: paso 0, imagen 2 de 3 Microsoft Surface Pro 6 Teardown: paso 0, imagen 3 de 3
  • The Surface Pro series has a few different configurations, and they all come standard with upgraded adhesive.

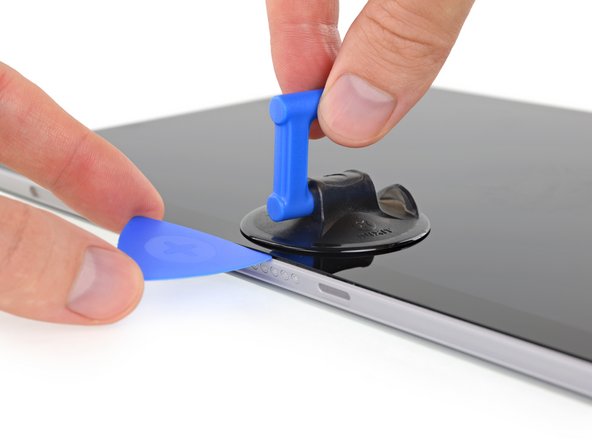
  • Fortunately, we've got a tried-and-true recipe for Surface screen separation success:

  • Step 1: apply iOpener liberally.

  • Step 2: grab an Opening Pick and a Suction Handle, and fight for dear life through Microsoft's gauntlet of adhesive.

  • Step 3 (optional): get impatient, break screen.

  • Luckily, we don't run into any surprises as we free the display—everything's pretty much the same as before, save for an extra display cable compared to the Surface Go.

La serie Surface Pro tiene algunas configuraciones diferentes, y todas vienen estándar con adhesivo mejorado.

Afortunadamente, tenemos una receta probada y verdadera para el éxito de la separación de la pantalla Surface:

Paso 1: Aplica iOpener liberalmente.

Paso 2: toma una púa de apertura y una ventosa con manija y lucha por tu vida par atravesar el adhesivo de Microsoft.

Paso 3: (opcional) volverte impaciente, romper pantalla.

Afortunadamente, no nos encontramos con ninguna sorpresa al liberar la pantalla, todo es más o menos igual que antes, a excepción de un cable de pantalla adicional en comparación con el Surface Go.

Tus contribuciones son autorizadas bajo la licencia de código abierto de Creative Commons.