Esta versión puede contener ediciones incorrectas. Cambie a la última instantánea verificada.
Qué necesitas
-
-
-
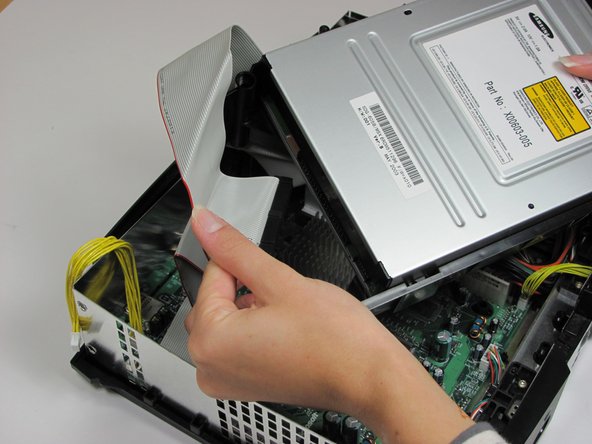
Remueve la unidad de disco. Debe salir directamente.
-
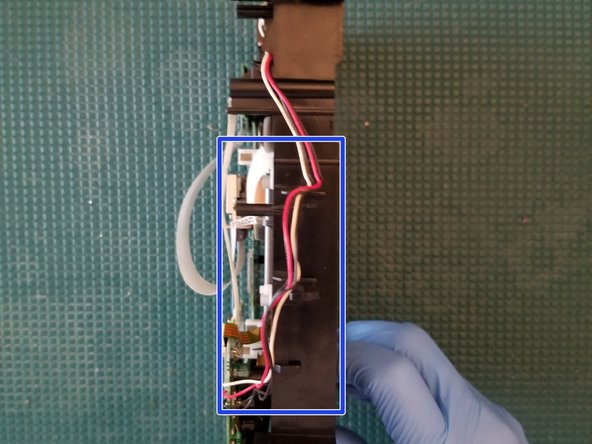
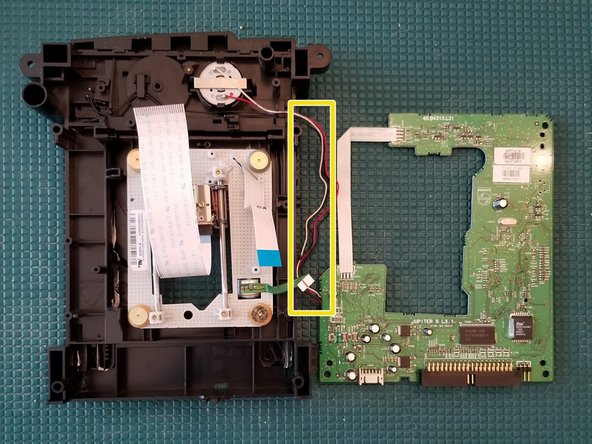
Desconecta el cable plano y los cables amarillos de la parte trasera de la unidad de disco.
-
-
Este paso está sin traducir. Ayuda a traducirlo
-
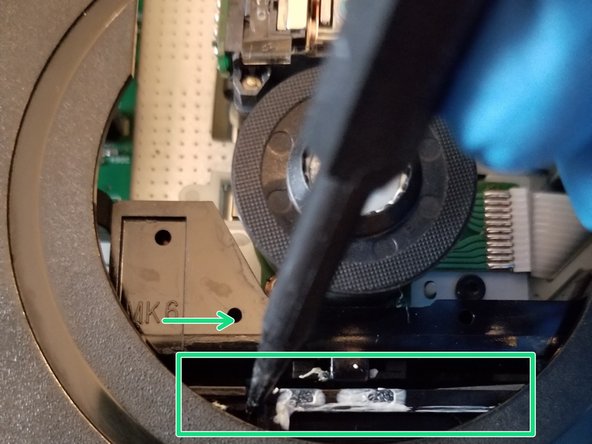
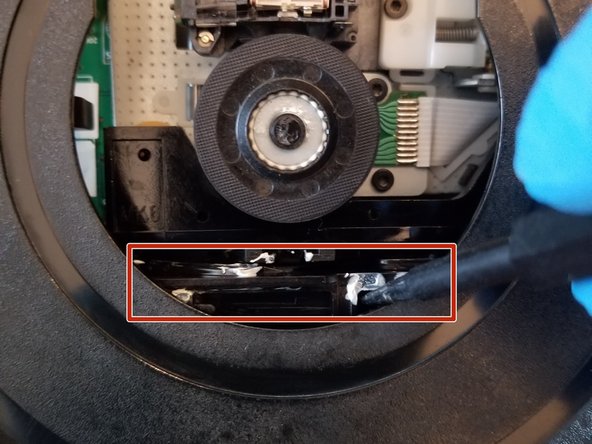
With the pointed end of a spudger slide this piece to the right
-
Laser assembly will drop about a quarter inch
-
Drive door will open about a quarter inch and can now be manually opened
-
-
Este paso está sin traducir. Ayuda a traducirlo
-
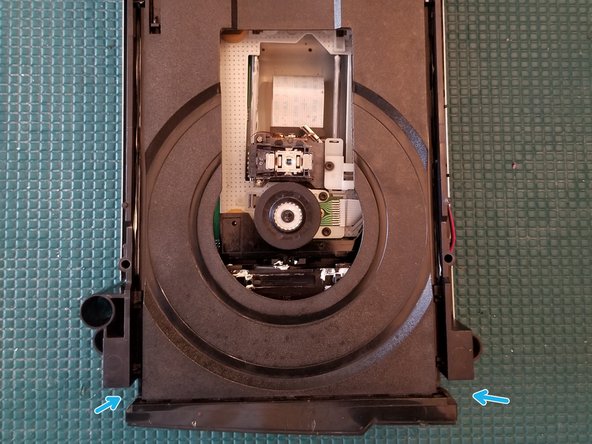
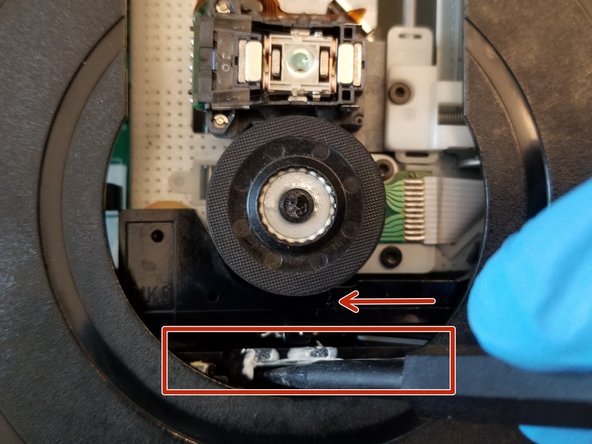
Gently slide drive door closed.
-
Slide this piece to the left.
-
Laser assembly will raise about a quarter inch.
-
Drive door is now secured.
-
-
Este paso está sin traducir. Ayuda a traducirlo
-
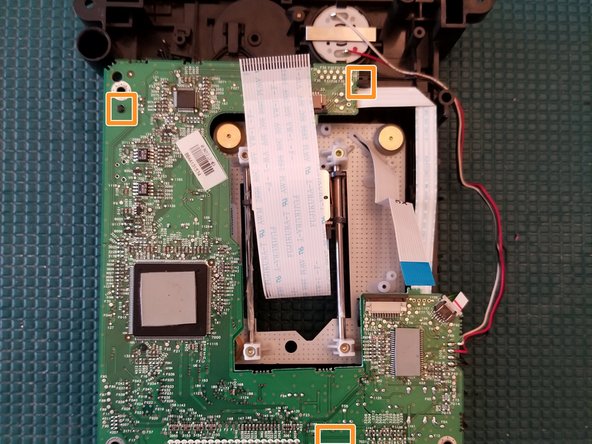
With the drive upside down, gently pull back on the ribbon cable retaining tabs and pull out the ribbon cable.
-
There are 2 plastic tabs and 1 post holding the board in place. Lift up on the post, slide PCB to the left and then forward.
-
Rotate PCB right and place to the side
-
There's just enough length in the cable to place the board in a PCB holder to replace capacitors.
-