Introducción
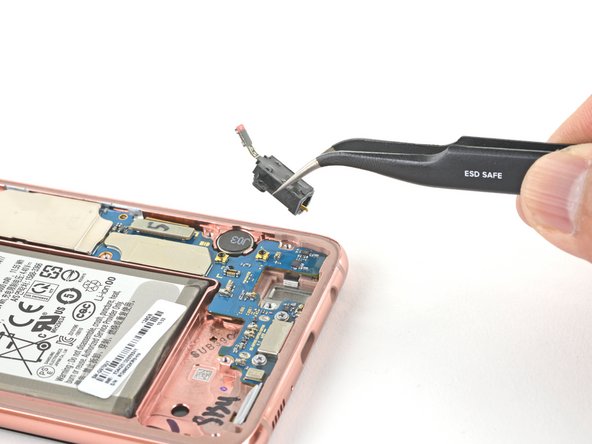
This guide shows how to remove and replace the headphone jack for the Samsung Galaxy S10e.
If you’re trying to fix intermittent connection issues with your wired headphones, try cleaning out the headphone jack before you replace it.
Qué necesitas
-
-
Turn your phone off completely before you begin this repair.
-
Prepare an iOpener and heat the back of the phone along the right edge for about two minutes. This will help soften the adhesive securing the back cover.
-
-
-
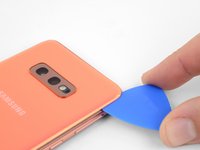
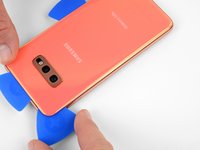
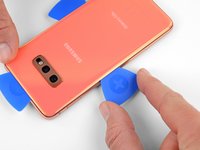
In the following steps, you'll be cutting through the adhesive securing the back cover.
-
As seen from the outside of the phone, you'll be slicing through the adhesive in the highlighted areas.
-
The adhesive is the thinnest on the right side of the phone, just below the Bixby button.
-
-
-
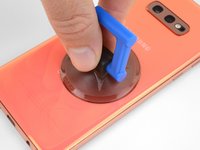
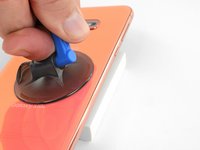
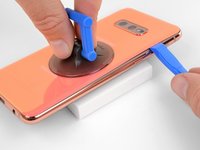
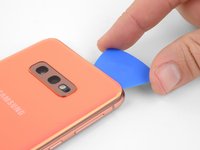
Secure a suction cup to the back cover, as close to the heated edge as possible, just under the Bixby button where the adhesive is thinnest.
-
-
-
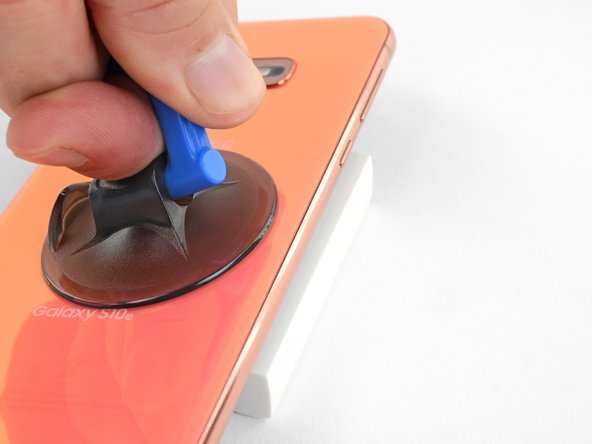
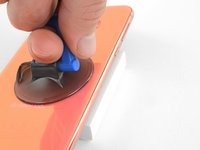
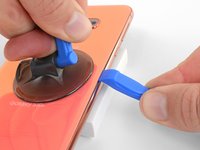
Prop up the heated edge of the phone on something that is about 0.5 inches (13 mm) thick. This will angle the phone so that the opening tool is easier to insert.
-
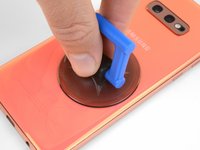
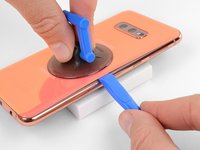
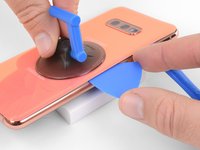
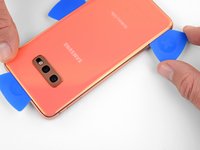
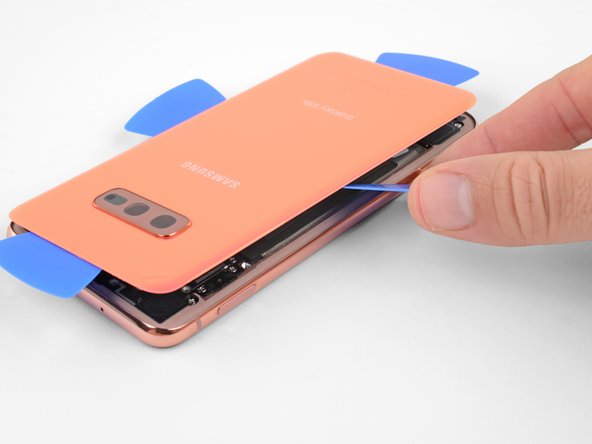
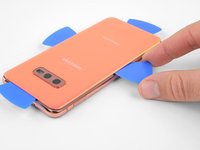
Lift the back cover's right edge with your suction cup, opening a slight gap between the back cover and the frame.
-
This may require a significant amount of force. If you have trouble, apply more heat to further soften the adhesive, and try again. The adhesive cools very fast, so you may need to heat it repeatedly.
-
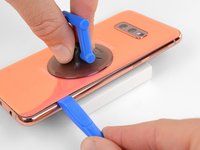
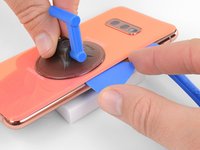
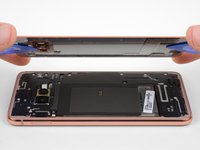
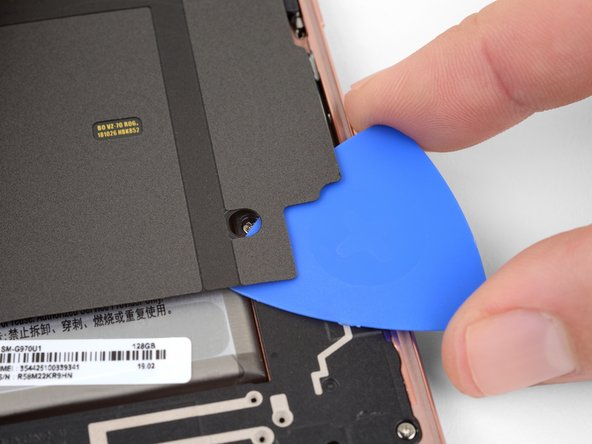
Press the edge of an opening tool into the gap.
-
-
-
-
Remove the eight 3.9 mm Phillips screws securing the upper midframe to the phone.
-
-
-
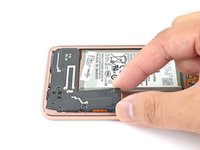
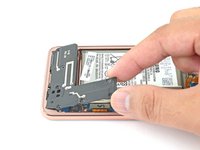
Use the flat end of a spudger to pry the battery connector straight up from its socket and disconnect it.
-
-
-
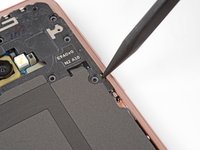
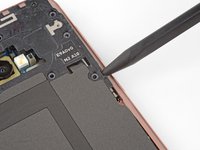
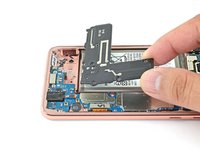
Use a Phillips driver to remove the seven 3.9 mm screws securing the loudspeaker.
-
-
-
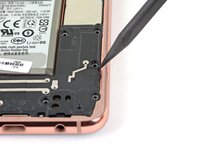
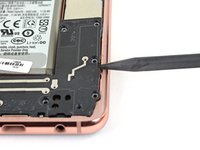
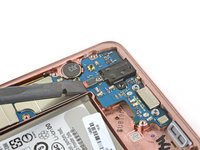
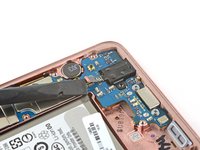
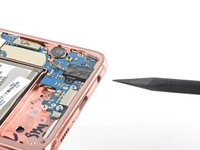
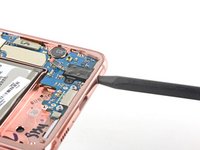
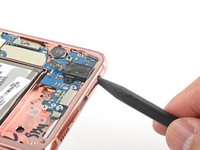
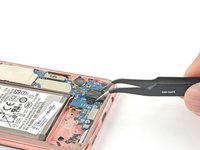
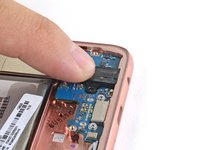
Use a spudger to pry up and disconnect the headphone jack connector from its motherboard socket.
-


To reassemble your device, follow these instructions in reverse order.
After you've completed the repair, follow this guide to test your repair.
Repair didn’t go as planned? Try some basic troubleshooting, or ask our Answers community for help.
To reassemble your device, follow these instructions in reverse order.
After you've completed the repair, follow this guide to test your repair.
Repair didn’t go as planned? Try some basic troubleshooting, or ask our Answers community for help.
Cancelar: No complete esta guía.
3 personas más completaron esta guía.

