Introducción
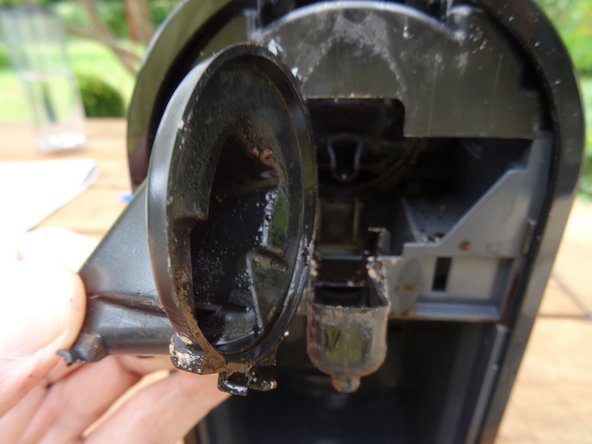
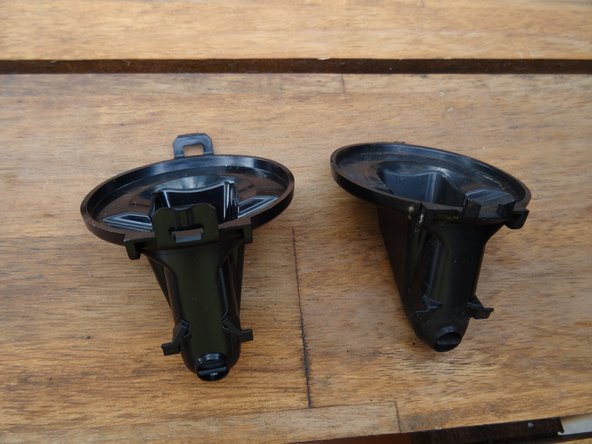
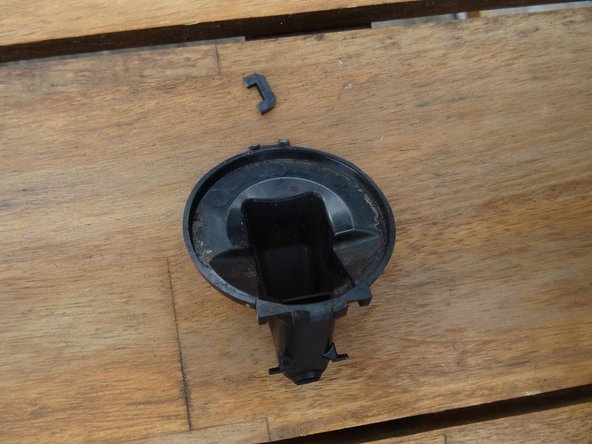
If the coffee no longer comes out of the spout but seeps into the capsule collector, the inner coffee spout is very likely defective. Unfortunately, the retaining tabs of the inner coffee spout often break off on this model, they are too weakly constructed. The repair is very simple and the replacement part is very inexpensive.
Qué necesitas
-
-
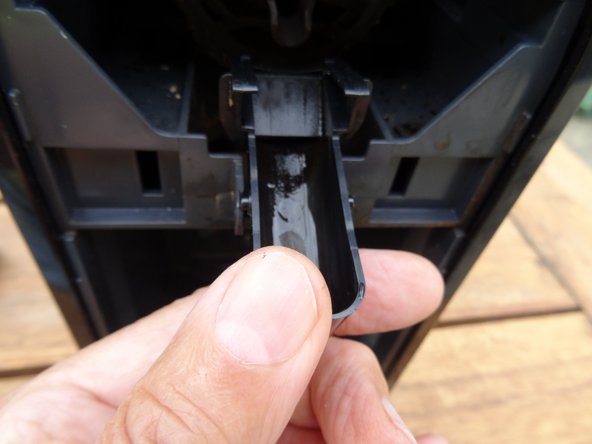
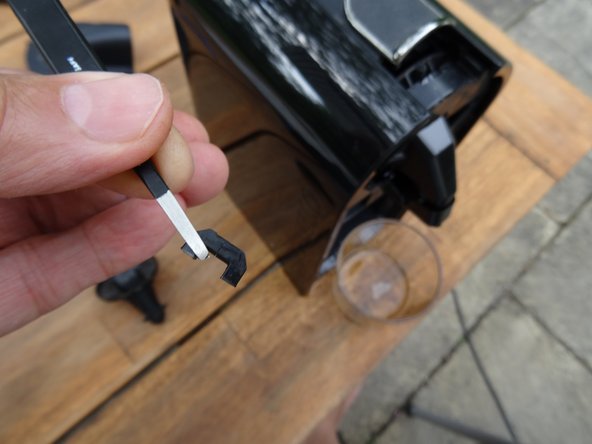
Insert an opening tool into the gap between the coffee spout and the side panel on the right side. Push the side panel away a few millimeters and push the tool down until the side panel at the front edge comes loose with a loud crack
-
Repeat on the left side.
-
-


Work through the steps in reverse order to reassemble your device.
Work through the steps in reverse order to reassemble your device.
Cancelar: No complete esta guía.
3 personas más completaron esta guía.
Un agradecimiento especial a estos traductores:
100%

Estos traductores nos están ayudando a reparar el mundo! ¿Quieres contribuir?
Empezar a traducir ›
Equipo

Repair is War on Entropy Miembro de Repair is War on Entropy
Community
27 Miembros
1,209 Guías creadas
4 comentarios
Estos pasos que me indica ya los he realizado lo que ahora necesito es seguir desmontando la máquina para acceder a la parte movible que prensa la cápsula, para poder actuar a ese nivel y proder a la limpieza profunda de todo el conjunto
Gracias y espero que me pueda orientar para el desmlntaje completo de la máquina
I have already carried out these steps that you indicate, what I now need is to continue disassembling the machine to access the movable part that presses the capsule, to be able to act at that level and proceed to deep clean the entire assembly.
Thank you and I hope you can guide me for the complete dismantling of the machine
Sorry - to date, I have not had to open this machine any further. But maybe these instructions do help you: Nespresso CitiZ sustitución de la unidad de infusión
VauWeh -