Introducción
Use this guide to replace a worn-out or dead battery in your JBL Charge 5.
The model you see in this guide is the NT version. There are different models of the JBL Charge 5 that differ in their build and internal connectors.
This guide can be used as a reference when repairing other versions, but some disassembly steps may vary.
Check the first two digits of the serial number to find the model of your device. You can find the serial number printed on the packaging or underneath the speaker's connector cover.
For your safety, discharge the battery before disassembling your device. This reduces the risk of fire if the battery is accidentally damaged during the repair. If your battery is swollen, take appropriate precautions.
Qué necesitas
-
-
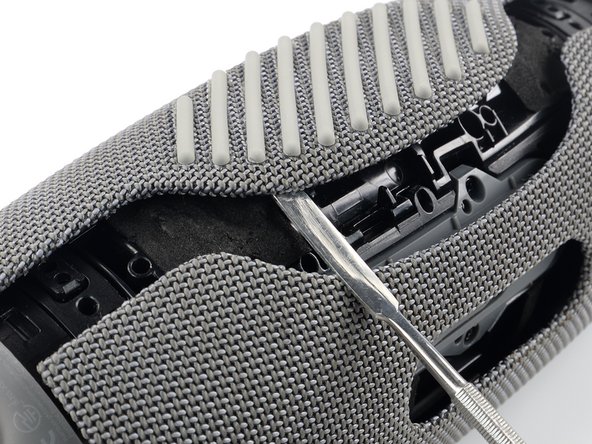
Insert the flat end of a metal spudger into the seam between the two halves of the fabric cover.
-
Push the spudger underneath the edge of the fabric cover without the textured rubber and pry upwards to release its plastic clips.
-
-
-
Repeat the previous step, using your spudger to work your way along the entire seam to release the remaining plastic clips.
-
-
-
Use a Phillips screwdriver to remove the two 10.6 mm-long screws securing the fabric cover.
-
-
-
Use your metal spudger to pry up the other edge of the fabric cover—the side with the textured rubber—to release the remaining plastic clips.
-
-
-
-
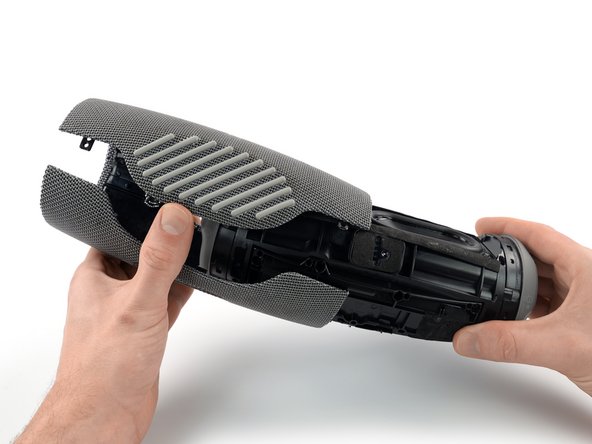
Use one hand to spread the edges of the fabric cover apart and your other hand to pull the speaker assembly away from the cover.
-
Remove the fabric cover.
-
-
-
Use a Phillips screwdriver to remove the eight 10.6 mm-long screws securing the battery cover.
-
-
-
Lift the battery up and shift it out of the way to gain access to the battery connector. Don't try to completely remove it just yet—it's still connected to the device.
-
-
-
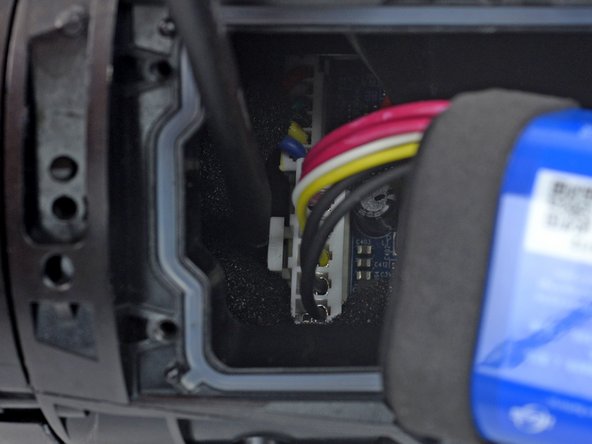
The battery is connected to the motherboard with a power cable connector that has a small tab on the side that locks it in place.
-
-
-
Insert a plastic spudger into the battery connector cutout.
-
Use your spudger to squeeze the tab against the connector to release it.
-
Use your free hand to grab the battery cables just above the connector and pull the connector straight up from its socket wiggling it left and right to loosen the clips securing it.
-


If possible, power on your device and test your repair before reassembly. For optimal performance, calibrate your newly installed battery after completing this guide.
To reassemble your device, follow these instructions in reverse order.
Take your e-waste to an R2 or e-Stewards certified recycler.
Repair didn’t go as planned? Try some basic troubleshooting, or ask our Answers community for help.
Cancelar: No complete esta guía.
5 personas más completaron esta guía.

