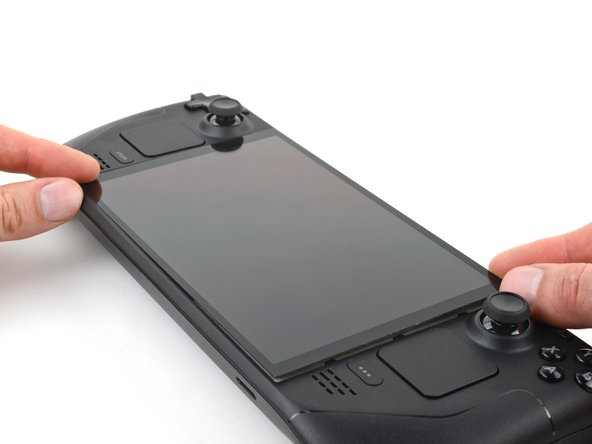
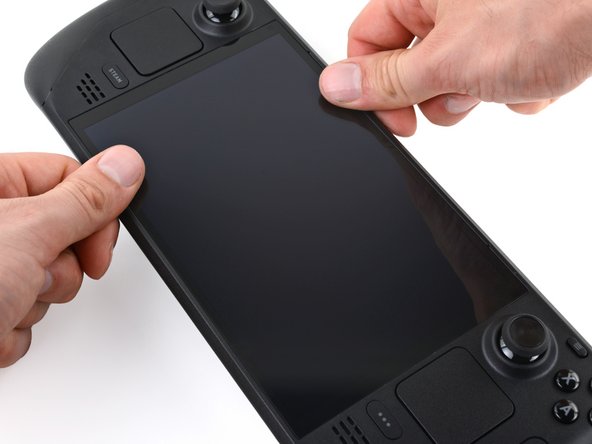
Saltar al contenido principal

How to Apply Screen Adhesive in your Steam Deck OLED

Qué necesitas

  1. How to Apply Screen Adhesive in your Steam Deck OLED, Clean the screen: paso 1, imagen 1 de 3 How to Apply Screen Adhesive in your Steam Deck OLED, Clean the screen: paso 1, imagen 2 de 3 How to Apply Screen Adhesive in your Steam Deck OLED, Clean the screen: paso 1, imagen 3 de 3
    Herramienta utilizada en este paso:
    Microfiber Cleaning Cloths
    $3.99
    Comprar
    • If you're installing a new screen, skip the next two steps. Otherwise, follow the next two steps to clean and reuse your existing screen.

    • Use tweezers or the flat end of a spudger to peel up and remove large pieces of old adhesive from the screen.

    • Apply one or two drops of highly-concentrated isopropyl alcohol (over 90%) to any residual adhesive.

    • Only apply one or two drops at a time, and don't spill any on the screen panel itself to avoid damaging it.

    • Use a lint-free or microfiber cloth to wipe the perimeter of the screen clean.

  2. How to Apply Screen Adhesive in your Steam Deck OLED, Clean the frame: paso 2, imagen 1 de 3 How to Apply Screen Adhesive in your Steam Deck OLED, Clean the frame: paso 2, imagen 2 de 3 How to Apply Screen Adhesive in your Steam Deck OLED, Clean the frame: paso 2, imagen 3 de 3
    • Repeat the previous step to clean the perimeter of the screen recess in the frame.

  3. How to Apply Screen Adhesive in your Steam Deck OLED, Orient the adhesives: paso 3, imagen 1 de 3 How to Apply Screen Adhesive in your Steam Deck OLED, Orient the adhesives: paso 3, imagen 2 de 3 How to Apply Screen Adhesive in your Steam Deck OLED, Orient the adhesives: paso 3, imagen 3 de 3
    • Each adhesive strip has a flexible liner on the back, and a stiff liner with hole cutouts on the front. As you orient your adhesives, make sure the stiff liners with holes face upward.

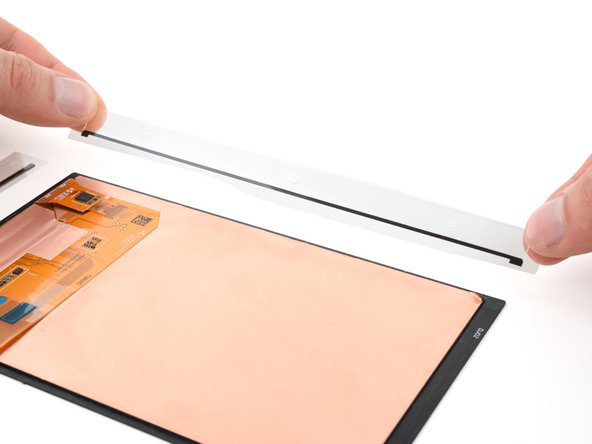
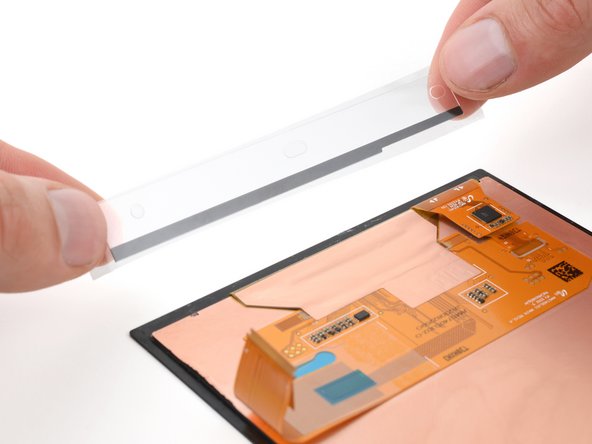
    • Before applying your new adhesives, lay them out over your screen to find their proper orientation:

    • The long piece with curved ends is for the top edge.

    • The other long piece is for the bottom edge.

    • The short piece with a notch cutout is for the edge with the screen cable. The notch should be closest to the top edge.

    • The other short piece is for the edge opposite the screen cable.

  4. How to Apply Screen Adhesive in your Steam Deck OLED, Apply the adhesives: paso 4, imagen 1 de 1
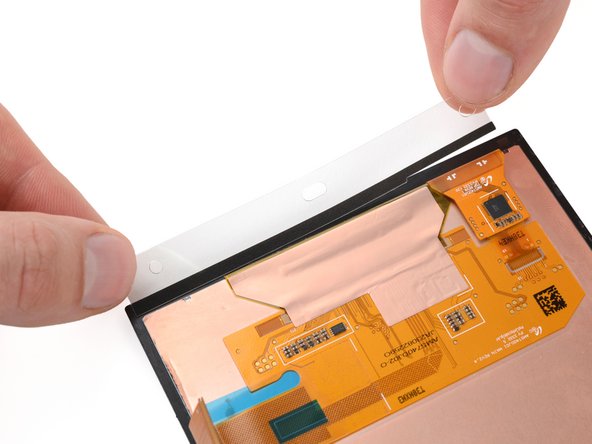
    • Peel the larger flexible adhesive liner from the back of an adhesive strip.

  5. How to Apply Screen Adhesive in your Steam Deck OLED: paso 5, imagen 1 de 3 How to Apply Screen Adhesive in your Steam Deck OLED: paso 5, imagen 2 de 3 How to Apply Screen Adhesive in your Steam Deck OLED: paso 5, imagen 3 de 3
    • Note that the long strips of adhesive take up the entire length of the screen, and the short strips fit in-between the edges of the long strips.

    • Align and place the adhesive strip onto the edge of the screen, making sure it's flush with the outside edge and not overlapping the screen panel.

  6. How to Apply Screen Adhesive in your Steam Deck OLED: paso 6, imagen 1 de 1
    • Repeat the previous two steps to apply the remaining adhesives.

  7. How to Apply Screen Adhesive in your Steam Deck OLED, Remove the adhesive liners: paso 7, imagen 1 de 1
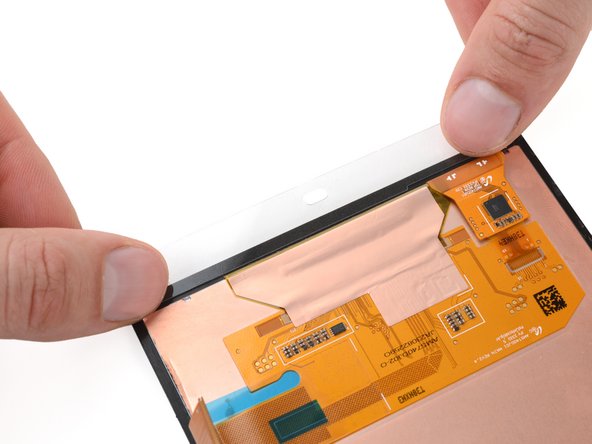
    • Peel and remove the remaining liner from each of the four adhesive strips.

    • Be careful not to pull the adhesive off the screen. If this happens, press down on the adhesive liners to further secure the adhesives to the screen.

  8. How to Apply Screen Adhesive in your Steam Deck OLED, Install the screen: paso 8, imagen 1 de 3 How to Apply Screen Adhesive in your Steam Deck OLED, Install the screen: paso 8, imagen 2 de 3 How to Apply Screen Adhesive in your Steam Deck OLED, Install the screen: paso 8, imagen 3 de 3
    • Make sure the small locking flap on the screen ZIF connector is flipped up before reconnecting the screen.

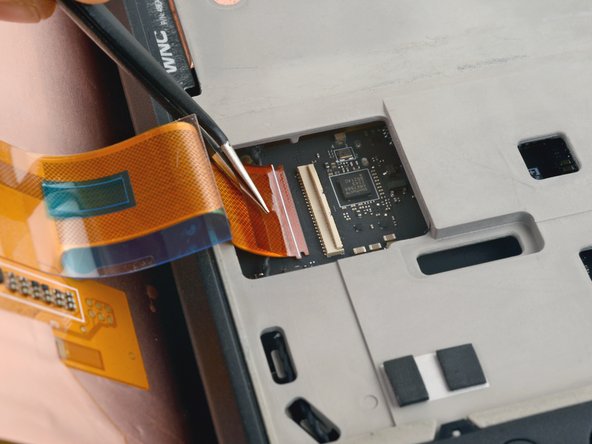
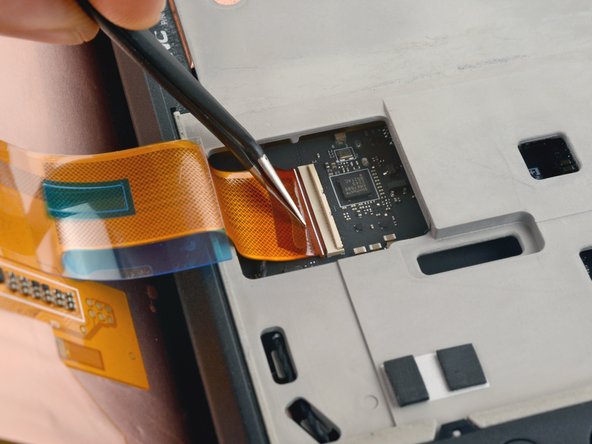
    • Hold the screen slightly below the bottom edge of the frame and align the screen cable with its socket on the motherboard.

    • Use angled tweezers to grip the pull tab on the neck of the screen cable.

    • Angle the cable so it's lined up and parallel to the socket, rotating the tips of the tweezers as necessary to get the right angle.

    • The end of the cable needs to be parallel to the motherboard—not angled downward.

    • Gently insert the connector into the socket until the white line meets the body of the socket.

    • If the connector doesn't smoothly enter the socket, realign it and try again.

  9. How to Apply Screen Adhesive in your Steam Deck OLED: paso 9, imagen 1 de 3 How to Apply Screen Adhesive in your Steam Deck OLED: paso 9, imagen 2 de 3 How to Apply Screen Adhesive in your Steam Deck OLED: paso 9, imagen 3 de 3
    • Align the screen over its recess in the frame.

    • Press the screen into place.

  10. How to Apply Screen Adhesive in your Steam Deck OLED: paso 10, imagen 1 de 2 How to Apply Screen Adhesive in your Steam Deck OLED: paso 10, imagen 2 de 2
    • Firmly press along the perimeter of the screen to secure the adhesive to the frame.

    • Optionally, you may use a hair dryer or heat gun to lightly heat the screen to strengthen the adhesive bond.

Conclusión

Repair didn’t go as planned? Try some basic troubleshooting, or ask our Steam Deck OLED answers community for help.

Una persona más ha completado esta guía.

Clay Eickemeyer

Miembro Desde 09/19/22

66,992 Reputación

453 Guías creadas

Equipo

iFixit Miembro de iFixit

Staff

136 Miembros

17,301 Guías creadas

0 comentarios

Agregar Comentario

Ver Estadísticas:

Ultimas 24 horas: 3

Ultimos 7 días: 46

Ultimos 30 días: 228

Todo El Tiempo: 817