Introducción
If your 4Sight 9’s screen has been cracked, is not responding to touch, or has a dead backlight, use this guide to replace it.
Qué necesitas
-
-
-
Place the tablet on its side so that the two screws are facing upward.
-
Remove two 1 mm screws from the left side of the tablet using a Phillips #00 screwdriver.
 Pregunta a FixBot
-
-
-
Pry the case away from the device slowly by sliding a plastic opening tool along the device.
-
Once loosened, use your hands to separate the case from the device.
-
-
-
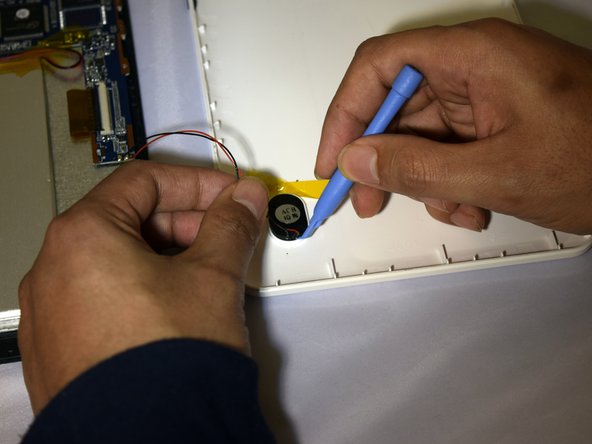
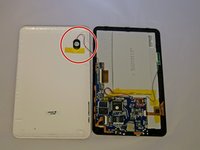
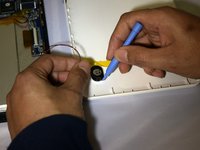
Hold the positive and negative wires as close as possible to the speaker.
-
Use an opening tool and fingers to simultaneously lift the speaker from the cover.
-
-
-
-
-
Use soldering gun to remove the positive and negative wires connecting the battery to the circuit board.
-
-
-
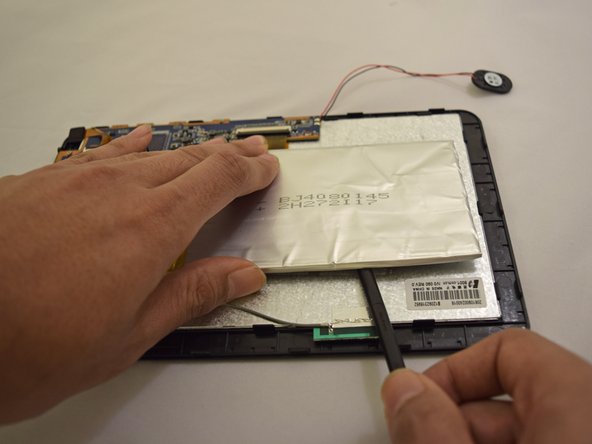
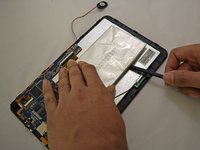
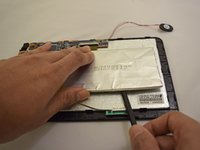
Insert plastic prying tool under upper-hand corner of battery and slide back and forth.
-
Once loosened, insert plastic prying tool under lower-hand corner and repeat sliding action.
-
-
-
-
-
-
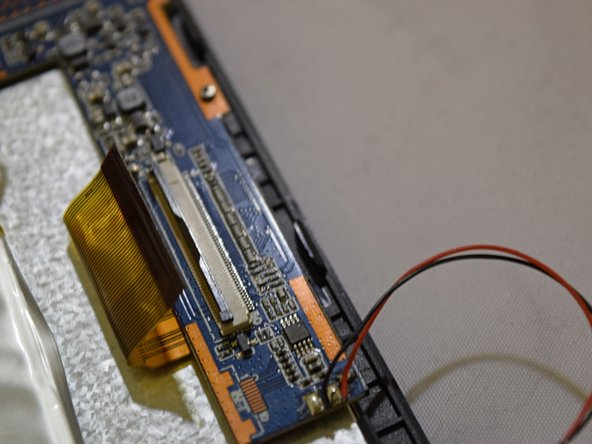
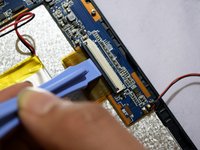
Grip the ribbon located at the far end of the circuit board with a plastic spudger tool.
-
Put pressure on the connector until the clasp comes undone.
-
Gently pull up on electrical ribbon until it disconnects from circuit board.
-
-
-
Remove the second electrical ribbon from the motherboard using the same technique used to remove first ribbon.
-
-
-
Using #00 Phillips Screwdriver, remove the four 1mm screws holding the circuit board to the device.
-
-
-
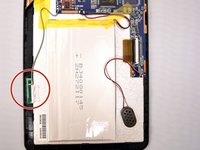
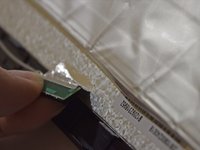
With fingers, grip the green Wi-Fi connector.
-
Gently pull up on connector to remove tape holding the connector in place.
-
-
-
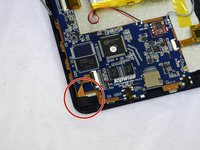
With the motherboard facing you, look to the bottom left corner, pull on the camera to completely free the motherboard.
-
-
-
Insert plastic prying tool under screen and exert pressure, pulling upward.
-
Repeat this step around each corner of the screen until it pops off.
-
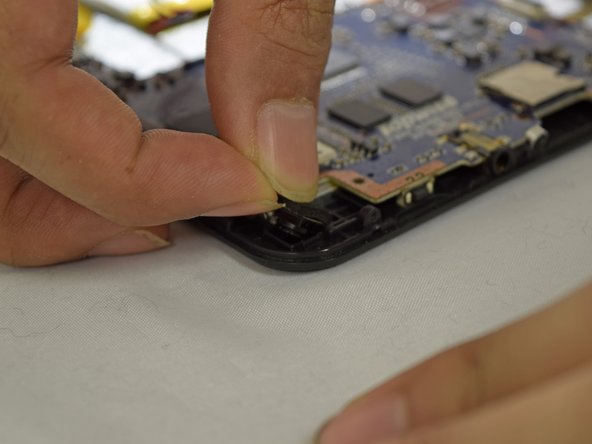
Ensure screen is free from all black tabs holding it in place.
-
-
-
Place heating pad on glass frame in order to loosen adhesive for 3 to 5 minutes
-
Remove plastic film from glass frame
-
-






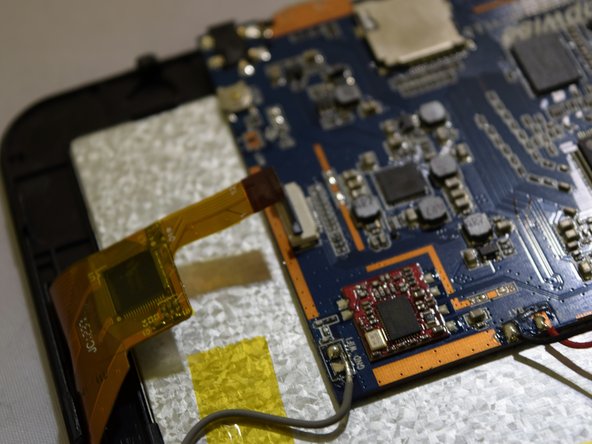



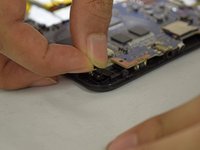


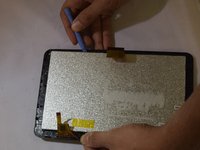
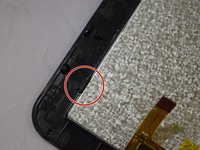
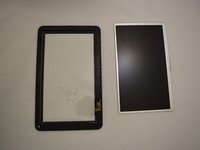

To reassemble your device, follow these instructions in reverse order.
Cancelar: No complete esta guía.
7 personas más completaron esta guía.

Equipo

Eastern Washington University, Team 1-2, Plummer Spring 2015 Miembro de Eastern Washington University, Team 1-2, Plummer Spring 2015
EWU-PLUMMER-S15S1G2
Miembros de 4
10 Guías creadas
