Qué necesitas
-
Este paso está sin traducir. Ayuda a traducirlo
-
Gather your tools (look in the teardown description).
-
Lay the cinema display face down on a soft surface in order to not scratch or harm the LCD panel.
-
-
Este paso está sin traducir. Ayuda a traducirlo
-
Unscrew the two screws on the sides of the stand where the stand connects to the display.
-
Image 3: Screws remain.
-
-
Este paso está sin traducir. Ayuda a traducirlo
-
Remove the four Torx screws where the stand attaches to the cinema display.
-
Remove the stand.
-
-
Este paso está sin traducir. Ayuda a traducirlo
-
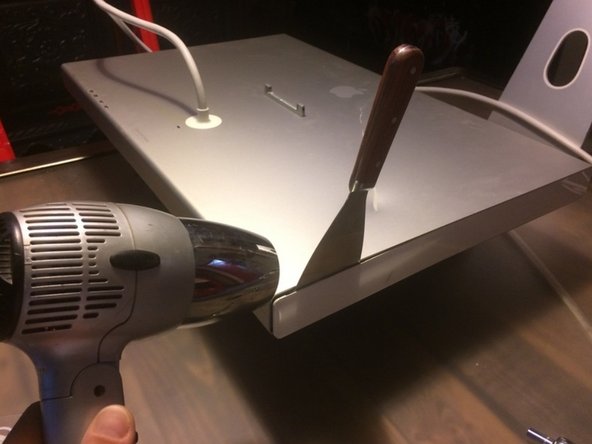
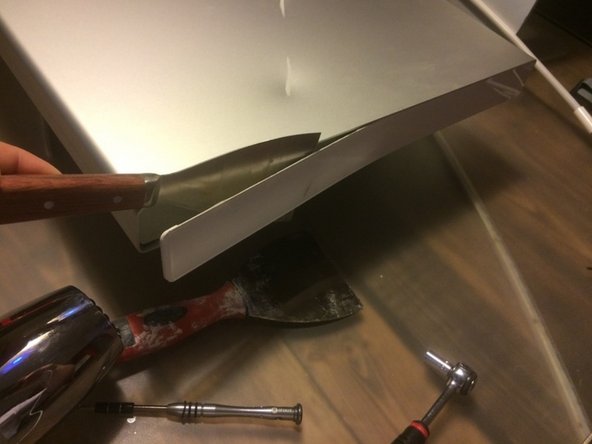
Wedge a putty knife into the plastic side piece, without trying to pry the plastic off yet!
-
Either use the heat gun to heat the plastic piece for about 30 seconds, or use the hair dryer for up to a minute.
-
Carefully use the putty knife to work the plastic side piece off the cinema display. Re-heat the plastic piece again if it doesn't come off with ease.
-
-
-
Este paso está sin traducir. Ayuda a traducirlo
-
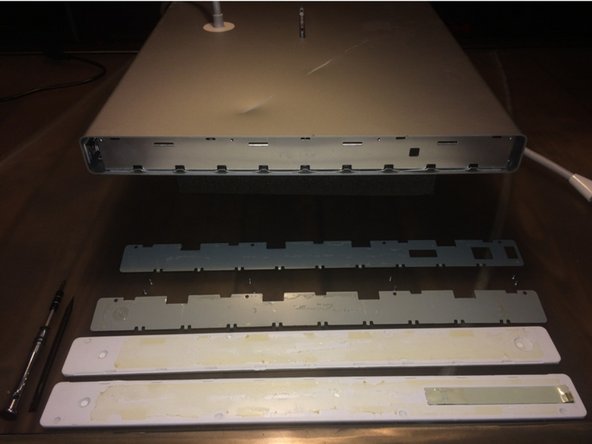
Remove the four Torx screws.
-
Use a pry tool to remove the secondary side panel.
-
-
Este paso está sin traducir. Ayuda a traducirlo
-
Wedge the putty knife in between the metal pieces (arrow in image).
-
Move the metal piece circled green towards the display panel to disengage the clip.
-
Repeat for the identical clip on the opposite side of the display.
-
-
Este paso está sin traducir. Ayuda a traducirlo
-
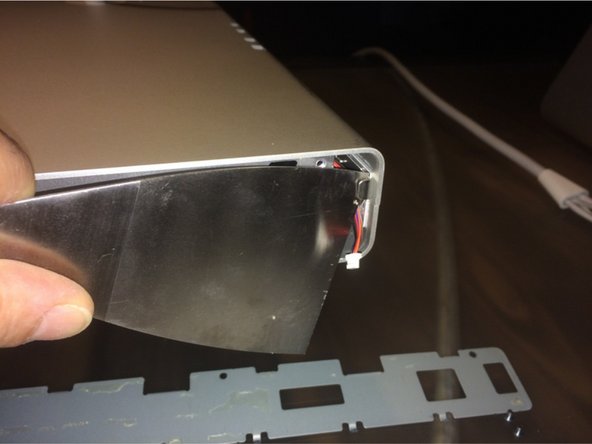
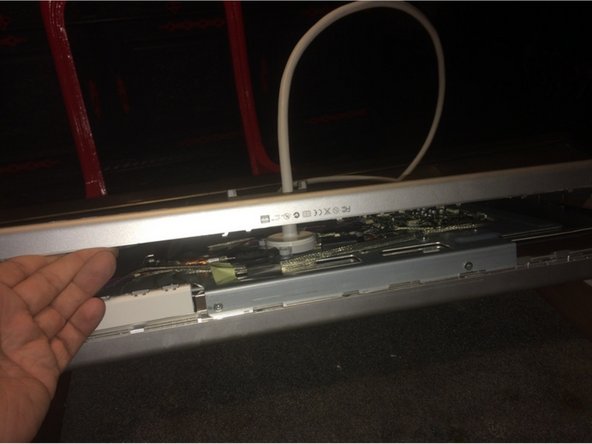
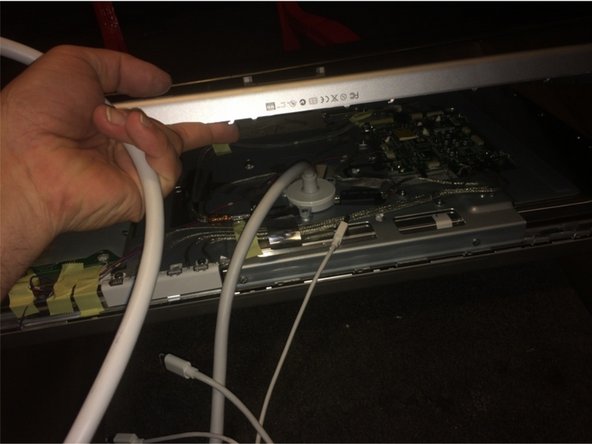
First image: Separate the metal enclosure at the bottom. Use prying tools to undo the retaining clips if needed.
-
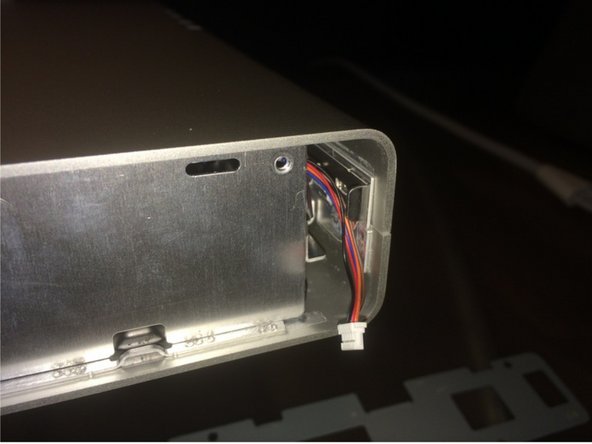
Second image: Thread the all-in-one cable out of the hole in the metal enclosure.
-
-
Este paso está sin traducir. Ayuda a traducirlo
-
Peel up the tape (shown in the red circle). Then peel up the remaining component off the enclosure.
-
Not shown: Bend the enclosure apart just enough to slip the display panel assembly out of the enclosure.
-
-
Este paso está sin traducir. Ayuda a traducirlo
-
Remove 3 screws holding the all-in-one cable in place (shown in red circles).
-
Remove three more screws (shown in blue circles).
-
Remove 5 more screws holding the logic board intact (shown in yellow circles).
-


Documentos Adjuntos
Equipo

8 comentarios
Hey thanks for posting this up… is it possible for you to share the LG display panel part number? I want to see if I can find one online.
This wasn’t my teardown - merely a translation so I don’t know… sorry!
tr121 -
Hi,did you manage to get the panel model number ? And if you did how much was it ?
These use LG Philips LM201W01 monitors, same as the iMac G5 for people looking for the panel information. You can also replace the CCFLs with LEDs for better life and no buzzing.