Saltar al contenido principal

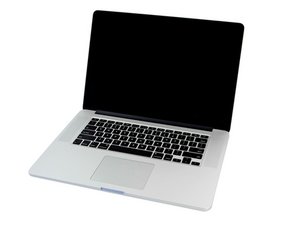
Procesador Intel Core i7 de cuatro núcleos a 2,2 GHz (Turbo Boost de hasta 3,4 GHz) o 2,5 GHz (Turbo Boost de hasta 3,7 GHz) con 6 MB de caché L3 compartida.

Preguntas 467 Ver todo

Headphone jack replacement process

Do you need to remove the whole logic board to from the housing to replace the headphone jack on a MacBook Pro 15” Retina mid-2014?

It seems that repair guides for this specific repair are very scarce. Found one for the 2012 version, but not sure if it applies to 2014 version.

Contestado! Ver respuesta Yo también tengo este problema

Es esta una buena pregunta?

Puntuación 0
Agregar un comentario

2 Respuestas

Solución Elegida

You can’t find guidance because the headphone jack is not a user replaceable part. It’s a fairly challenging through-hole soldering job on the logic board itself, for which professional tools and experience are needed.

Fue útil esta respuesta?

Puntuación 4

2 comentarios:

Thank you. I’ve desoldered DC jacks (THT mounting) before so I’ll have a go at it.

If you’ve done this repair before, any tips? Warnings? Eg sensitive parts in proximity

- de

@faloude A preheater would help a lot, but unless you have one around anything that may help keeping the board at a decent temperature would be better than noting. Usually I lower the melting temperature of solder joints by adding and removing with wick a leaded solder a couple of rounds before attempting removal. I always use a thin aluminum foil to shelter parts that may suffer heat. That's about it, hope everything goes smooth !

- de

Agregar un comentario

Solved - there are videos out there showing how you can fit a small tube, ie a pen refill over the broken off nub and just pull out the end of the headphone jack. Sounded like BS, I didn't have a metal bit conveniently sticking up for a tube to fit over, it had the plastic around it too. So I tried drilling it out with my ordinary battery drill and a pretty small bit. Very hard as you can imagine trying to centre the drill on a tiny stem of metal and it ended up just rolling off and chewing up the surrounding plastic (of the headphone jack) - which turned out to be a good thing! - after pulling out the plastic debris (with a needle) I was left with a good few mm of metal over which I could fit a tube. I unscrewed a pen and got the ink tube, pushed it in the hole, it fit over the nub quite tightly, and it just pulled out. Woo. Hoo. Online instructions say you need to widen the tube and then glue it, but it just worked first attempt, no widening, glue or anything. So if I was doing it again I'd use a small drill bit to break up the surrounding plastic and do the tube thing. pretty easy.

Fue útil esta respuesta?

Puntuación 0
Agregar un comentario

Añadir tu respuesta

Sam estará eternamente agradecido.
Ver Estadísticas:

Ultimas 24 horas: 0

Ultimos 7 días: 4

Ultimos 30 días: 6

Todo El Tiempo: 199